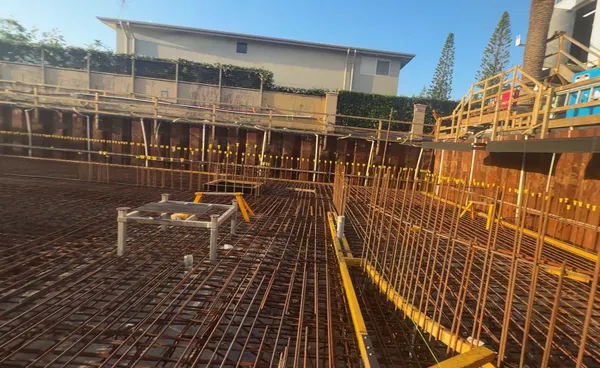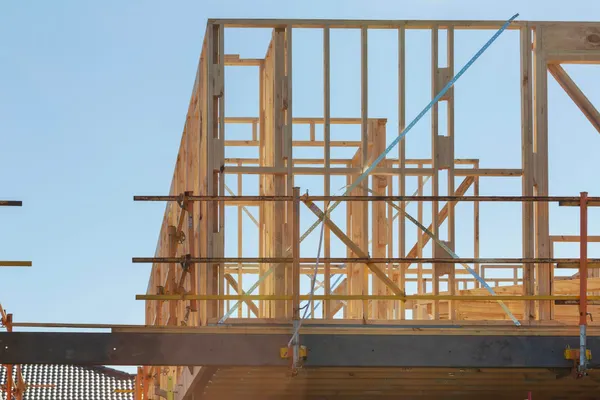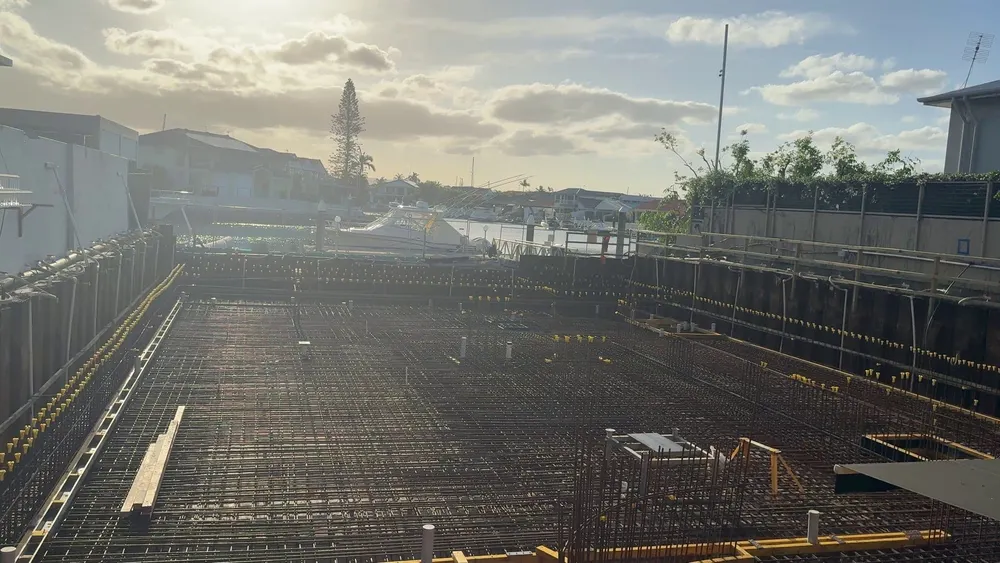
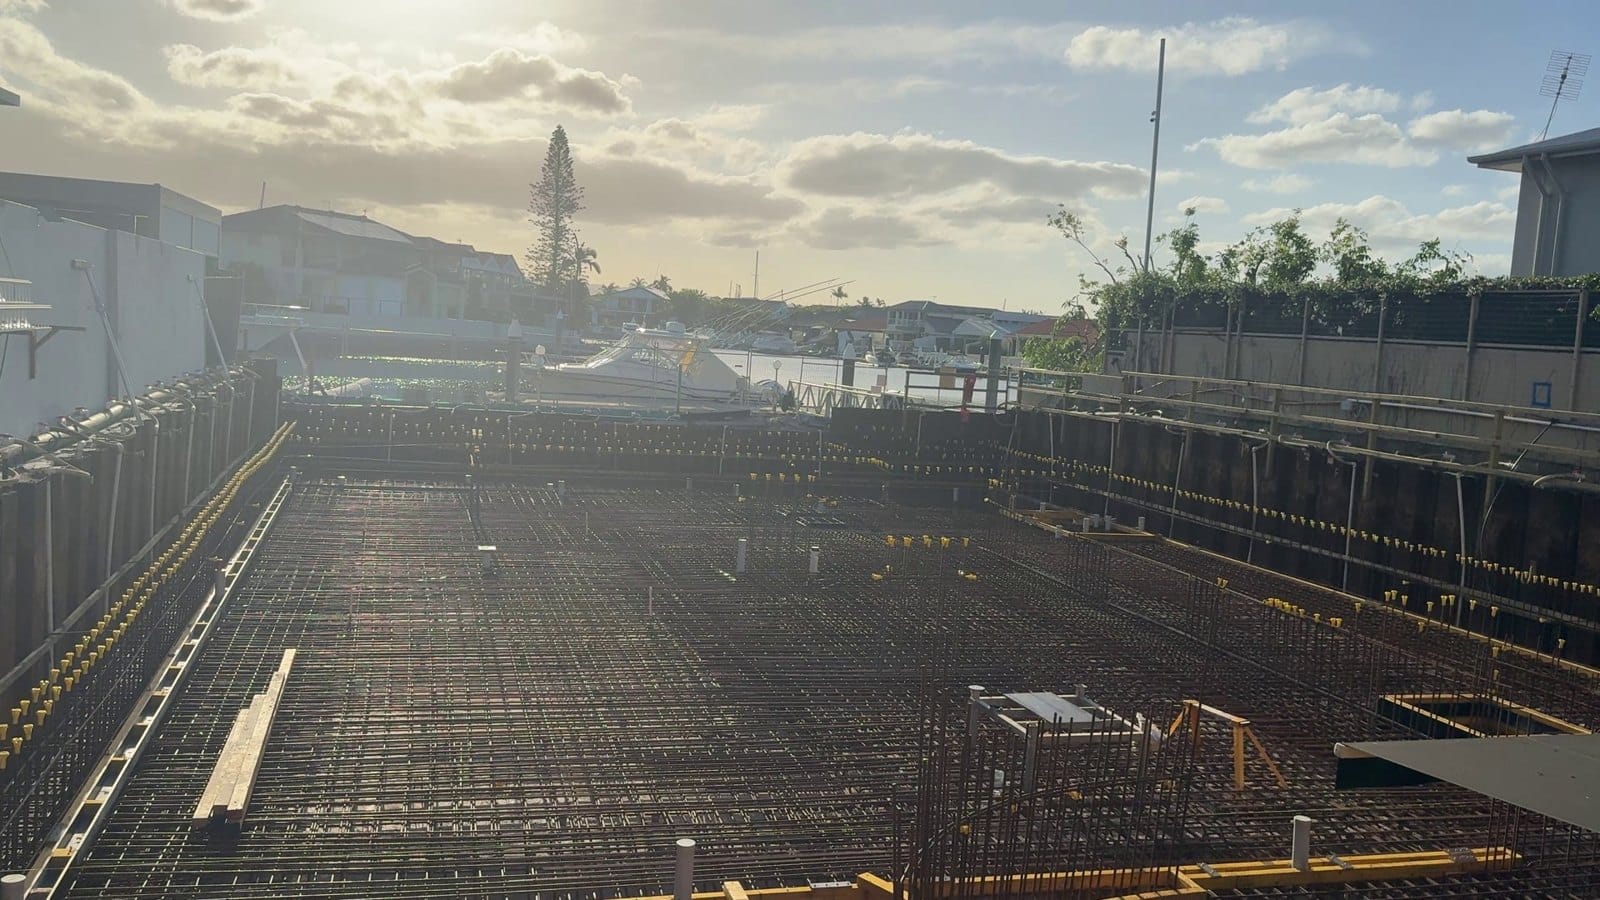
It's been a little while. Not a confession, just a few small delays that added up, and I didn't want to put out a video for every one of them.
This one is the pre-pour slab inspection. The basement slab is getting poured on Monday, so I got organised and wrote myself a script. I'm going to walk through the checks you'd normally do before the slab is poured on your house, and use this job as the example. Granted, this one has more of everything (and dewatering gear you'll hopefully never have), so ignore the oddities and focus on the list.
It ran long, so it's in two parts. This is part 1: the paperwork, and everything around the slab. Post 53 covers the slab itself.
What to take with you
- A tape measure. An 8 m tape is fine. A 50 m fibreglass tape is better for the long runs.
- A hammer and a few nails. Bang a nail in at 5 or 6 m and measure from it.
- A laser, if you're keen. They're hard to read in direct sun on the longer runs.
- A straight edge can help too.
- A broom. It isn't your job, but you'll see why.
The engineer checks the steel and signs it off, the same as they will on your house. On this job that's done. Your job is to check the boxing, and that the slab overall is the right size and in the right place. That's super important.
The list I'm reading from is our C5 Pre-Pour Slab Inspection Checklist, if you want to follow along on your own job.

C5 - Pre Pour Slab Inspection Checklist
$119.00 AUD
Last updated 28 Oct 2026 · Revision 4 · Free updates for life
Checklist Type: Major (Base Stage)
Form Factor: Fillable, print-ready PDF (A4, 30 pages)
When to use: Base stage: after the slab is prepped, before concrete is poured
A 95-point pre-pour slab checklist. Check setbacks, boxing, membrane, pipes and steel after the slab is prepped and before concrete is poured, while fixes are still simple.
✓ Authorship verified on the blockchain · View certificate
Before you leave home
Most of the list is done at your desk. None of it should be a surprise this late, but it's worth a last look.
- The site class. Make sure everything was designed for the right one. This site is, surprisingly, an S-class site. I know because I did the geotech.
- The latest drawings. Make sure you're measuring off the latest revision.
- The engineer is booked. They're usually out around the same day. Here, the engineer had already been through and signed off. I did our own quality check on the Friday morning, the pour is Monday, so we still had Saturday to fix anything. We'll also be in before 5 am on Monday to put in more waterstops (you won't need those on your house).
- The under-slab plumbing has been inspected and tested. On yours, look for a green sticker on the pipes. A red sticker means no pour. Ours doesn't have stickers because of how the inspections run on this job, but I was there when the plumbing inspector passed it. We're just waiting on the forms. (Under Slab Plumbing Tips covers what to look for.)
- The concreter's work method statement. I'm still waiting for ours. Safety paperwork always takes forever.
- The concrete booked is the concrete specified. More on that below.
- What finish goes where. Below too.
- Curing, back propping, recesses, set downs and pipes. All in the right places, because once the concrete is in, fixing it is expensive.
- Saline soil or acid sulfate soil. Should have been dealt with well before now.
- Floor levels in AHD. Below.
- A pour day weather plan.
- Variations. Check every change is signed and in writing, and shows up in the work you're about to check.
The concrete order
Your pour might be up to 40 cubic metres. This one is 250 just in the basement, and over 1,200 on the whole job, so it took more coordination. We booked well ahead with the plant, and the supplier has guaranteed the pour from two plants: one main plant and a backup, to keep trucks arriving at 10-minute spacings.
The mix is 40 MPa with 20 mm stone, as Westera's concrete notes for the raft specify. What we did change is the slump: it's gone up to 100 mm, with the engineer's approval, because of the weather. We want the concrete placed and finished before it starts going off. Westera's notes also cap the time from batching to placement, and the cap gets shorter as it gets hotter: 120 minutes up to 24°C, 90 minutes at 25 to 27°C, and less again above that.
This job also has Xypex C-5000 in the mix (Post 49 explains it). That needs coordinating and certifying between Xypex and the supplier. The bags of admixture go to the plant, and they're recorded, photographed and certified going into the mix. It costs another hundred-and-something dollars a cube, so we want proof it's in there.
Finishes and falls
We've had two walkthroughs with the concreter and picked up some minor things, which have been fixed. Most of the basement is the same finish: flat and smooth. Not burnished. It's getting epoxy, so it just needs to be flat.
The exceptions are where there are falls. Little 20 mm conduits stick up through the steel to mark them, and there's a wet area at the back that needs 40 mm of fall.
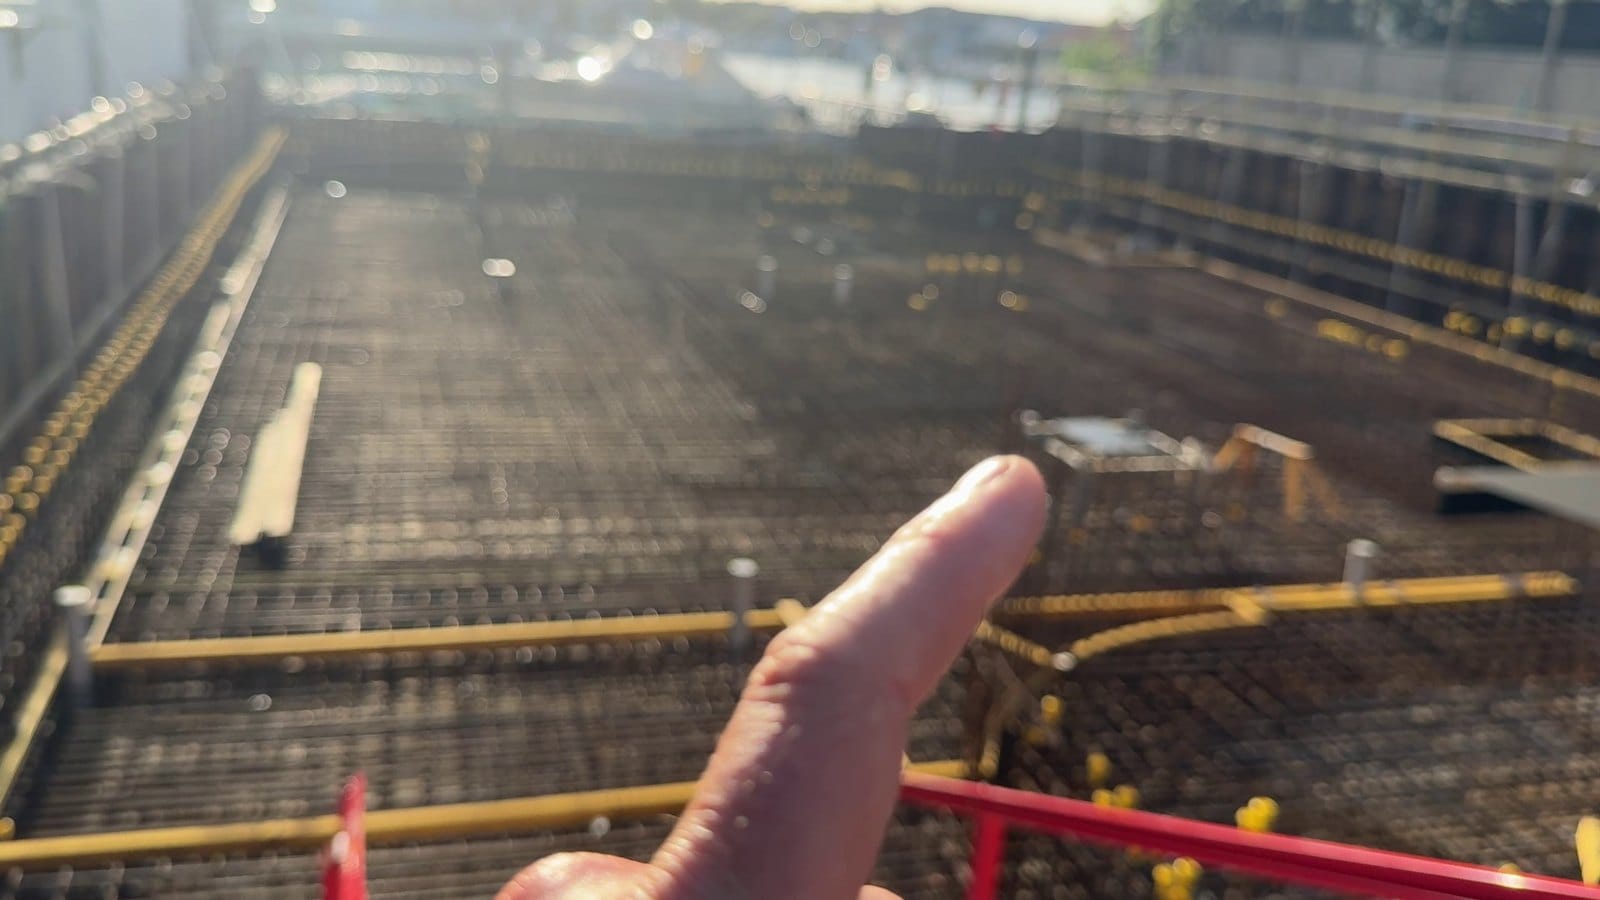
When you plan falls over bigger areas, remember that 1 in 100 is 10 mm for every metre. Over 20 m that's a lot of fall, so break larger areas up and put the falls where they need to be.
Curing
Curing compounds aren't usually used on houses. Water curing is one of the best ways: a sprinkler on a timer on your slab works well. We're not doing that here, because we need to get back on the slab quickly, so we're using a curing compound. My business partner looks after the details.
The note nobody reads
This is one I love telling people. Everyone's engineering drawings have standard notes at the front that nobody reads. On most house jobs, one of them says that if you're tiling the floor, the slab needs more reinforcement. Tiles are brittle, and a slab that moves or shrinks under them cracks them.
Most project builders don't do this. They put in control joints in the tiles instead, and an expansion gap around the edges, because tiles grow slightly and buckle when they're jammed against something. That's one way tiles crack. There are plenty of others (ground movement, the adhesive, moisture), but the right steel in the slab is a good start. Concrete Slab Cracks goes into more.
Floor levels in AHD
When I reviewed plans for a new site, I'd always check if it had an AHD level (Australian Height Datum, the national reference for heights). If it did, I'd get a surveyor to put it on one of the survey pegs, so everyone had a reference point and could check the finished floor level sits above the minimum. If a slab goes in too low, getting it higher is worse than shifting pipes. Why New Homes Still Flood explains why it matters.
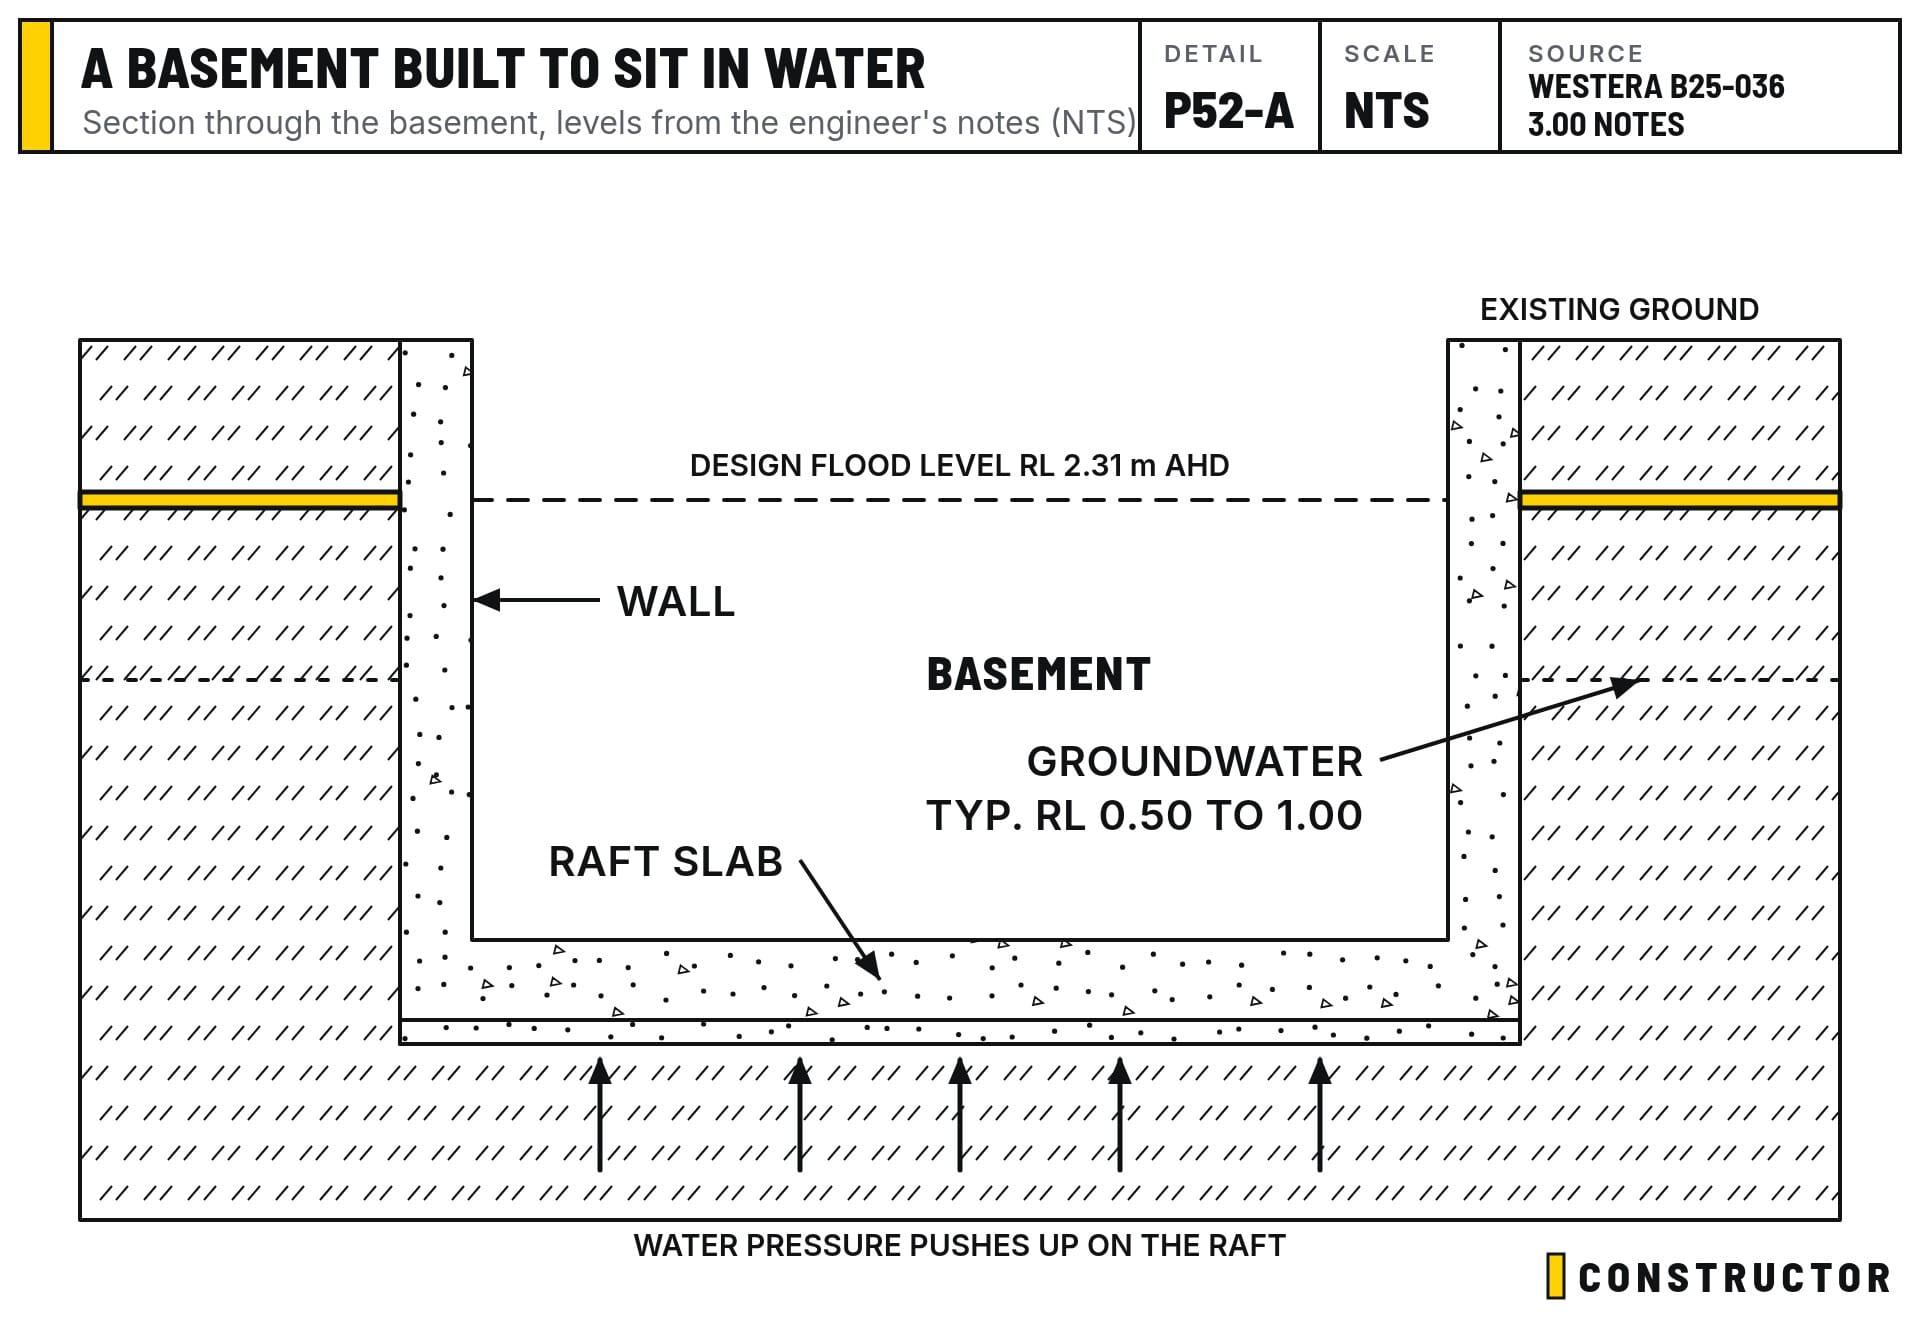
This basement is the opposite case. It's designed to sit below the water. Westera's notes design it for groundwater, which is typically between RL 0.50 and 1.00, and for a 1% flood up to RL 2.31 m AHD.
The pour day plan
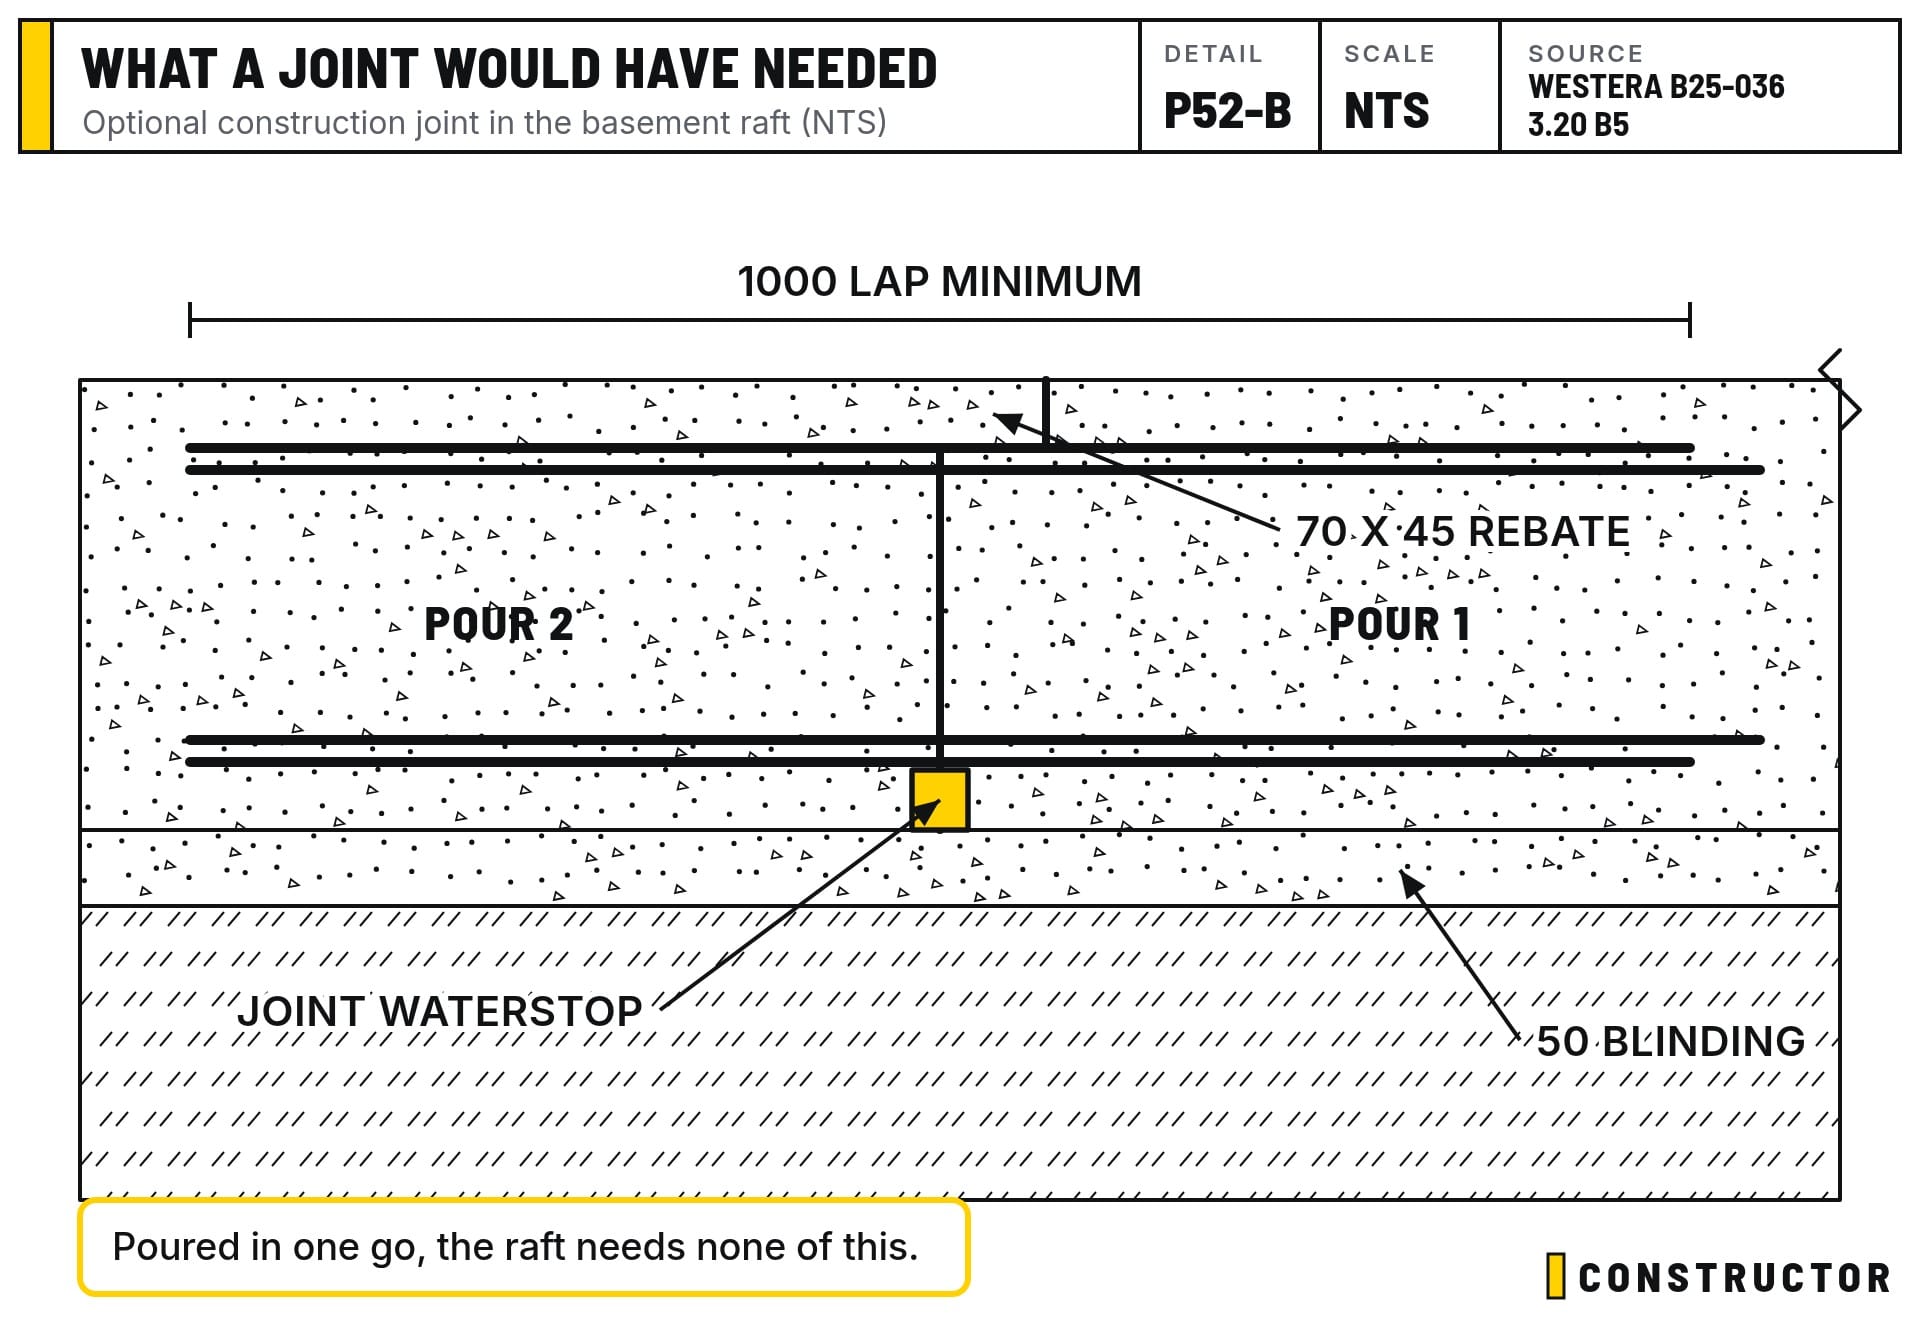
We've been through what happens if trucks don't turn up, or the weather turns. Ideally this slab has no construction joints: one monolithic pour. With high groundwater, every joint is somewhere water can try to get through. You can detail and treat joints, and Westera's drawings show where optional ones could go, but one pour is best.
So have a pour plan, a backup plan, and know what you'll do when things don't go the way you planned.
Out the front
Now picture your supervisor telling you the slab is getting prepped and poured (they like telling you, because it's a progress claim). Go out the day before. Start outside.
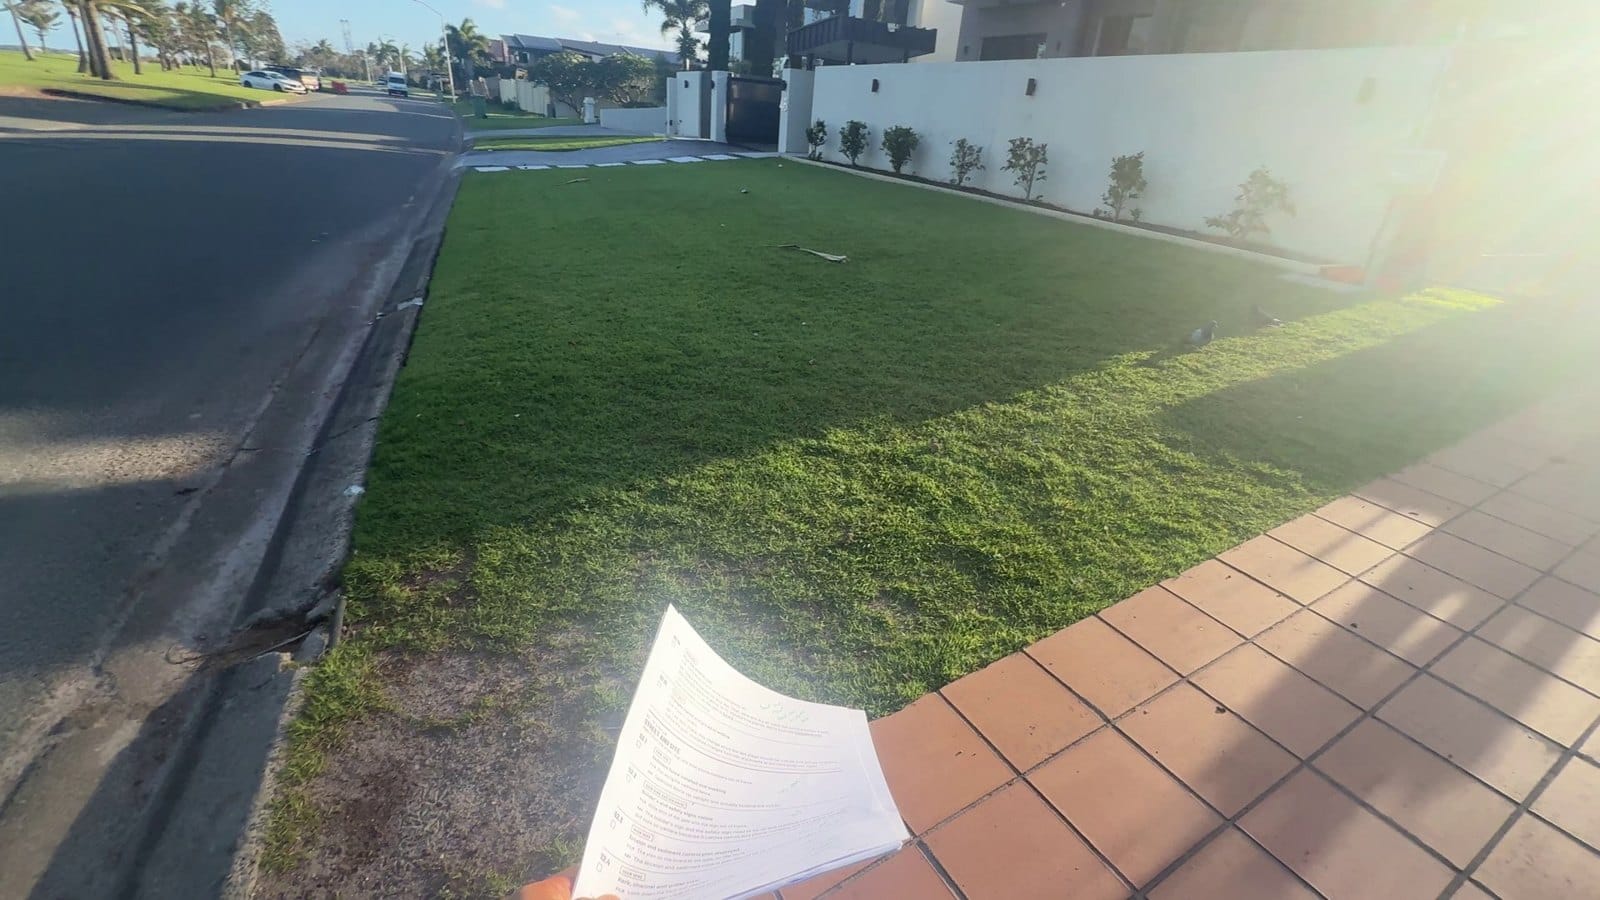
Sediment and the verge
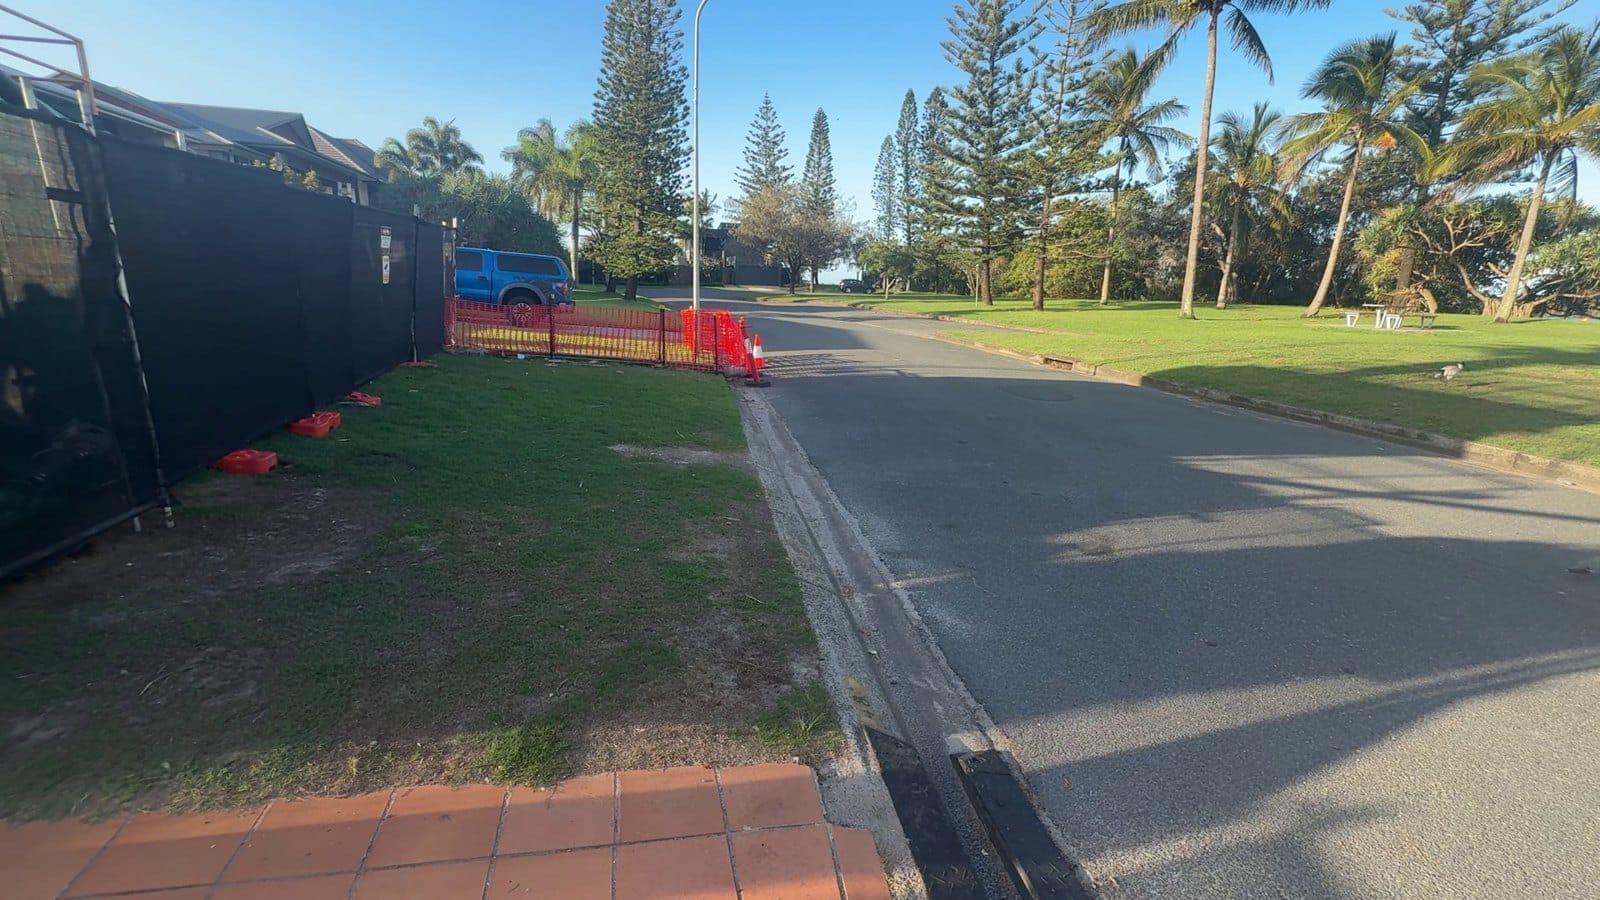
- The sediment fence is intact. We don't have one here, because we've got hardstand and the grass verge, but we put coir logs in the gutter.
- The kerb and channel is clear of sediment. It isn't, here. It has been raining, so some has come down into the gutter. We'll sweep it up and fix the geofabric over the stormwater.
- The verge is intact and vehicles are kept off it. Trucks have been driving on ours. That causes rutting, and the ruts channel water and sediment into the gutter.
- No mud tracking onto the road. Much the same as sediment.
Signs and the plans on display
- The builder's sign is up, fixed and upright, and so are the safety signs.
- The erosion and sediment control plan is displayed so people can read it. Ours is virtual: it links to our project website, with a simple summary and the full version, alongside the safety plan and construction management plan.
Where the concrete washes out
On most new estates the pump just washes out onto the ground. Sometimes it goes in the skip, which is fun. Then the concrete sets, someone has to break it up and throw it in the bin anyway, the bobcat doing the cleanup hates it, clients hate it, or it gets covered over and hidden.
We don't have much room. So we give the pump operator what I call a concrete pump nappy: a bag they flush the line and clean the hopper into. We go through two per pour, at $45 each (packs of 10 for about $450). Then the crane lifts them into the bin. Even on a tight frontage like this there's a way to get rid of it without making a mess.
Materials, toilet and water
- Spare materials stacked, and anything in excess noted. We stack starter bars, bar caps, steel offcuts (we'll use a lot of them), timber offcuts, plywood under the containers and star pickets down the side.
- The site toilet is inside the site boundary. You only think of this once someone gets fined. A toilet outside the boundary is a liability for you and the hire company. Ours is connected to the sewer, so it has to sit near it. Portaloos have to be within reach of the pump-out truck's hose.
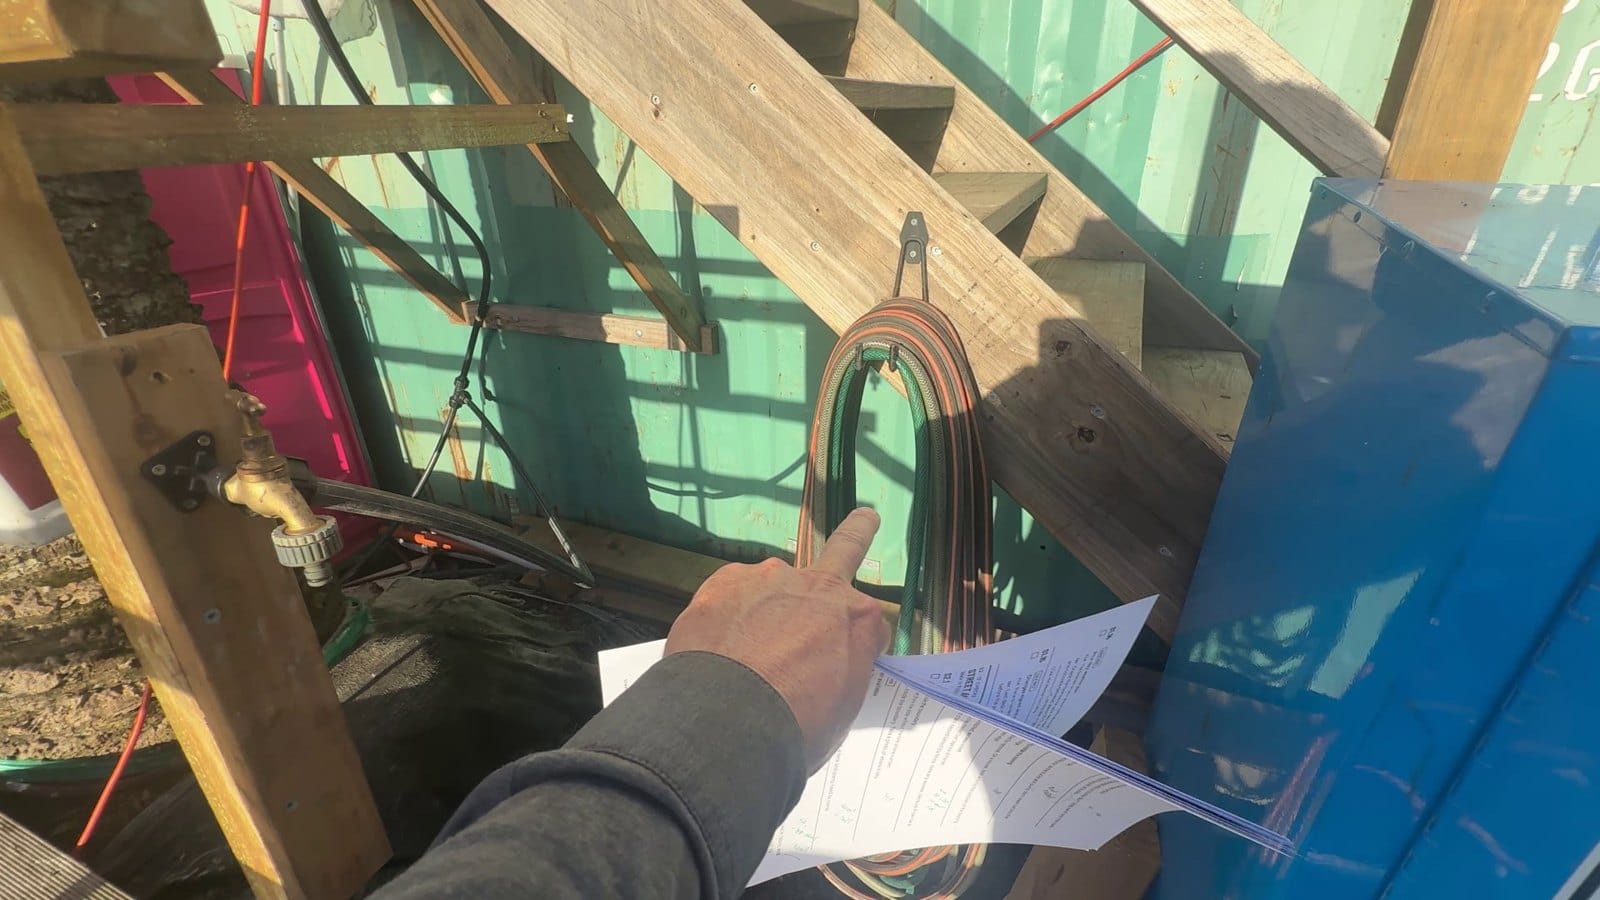
- Water is on site. Concreters need water, and so do pump operators: most carry a pressure cleaner, often built into the pump. We have taps and hoses all around the site.
- There's enough fill for the slab prep. After the pour, the builder places fill around the slab and grades it away from the edge, so water doesn't pond against the slab. Ponding is a subsidence policy issue (Site Drainage and Slab Movement). Crusher dust is the easiest: it compacts hard and makes a good base for paths later. Four to six cubic metres is typical. You won't need it on this job, but you will on yours.
The meter box and power
- The meter box is plumb and secure. If it's on a lean, the power company won't connect it. They'll leave a little note saying so.
- The power is on. Once the slab is down the trades need power, not a generator. You'll probably have two outlets. We keep adding them (lots of 15 amp, a couple of 32 amp). Ours is old-school three-phase, so it has three meters. Yours will be a new grey one.
- Don't lock yours. Ours has a lock, but on a house job someone always forgets the key, and then nothing happens.
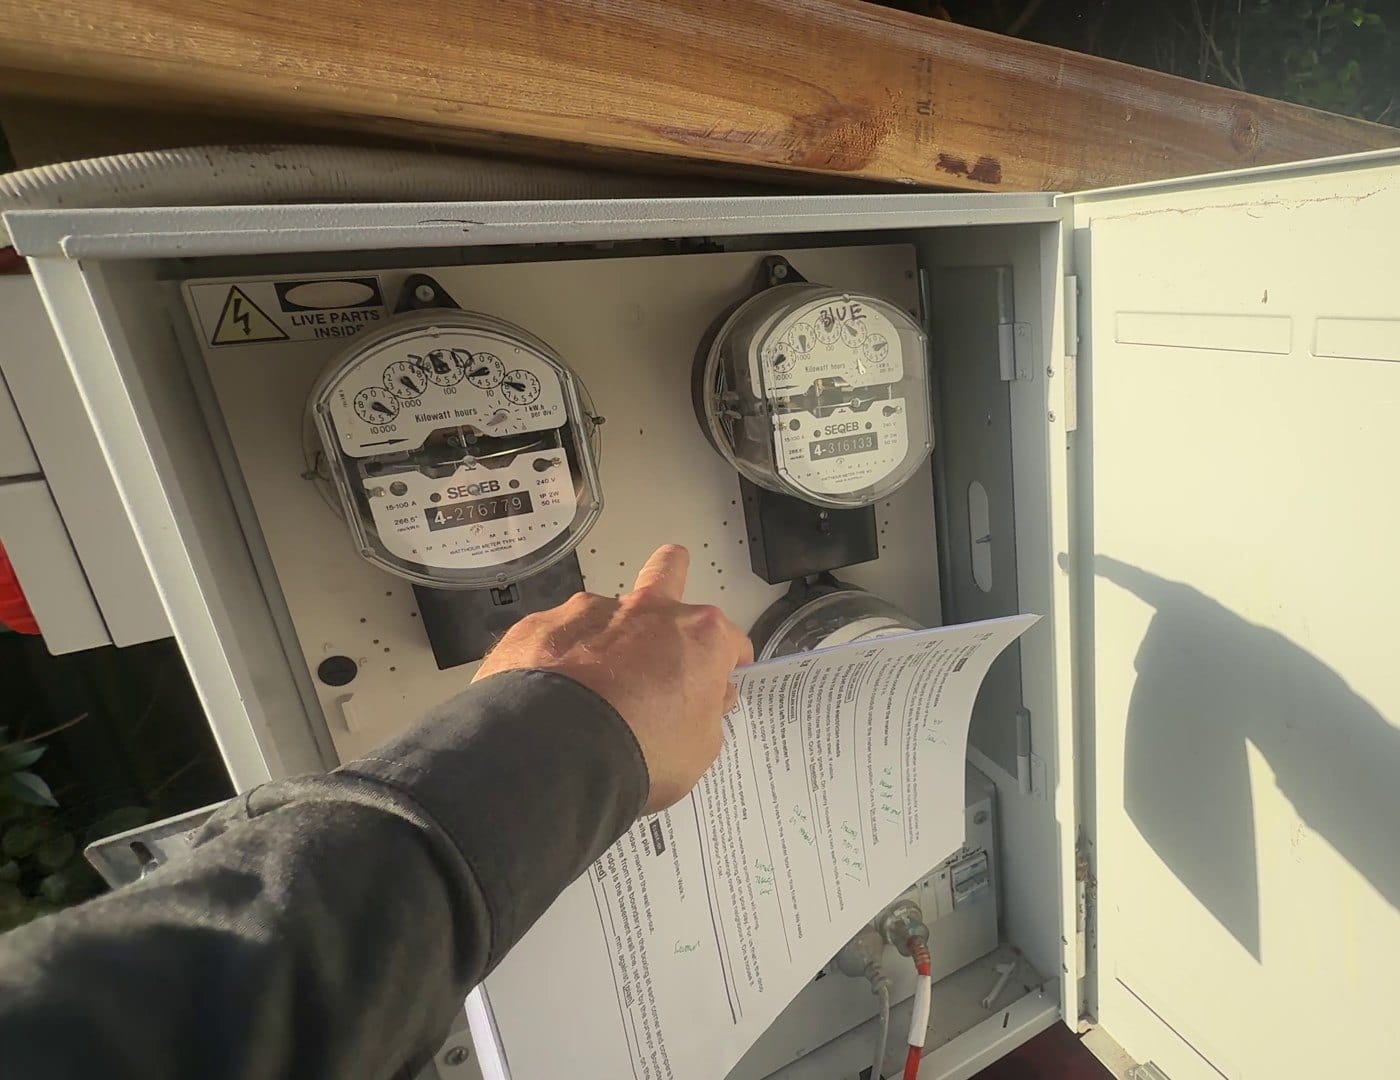
- The NBN or telecom conduit is under the meter box. It comes up there with a draw wire, for the lead-in from the street. It's normally laid when the under-slab plumbing is done, by a certified contractor.
- The earth rod. That's the point the electrician clamps the earth wire to. It has to be tied into the slab steel, so the steel is earthed and any leakage goes to ground. Look for a short starter bar sticking up near the meter box, connected into the steel. Technically, it's tested for earth.
- A copy of the plans in the meter box for the carpenter. When I was doing these on house jobs, I'd also make sure the frame hardware (nail plates, straps, bolts, adhesives) was on site or booked, and ideally delivered to the carpenter so it doesn't walk.
- Areas to protect or fence off on pour day. You won't see much of that on houses. We did a letter drop to the whole street, because there'll be a lot of trucks: one pump, fed by two trucks at a time. Yours will be one pump, one truck. Fewer problems.
Next
That's the outside done, and about 25 minutes of video. In Post 53 I walk up to the slab itself: setbacks, boxing, steel, pipes and all the bits in between.