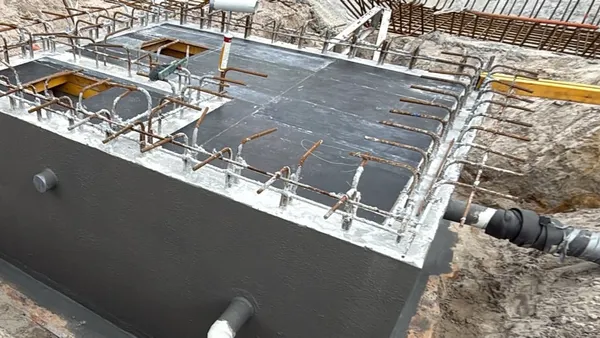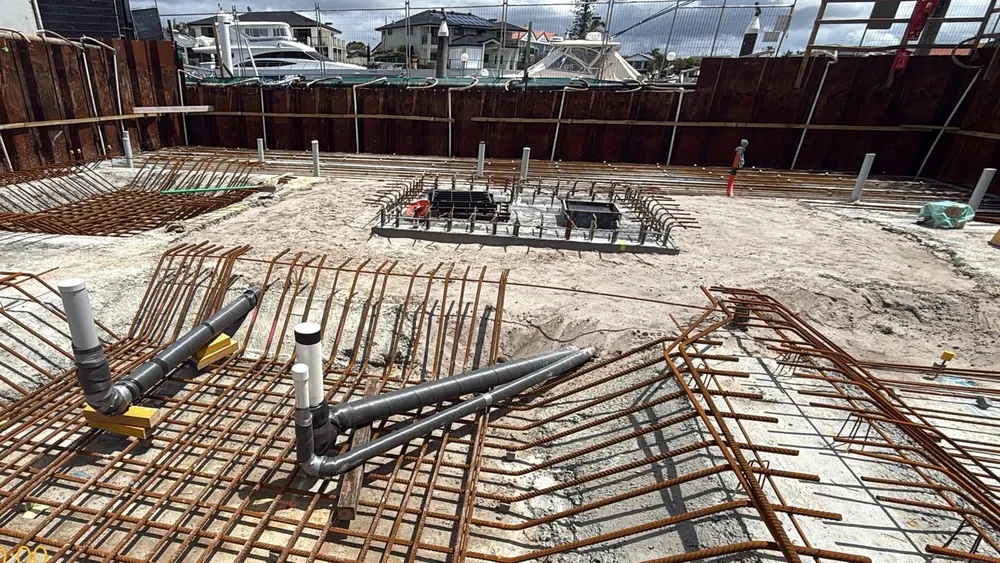
This stage was all about clearing the way. The last of the fill had to come out so we could finish the blinding slab at the front of the site. The sewer and stormwater tanks needed backfilling. And the unfinished blinding was holding up the steel fixers, who need it down before they can lay the bottom layers of slab steel.
This one's a short video, and there's no mic this morning, so bear with the sound.
Getting the last of the fill out
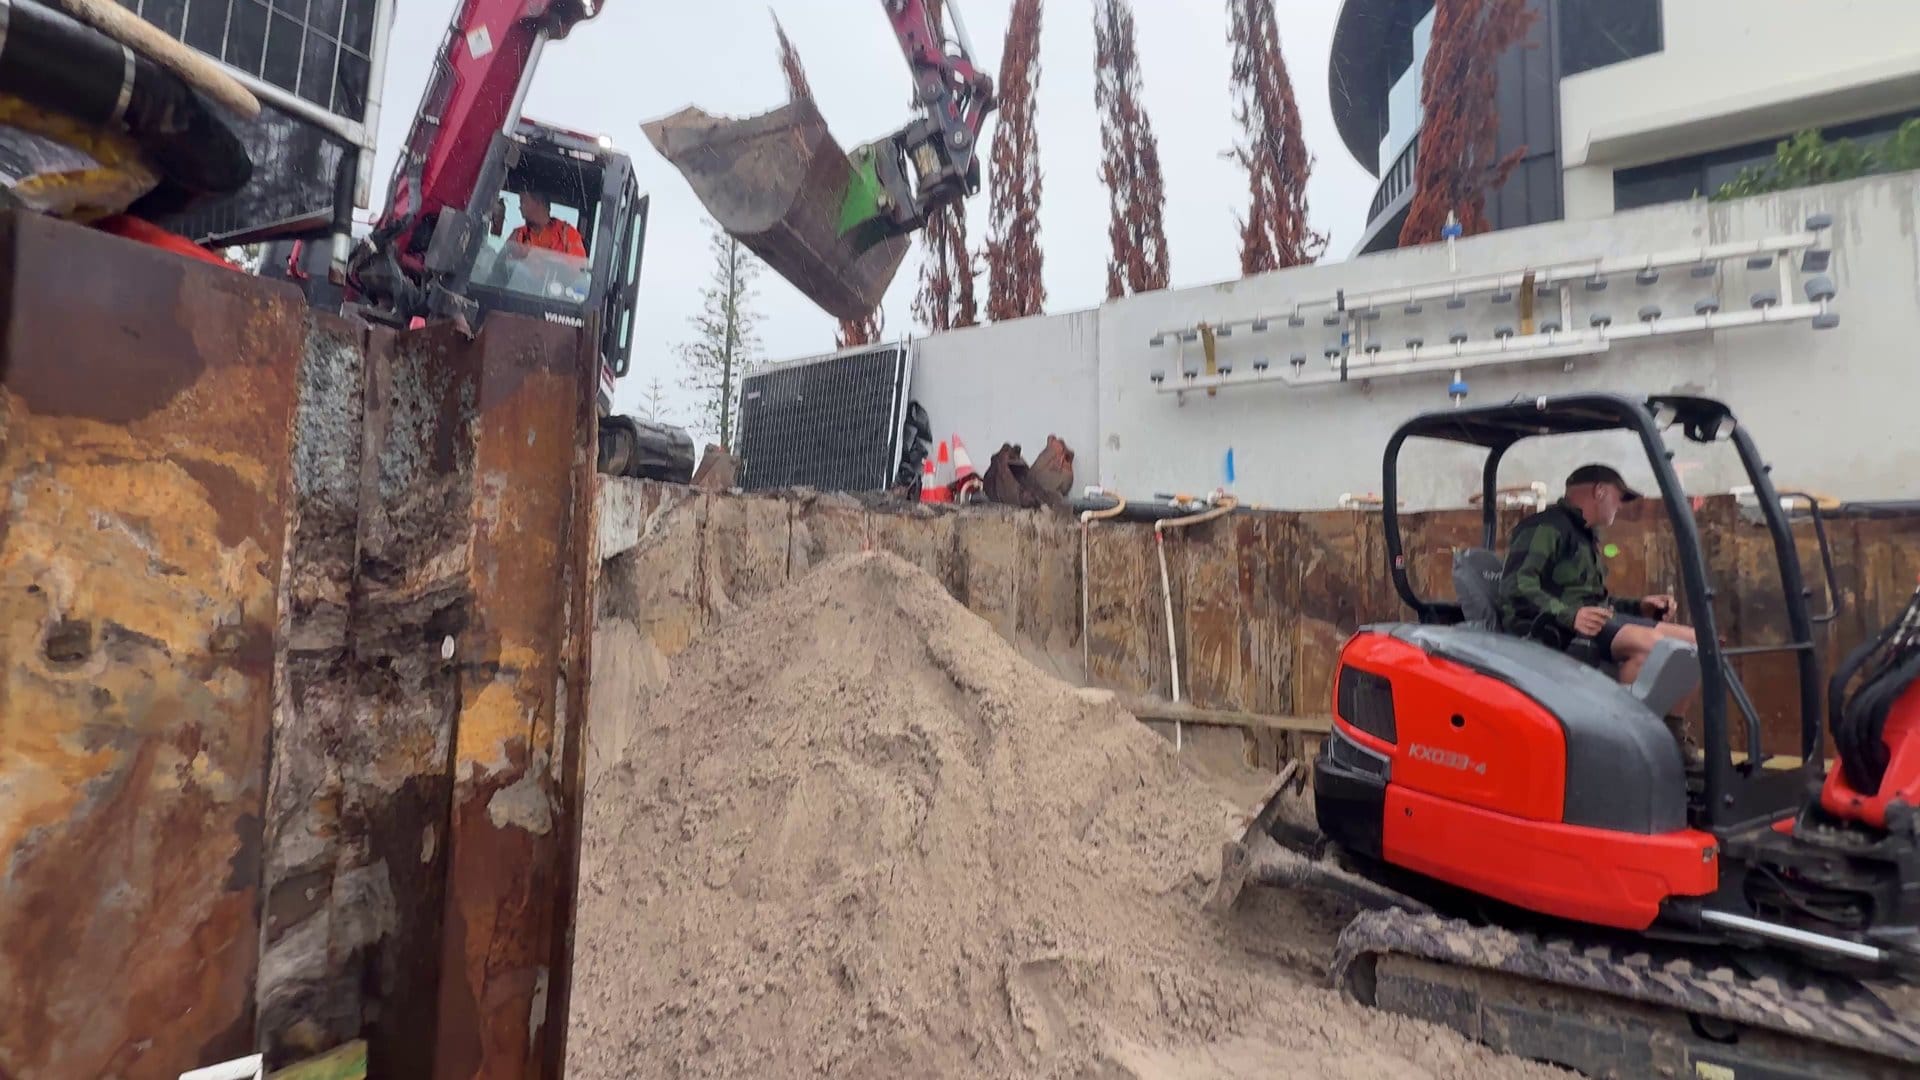
There are two machines on this. A little 8-tonne excavator sits up at street level, and a little 3-tonne works down in the basement, like the one that flew in by crane in Post 50. The little one pulls the sand back, and two trucks on rotation take it away from the top. When I filmed this we were between trucks.
For now we're just pulling the bulk out. As we go, the crew cleans the sheet piles down and brings everything down to level.
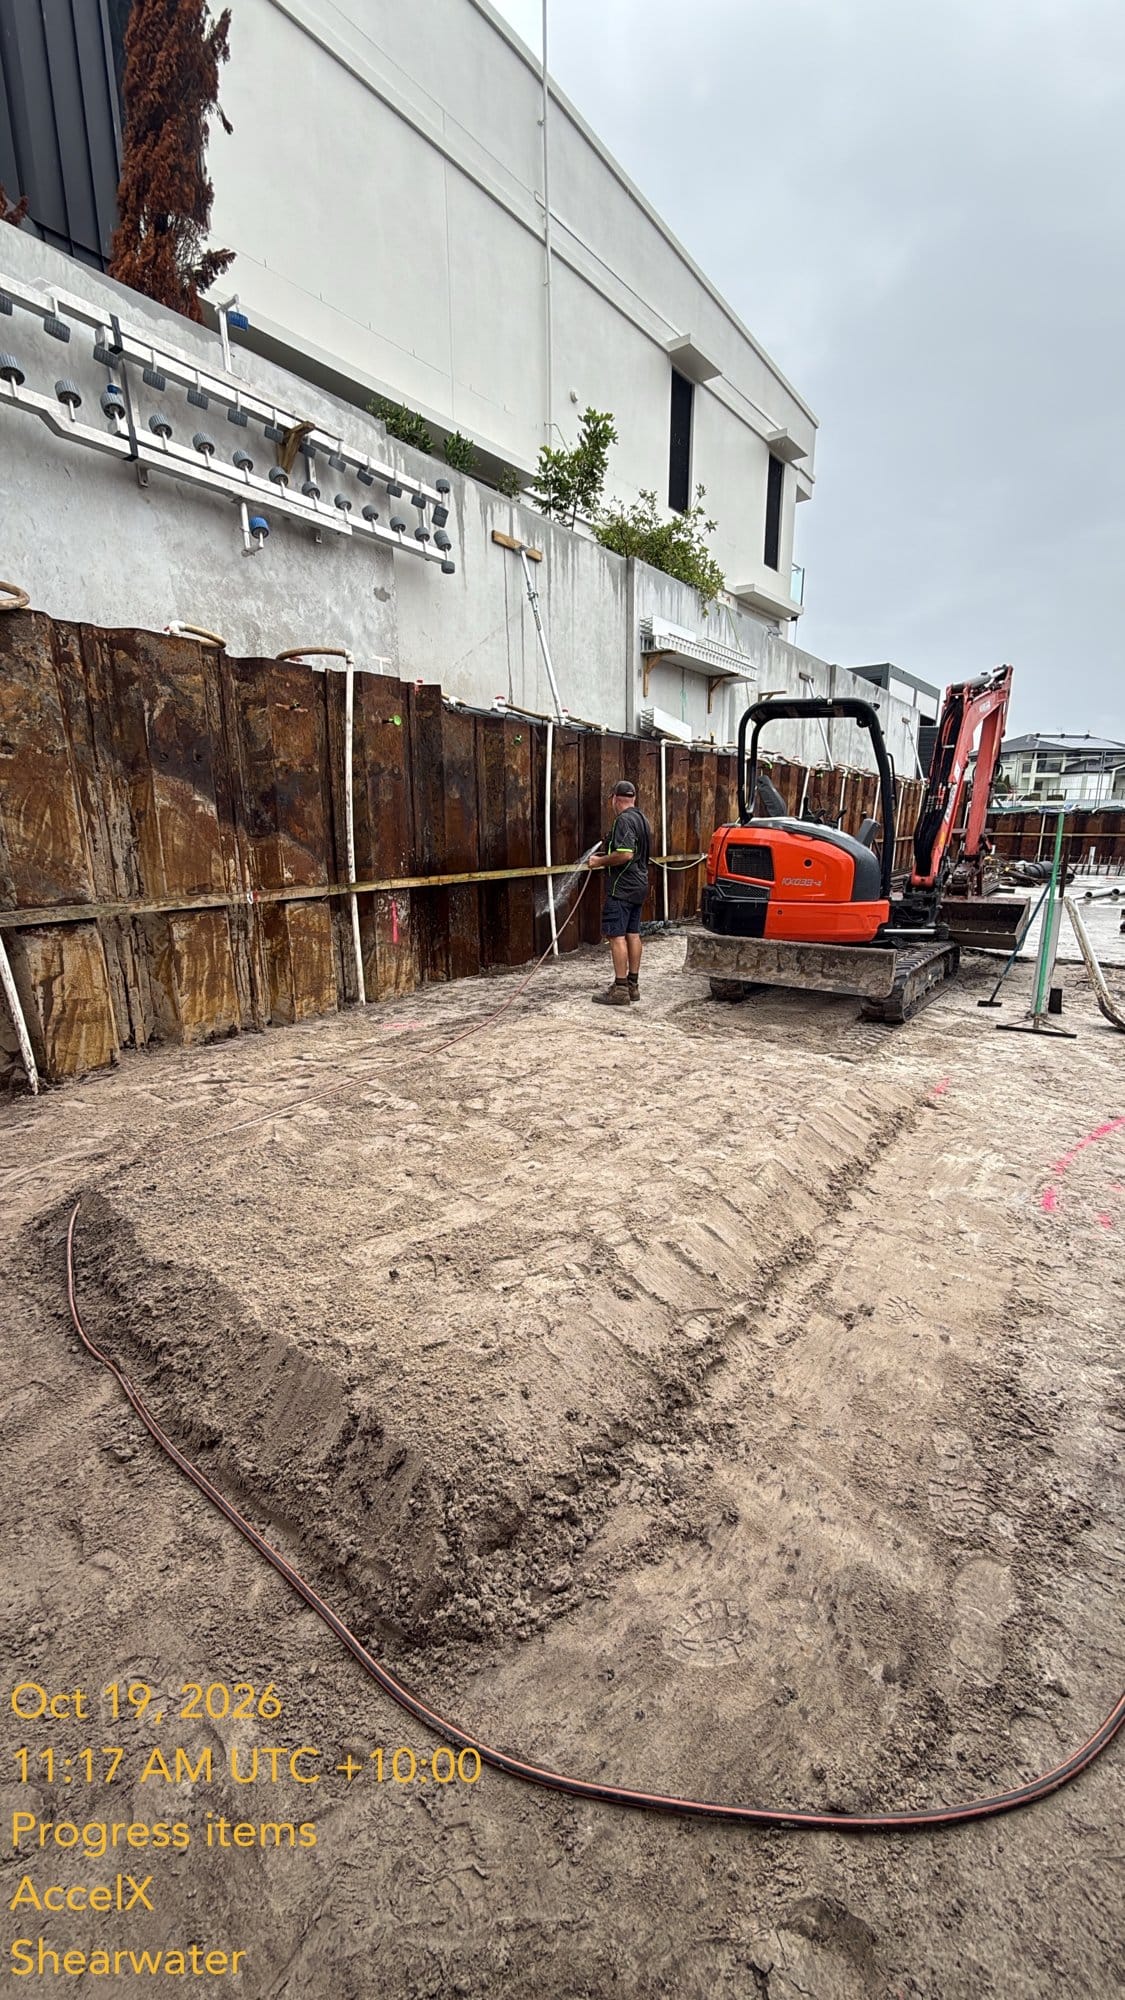
Digging to the right level
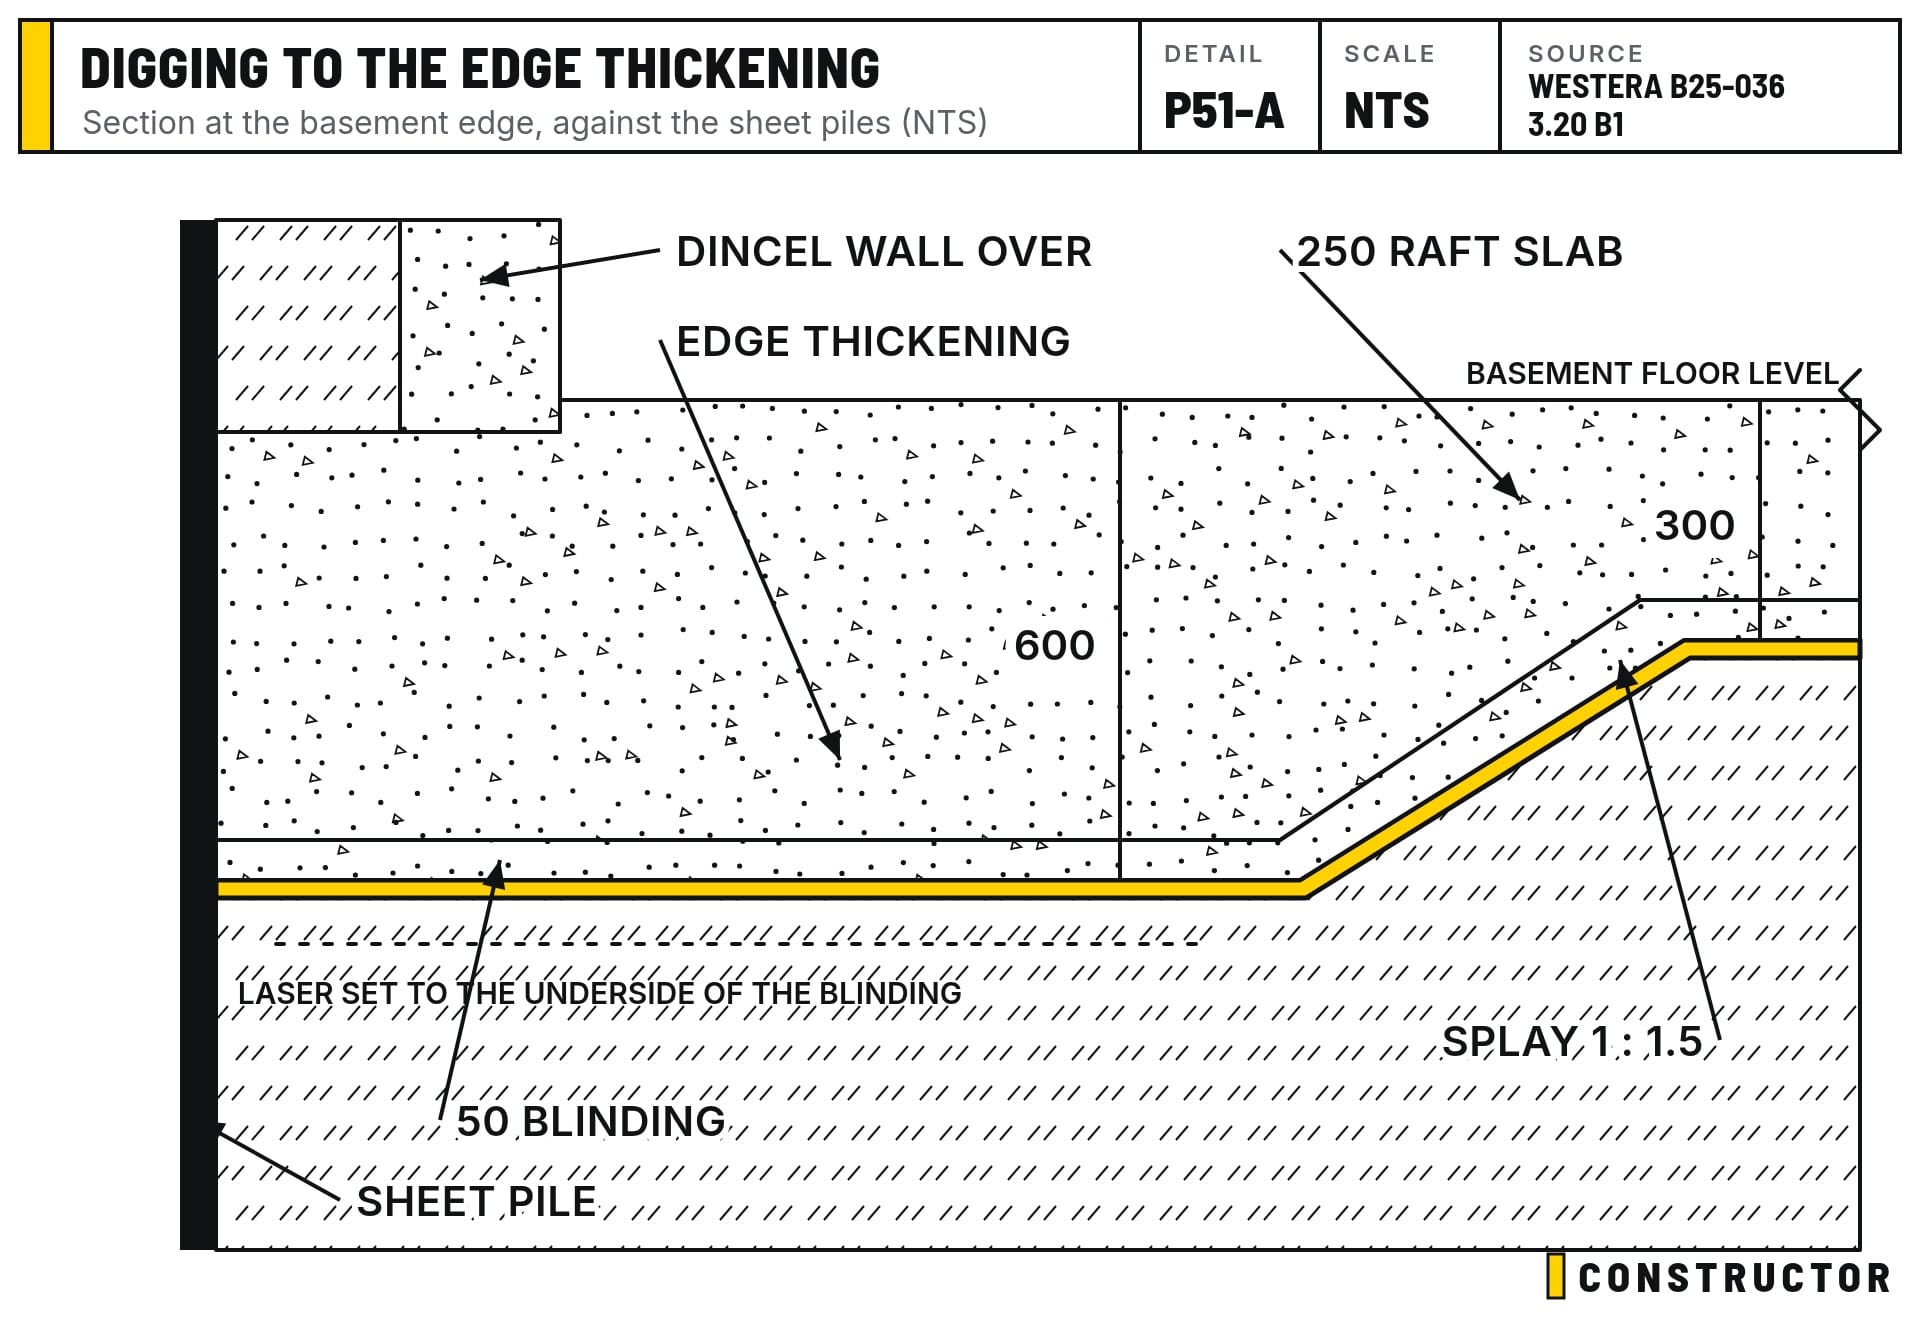
Everything comes down to the RL, the reduced level on the drawings. We've got a laser set up, and it's set to the underside of the blinding slab. So the sand comes out to exactly where the bottom of the blinding will be, and no lower.
Backfilling around the tanks
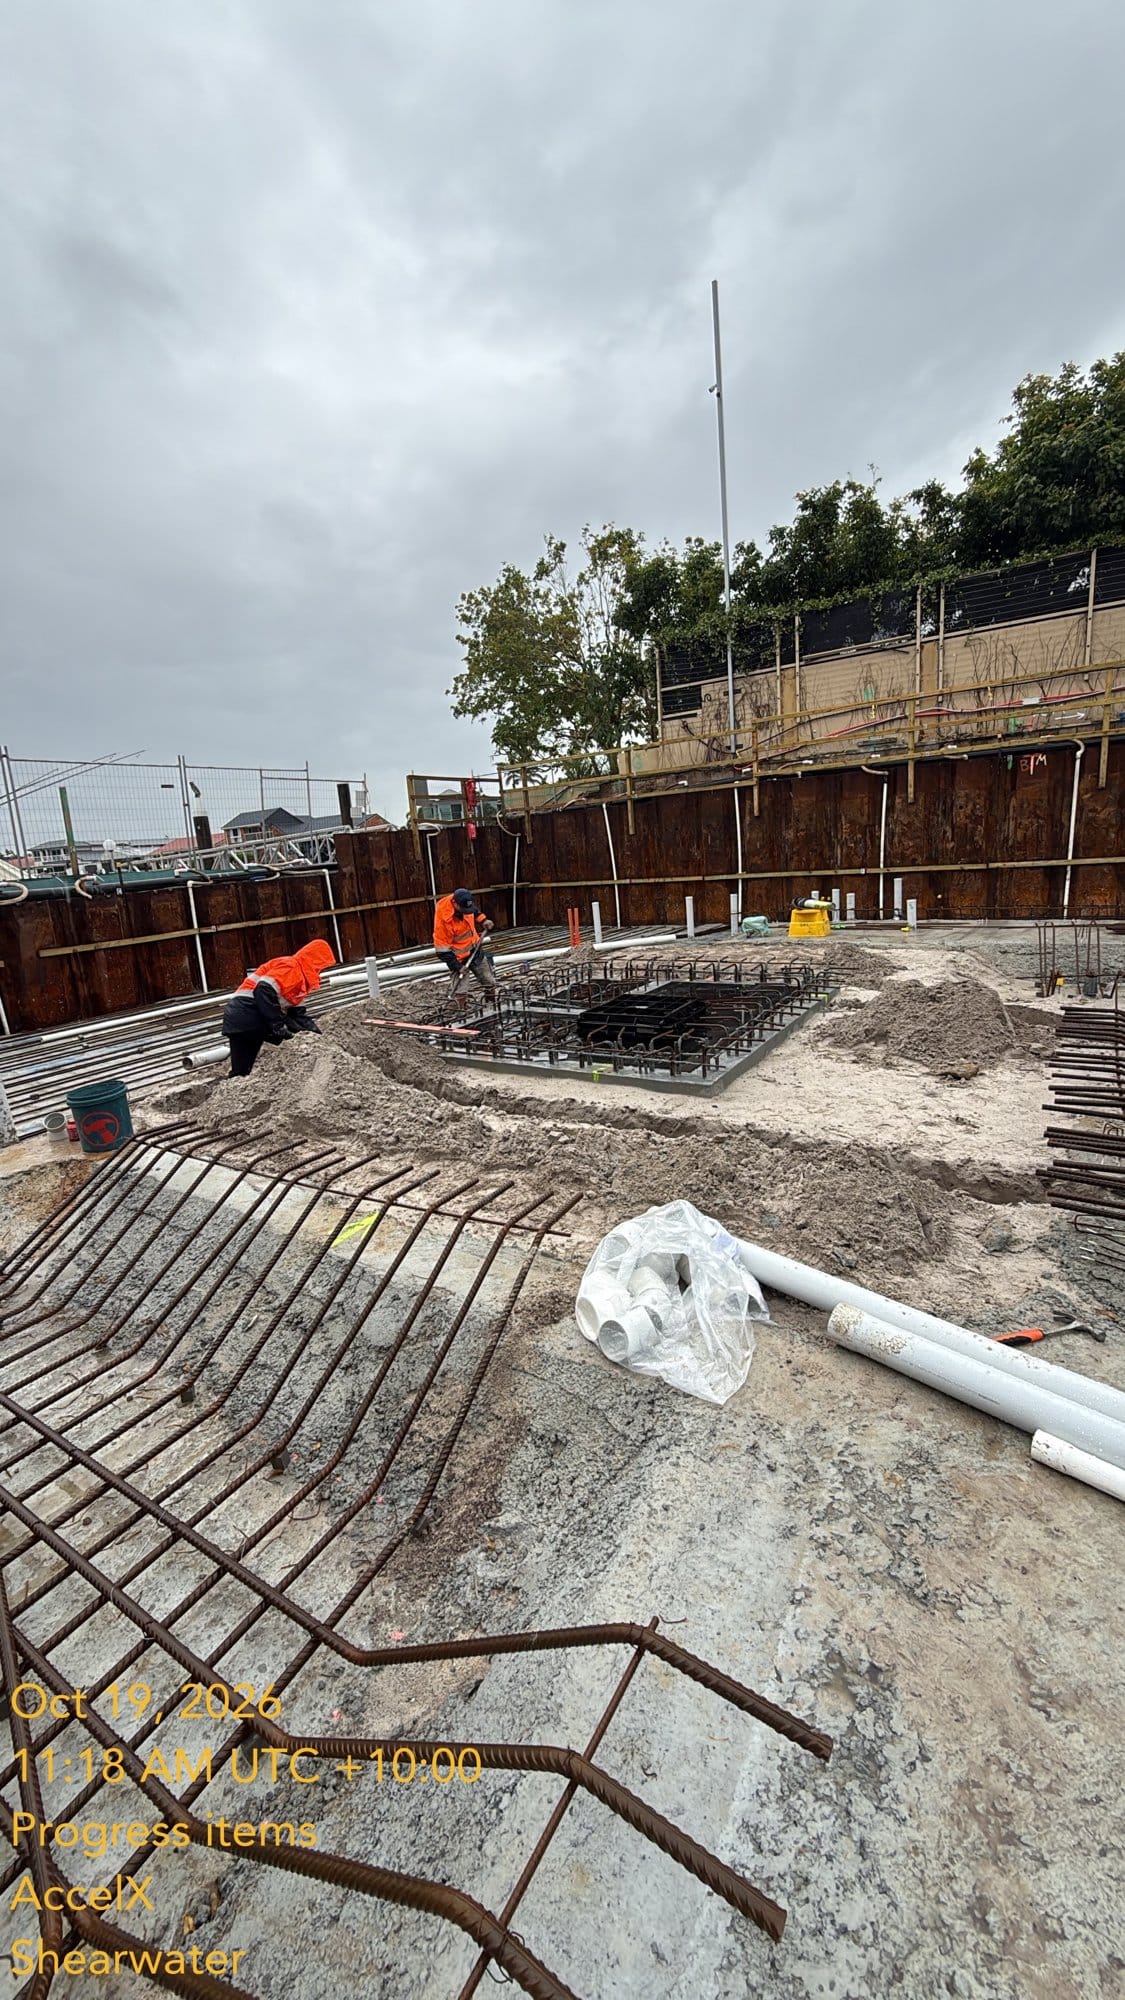
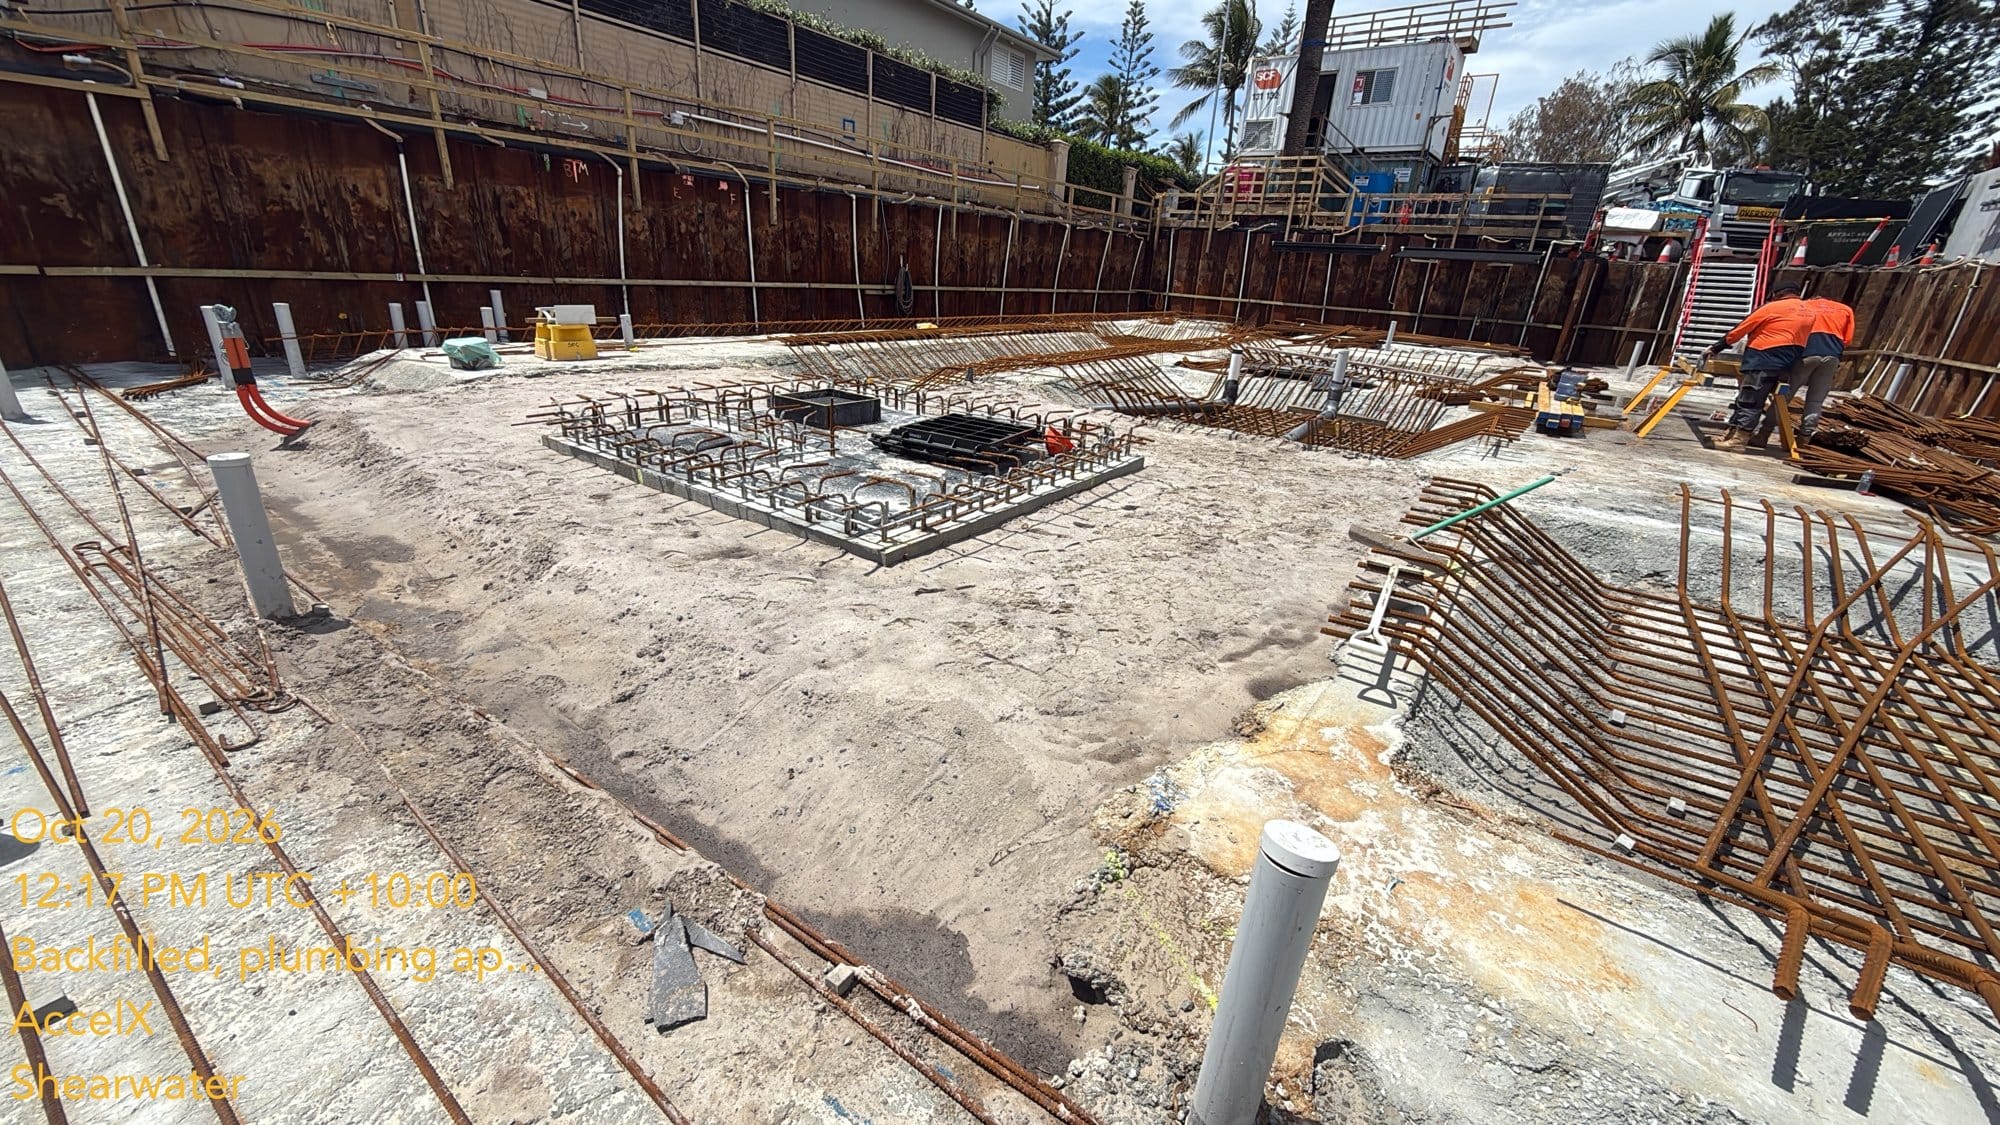
Some of that sand didn't go far. In Post 50 the crane and kibble put the bulk of the sand in behind the tanks, in 250 mm lifts, watered in. Here the crew finishes it off by hand with shovels and rakes, bringing the sand around the tanks up to level.
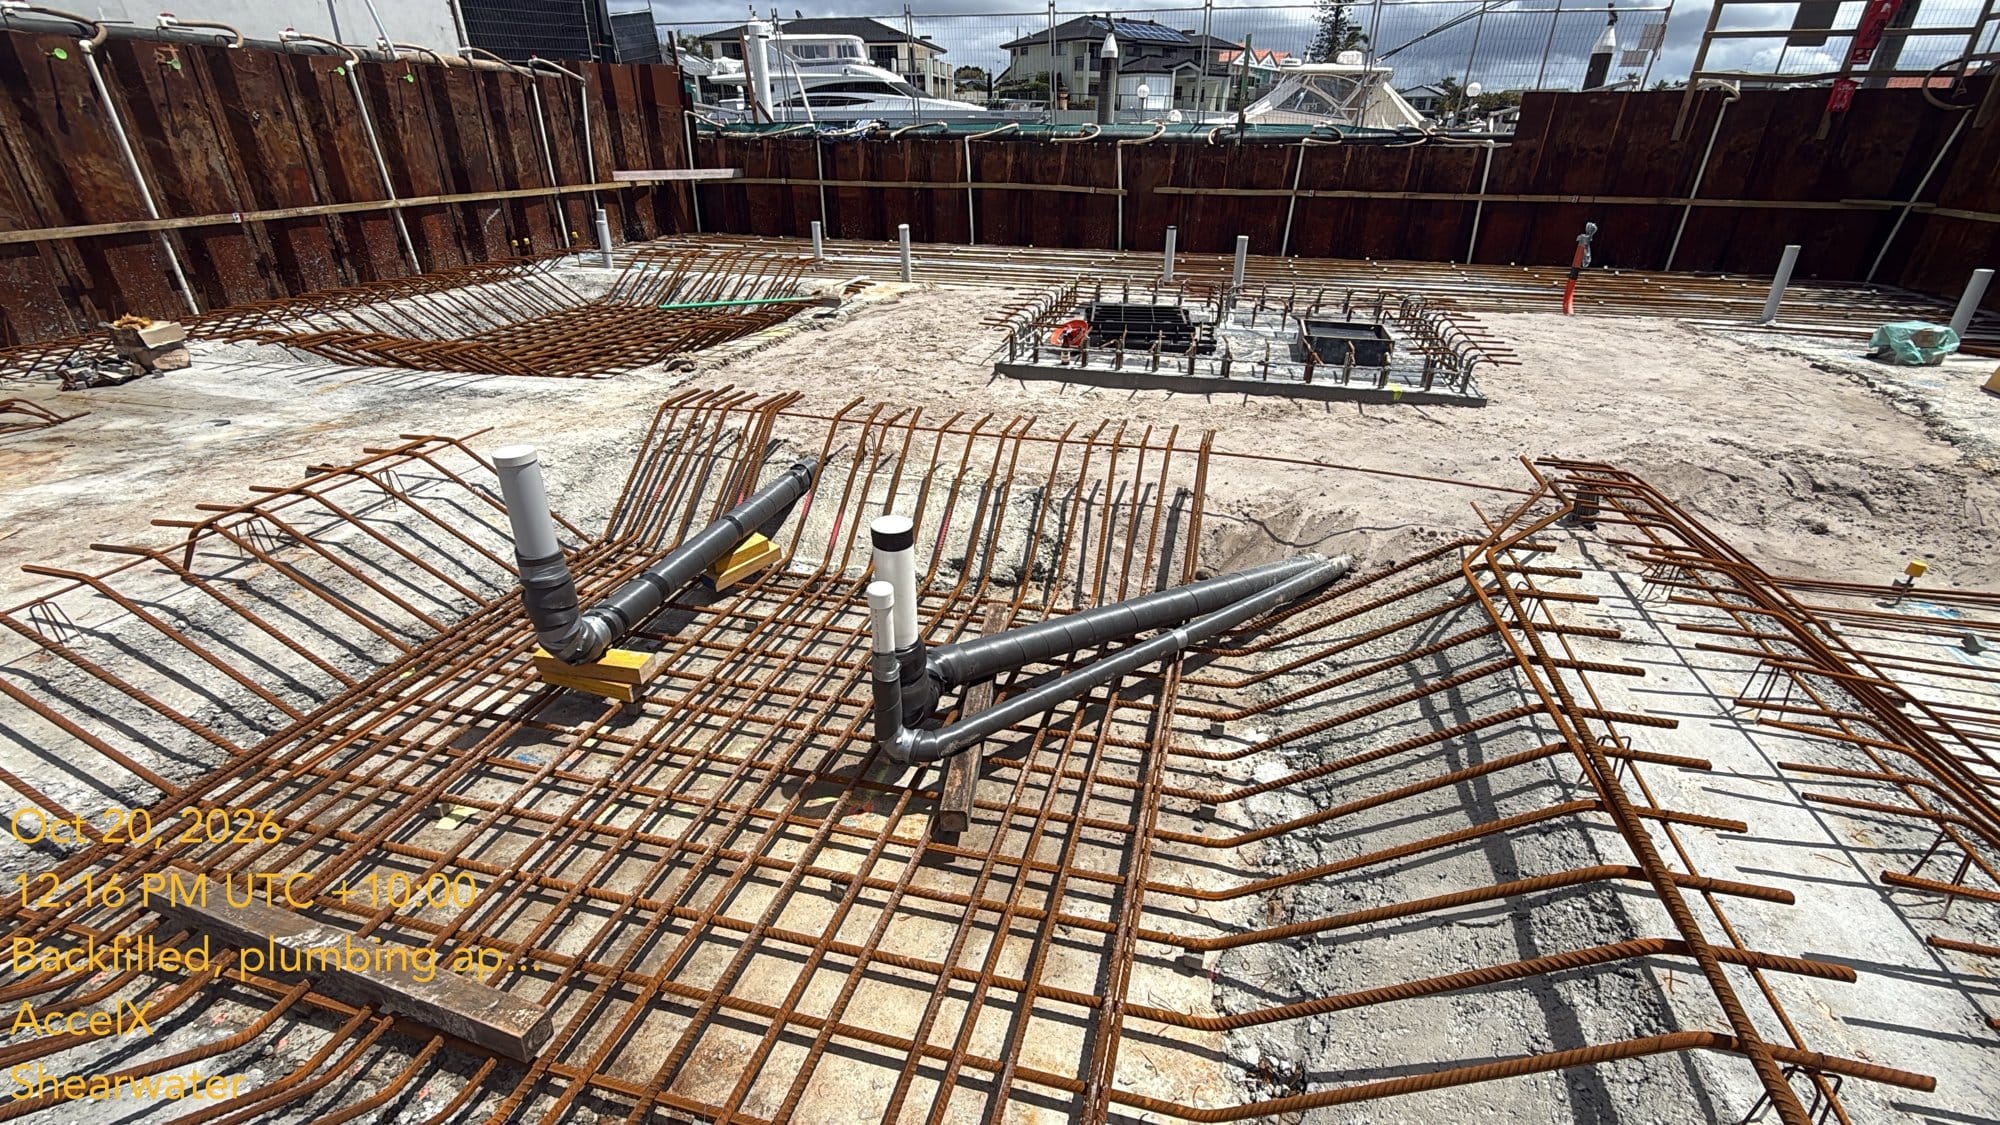
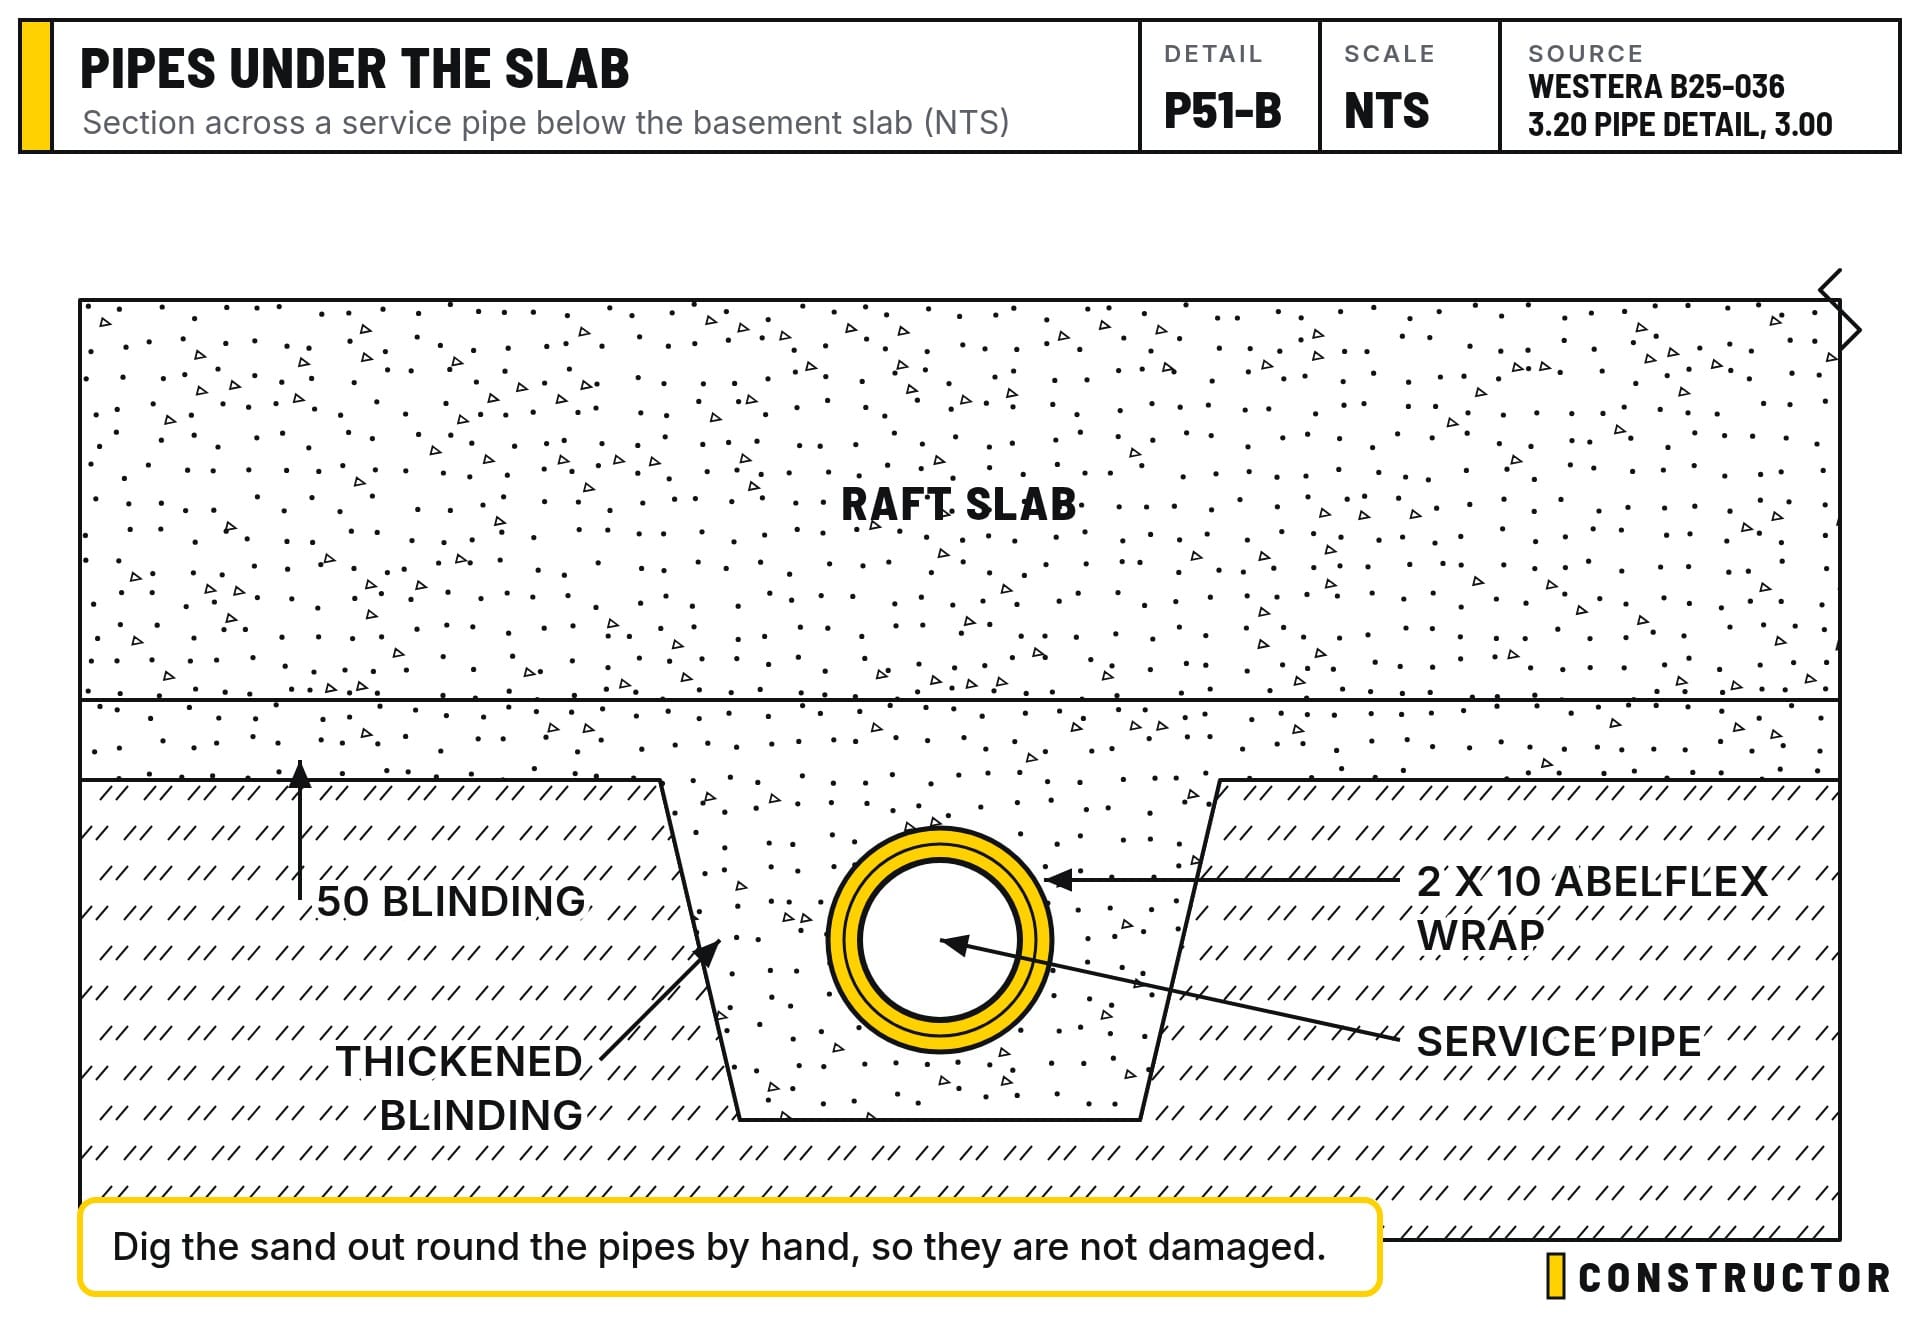
The pipes coming out of the tanks are wrapped in two layers of 10 mm Abelflex, so the ground can settle without crushing them. The under-slab plumbing has been inspected and approved, so with the backfill in, the area around the tanks is ready for its blinding.
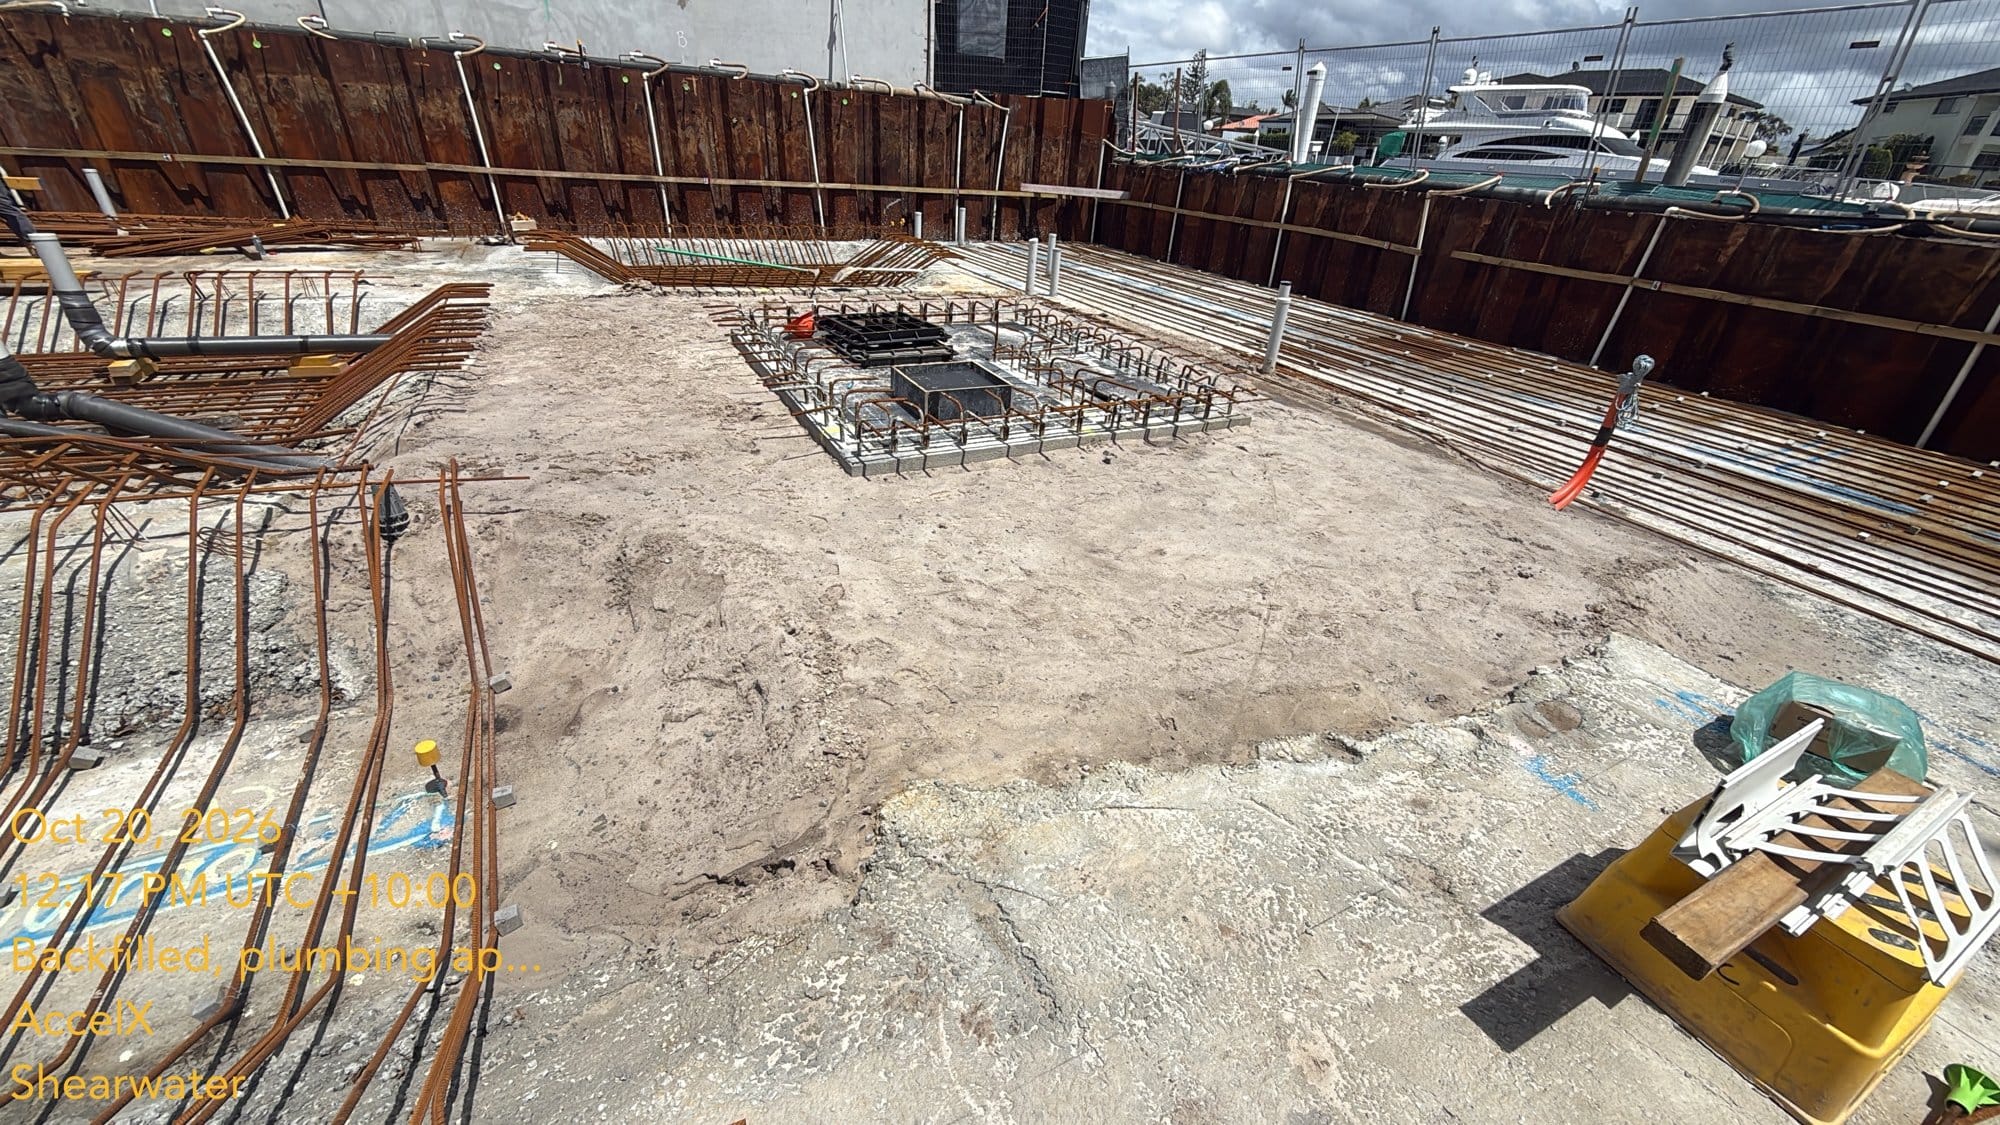
Finishing the blinding at the front
The blinding is the thin layer of concrete that everyone works off (Post 45 covers the first of it going down). Most of the basement already had it. The front of the site didn't, because that's where the last of the fill was sitting.
Westera's drawings call for at least 50 mm of 15 MPa concrete blinding. It only goes down once the geotechnical engineer has confirmed in writing that the ground under the raft can carry its load (an allowable bearing capacity of 200 kPa on this job).
There's no membrane under the slab on this job. The basement concrete has Xypex C-5000 in it, a crystalline waterproofing admixture (Post 49 explains it). On top of that, the walls get a Sika membrane, applied over Sikadur epoxy at the floor-wall joints. What goes against the membrane depends on the wall:
- The sewer and stormwater tanks are backfilled with clean sand, straight against the membrane (that's what went in around them in Post 50).
- The basement's outside walls get geofabric over the membrane, then a backfill of pea gravel, 5 mm or less, wrapped in a 300 gsm geofabric. Geofabric comes in different weights for different jobs, and 300 gsm suits this one.
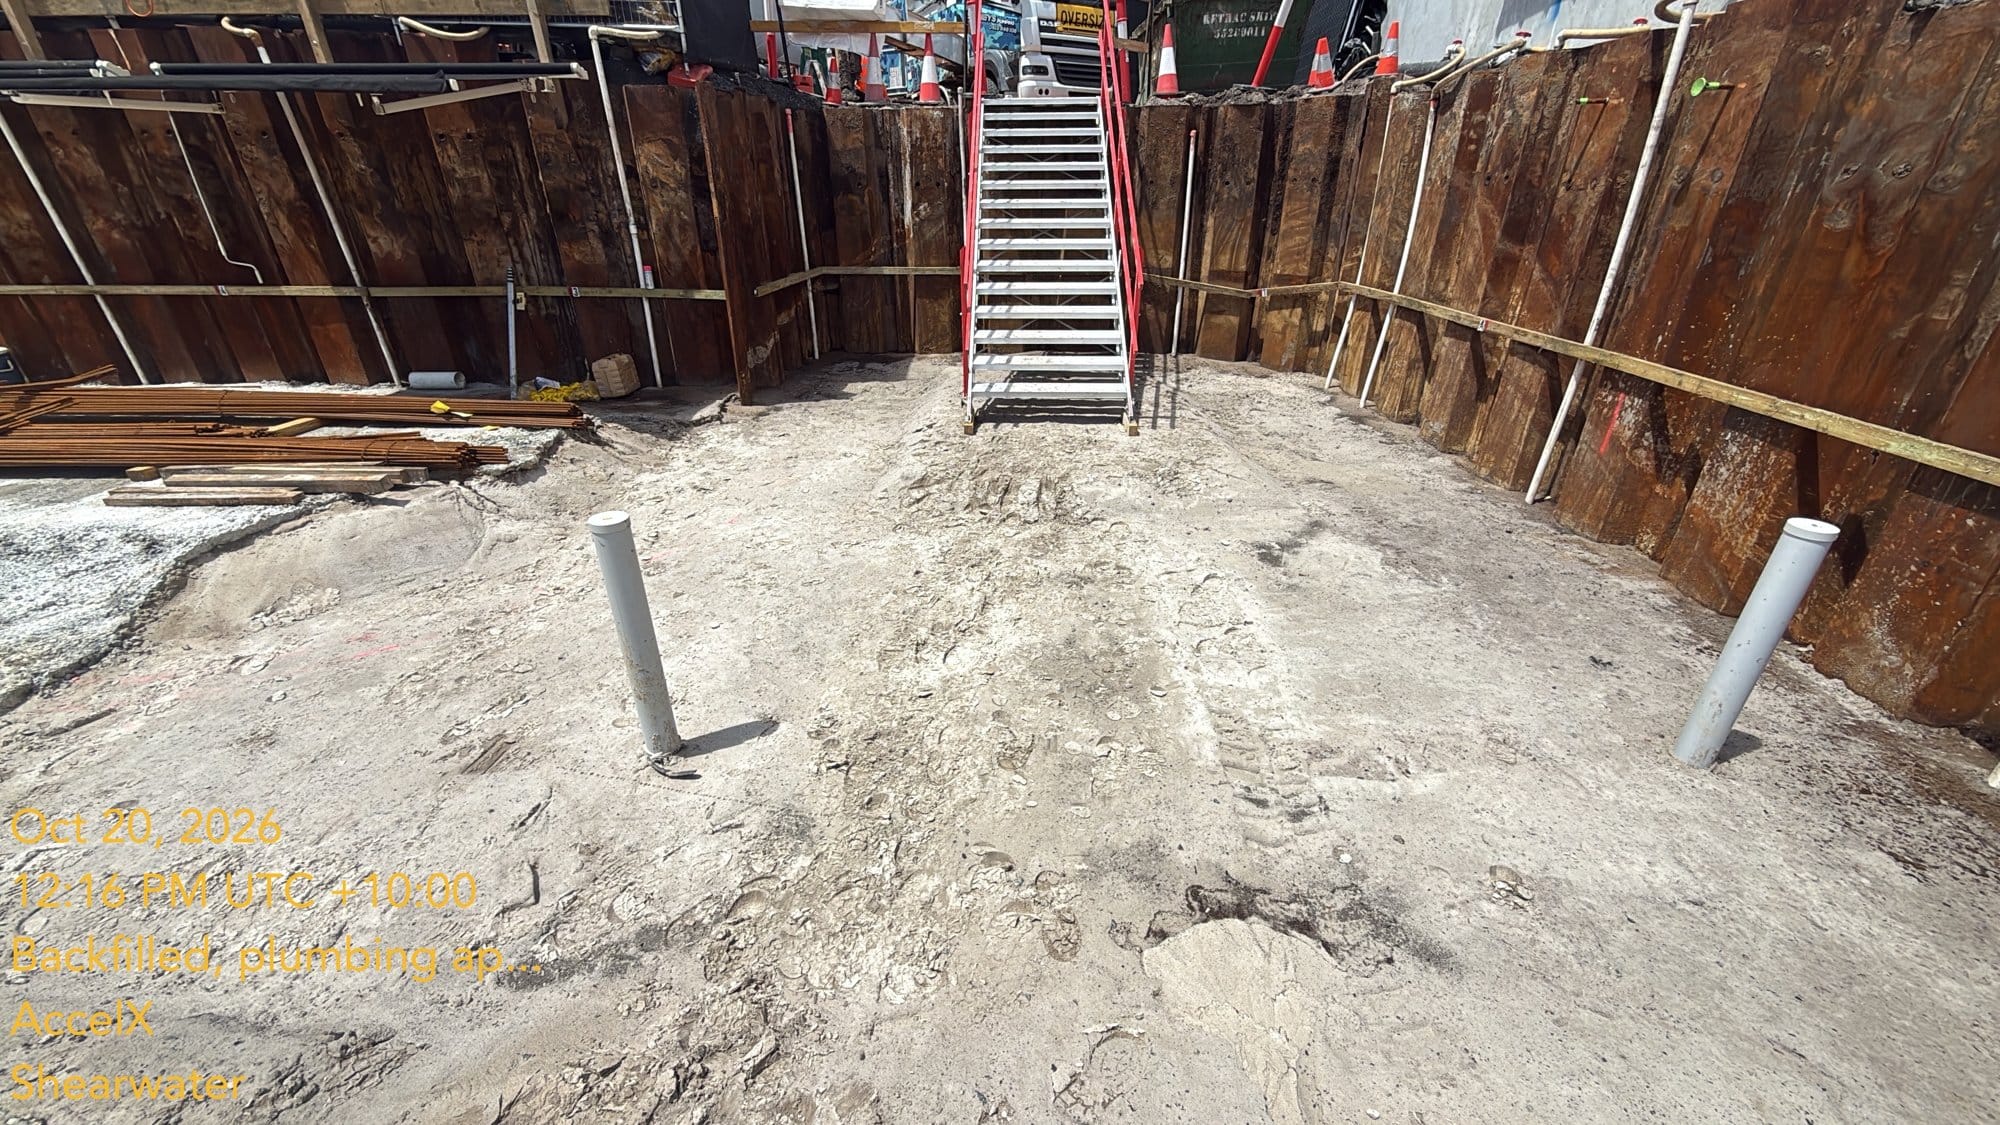
The thickenings
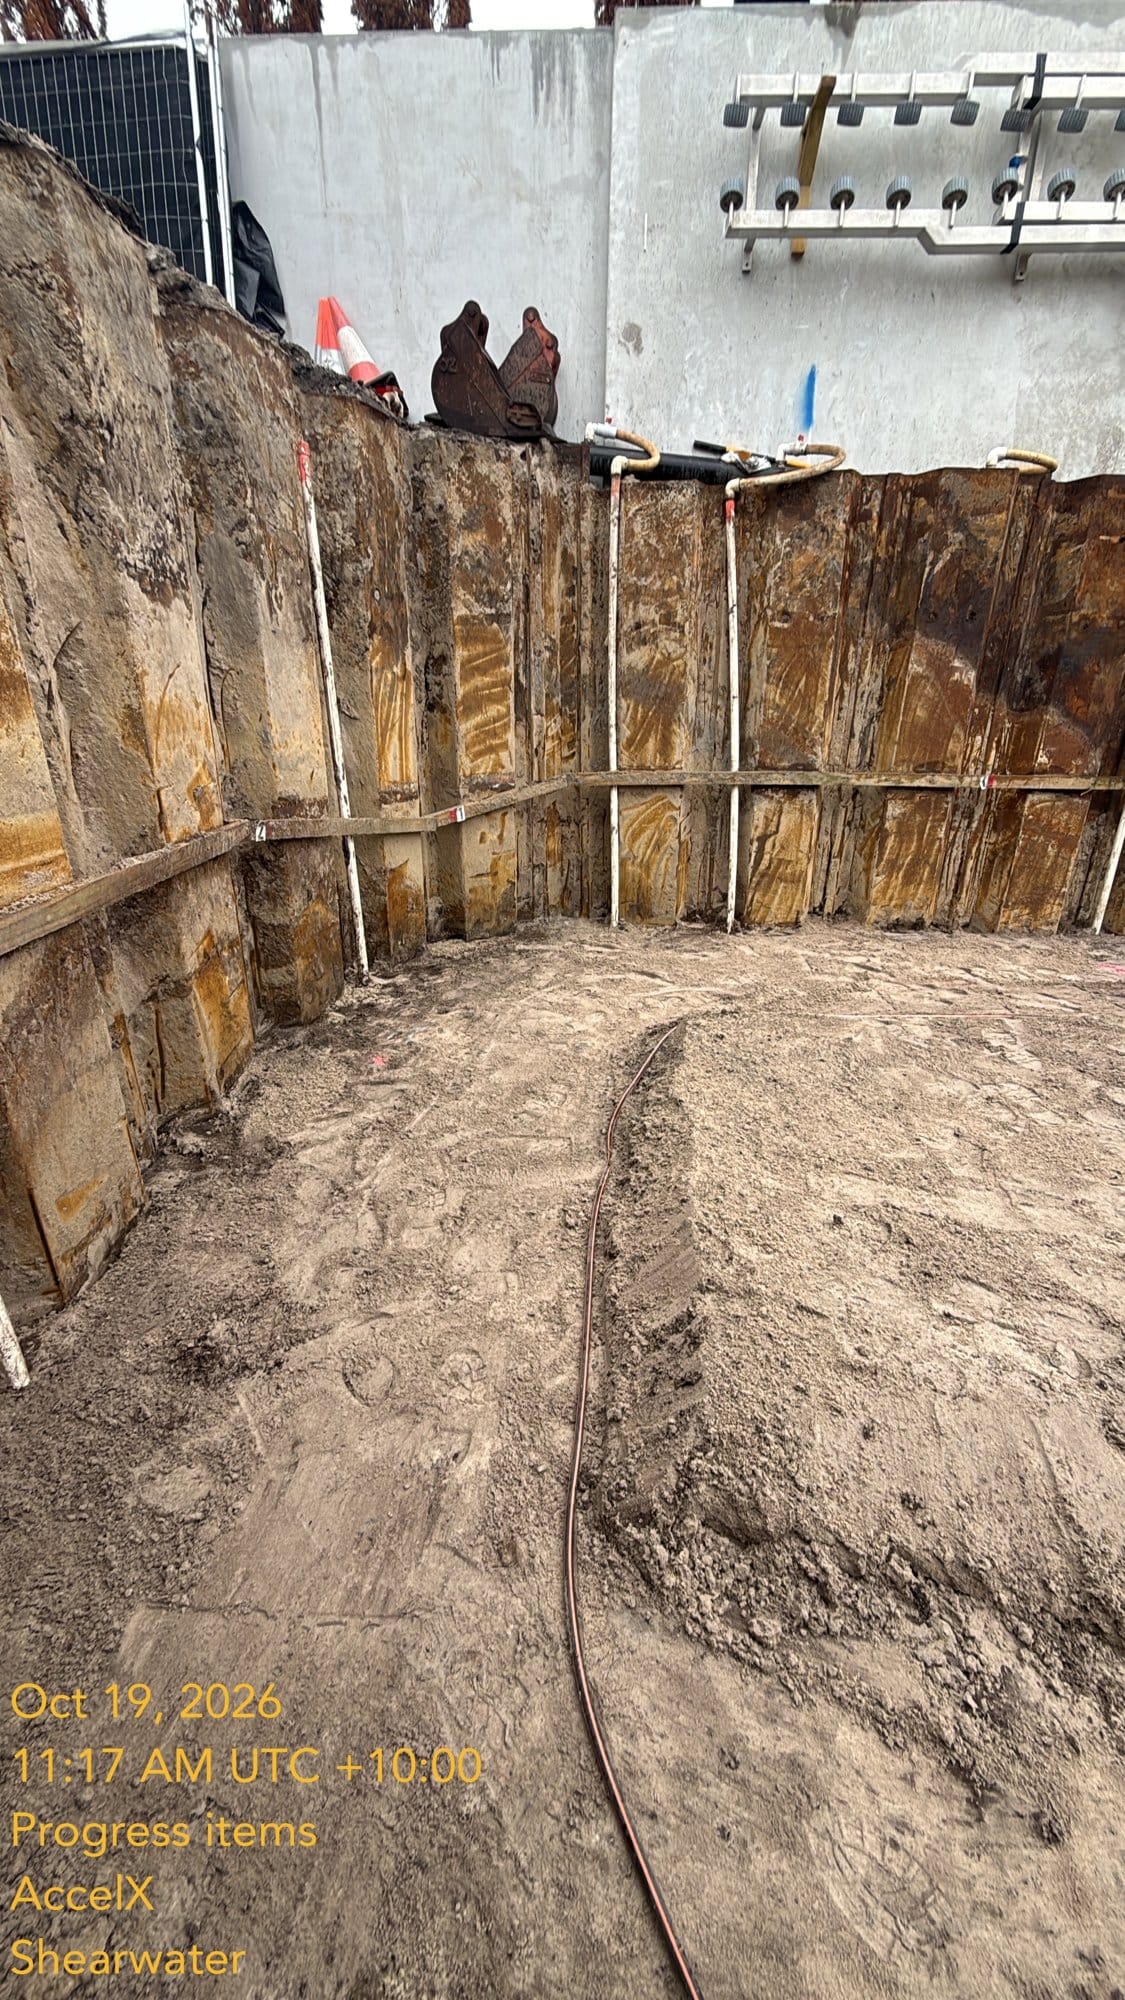
The video starts on the underside of the slab's edge thickening. That's the deeper, wider band of concrete that runs right around the outside of the basement slab and carries the walls (Post 42 explains the thickenings). One run goes along here and joins up with the one on the other side. The other runs along, then turns the corner. There's also a pad in the middle, which we'll form up later.
At the edge, against the sheet piles, the dig goes down 600 mm below the finished basement floor to the underside of the blinding. Across the open slab it's only about 300 mm: a 250 mm slab and the 50 mm blinding. The two levels are joined by a splay, a sloped side at 1 in 1.5. Shaping these by hand in sand is slow work (Post 44 shows how fussy it is).
Hand digging around the pipes
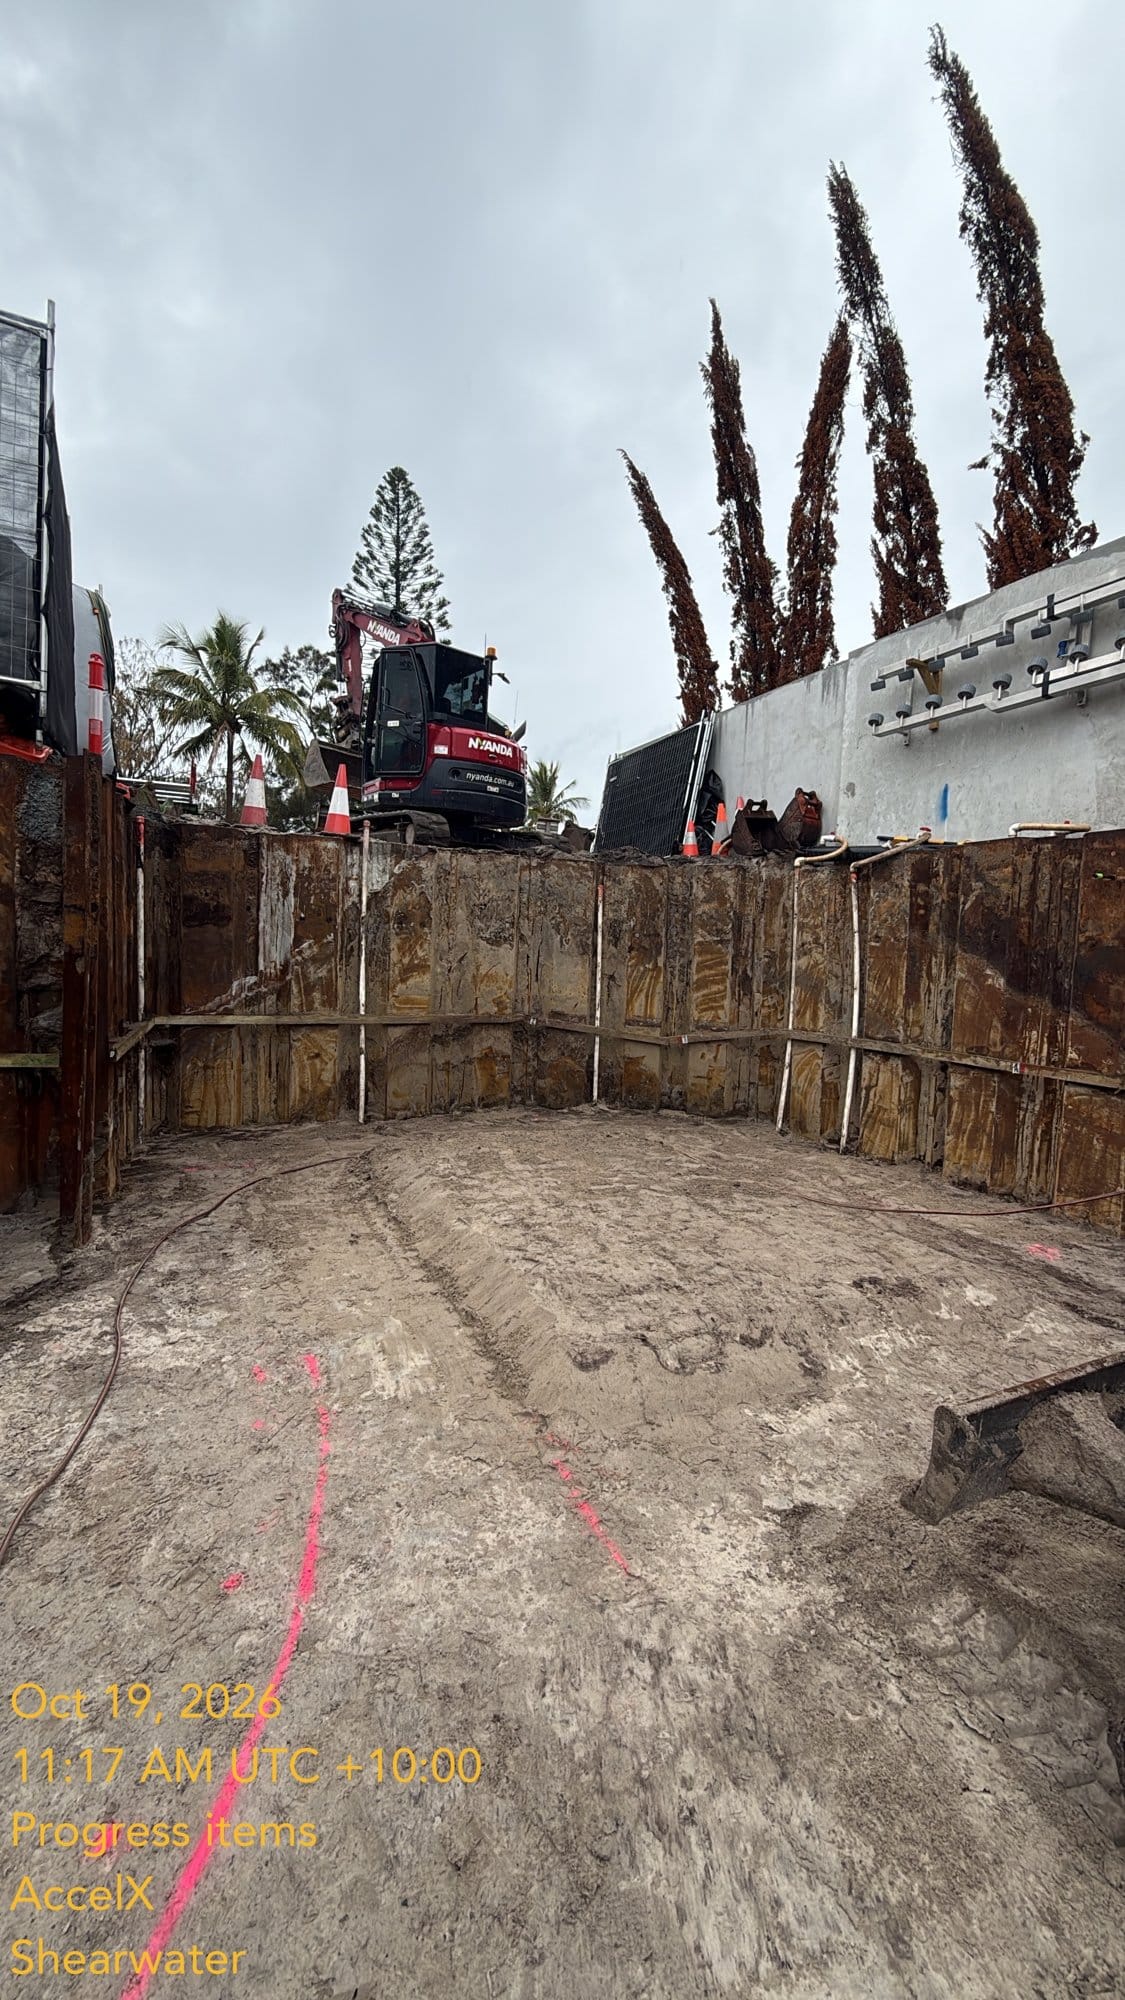
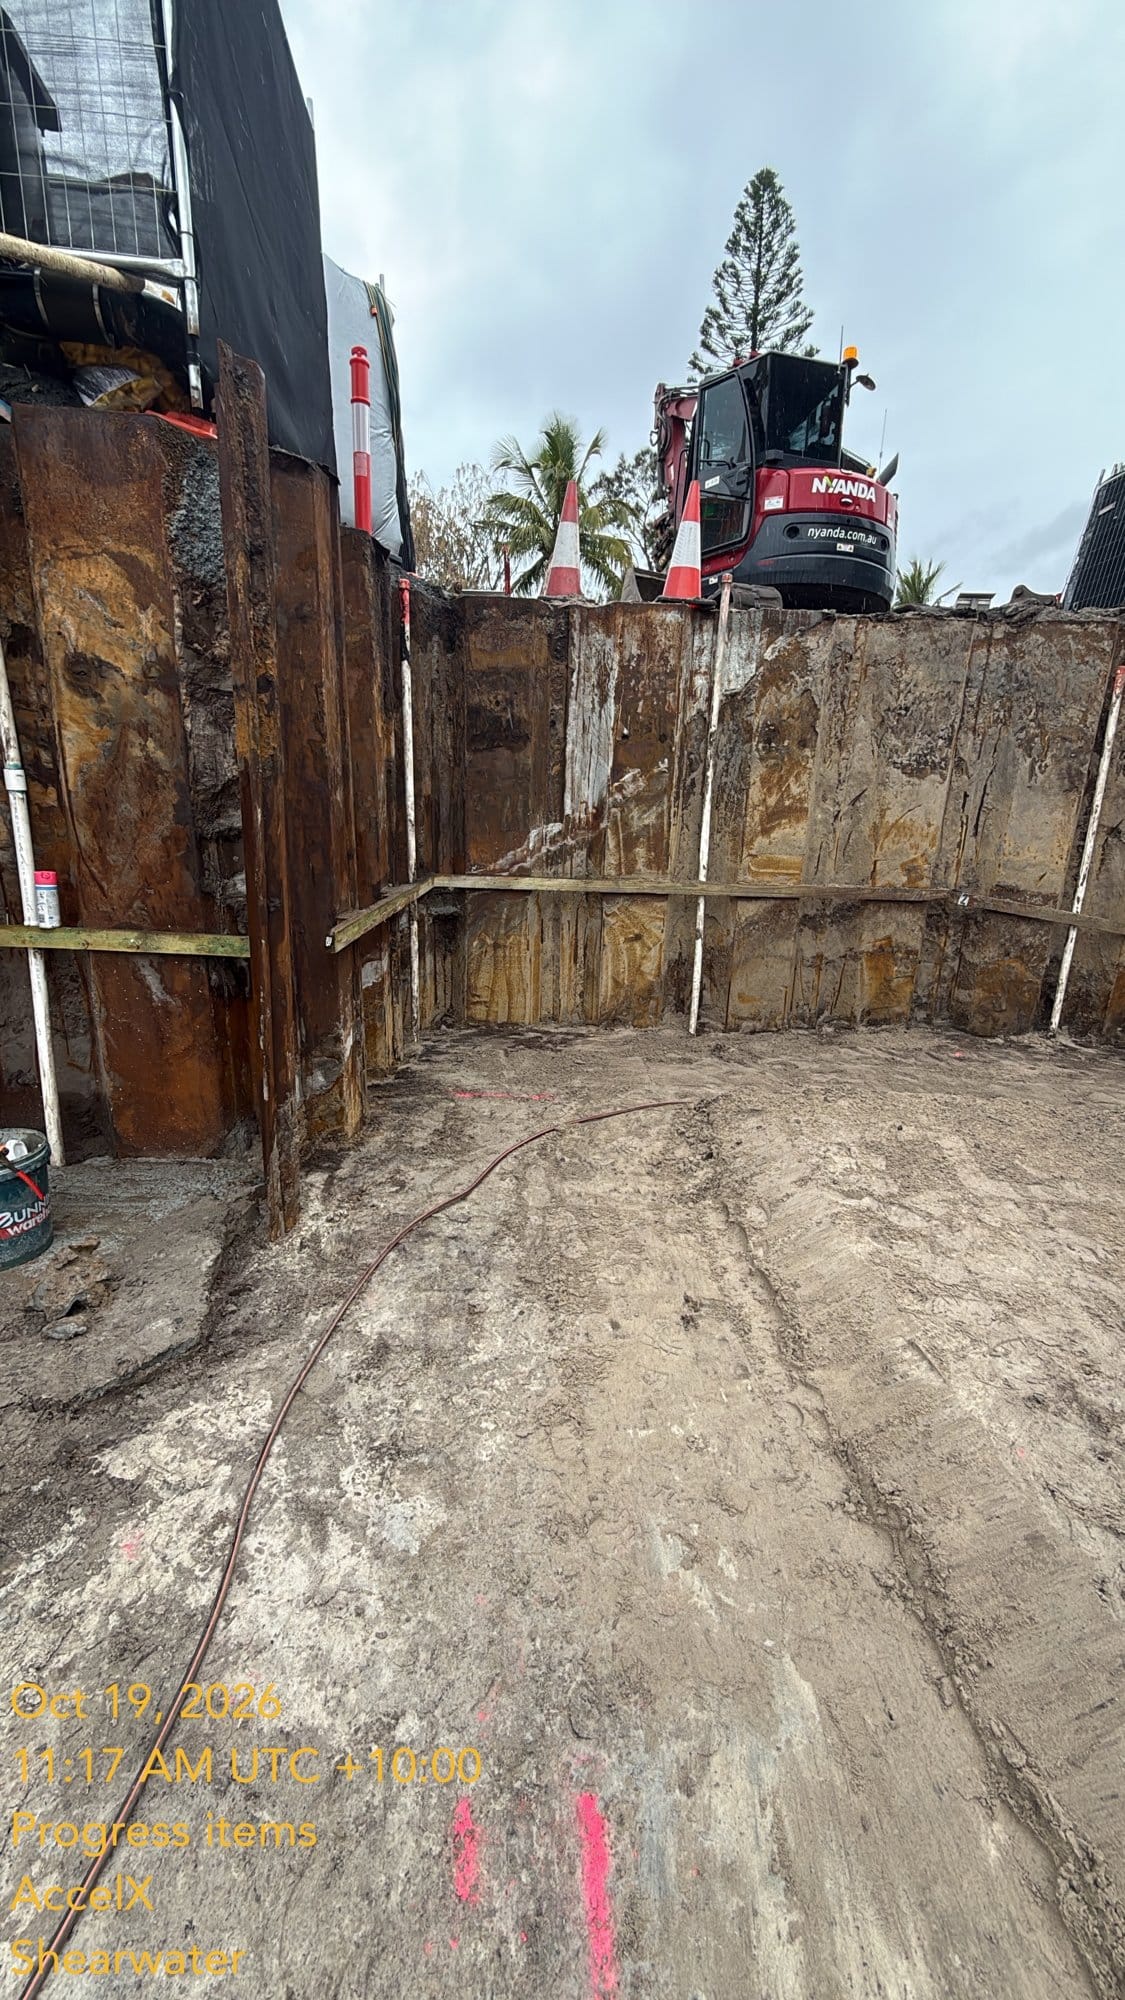
Around the pipes, all the sand comes out by hand. We go slowly here so we don't damage any of them.
All the services sit below the raft slab. The engineer's detail has the blinding thickened locally around each service pipe, so the pipe is encased in concrete under the slab, with its Abelflex wrap giving it room to move.
Why the blinding was holding up the steel
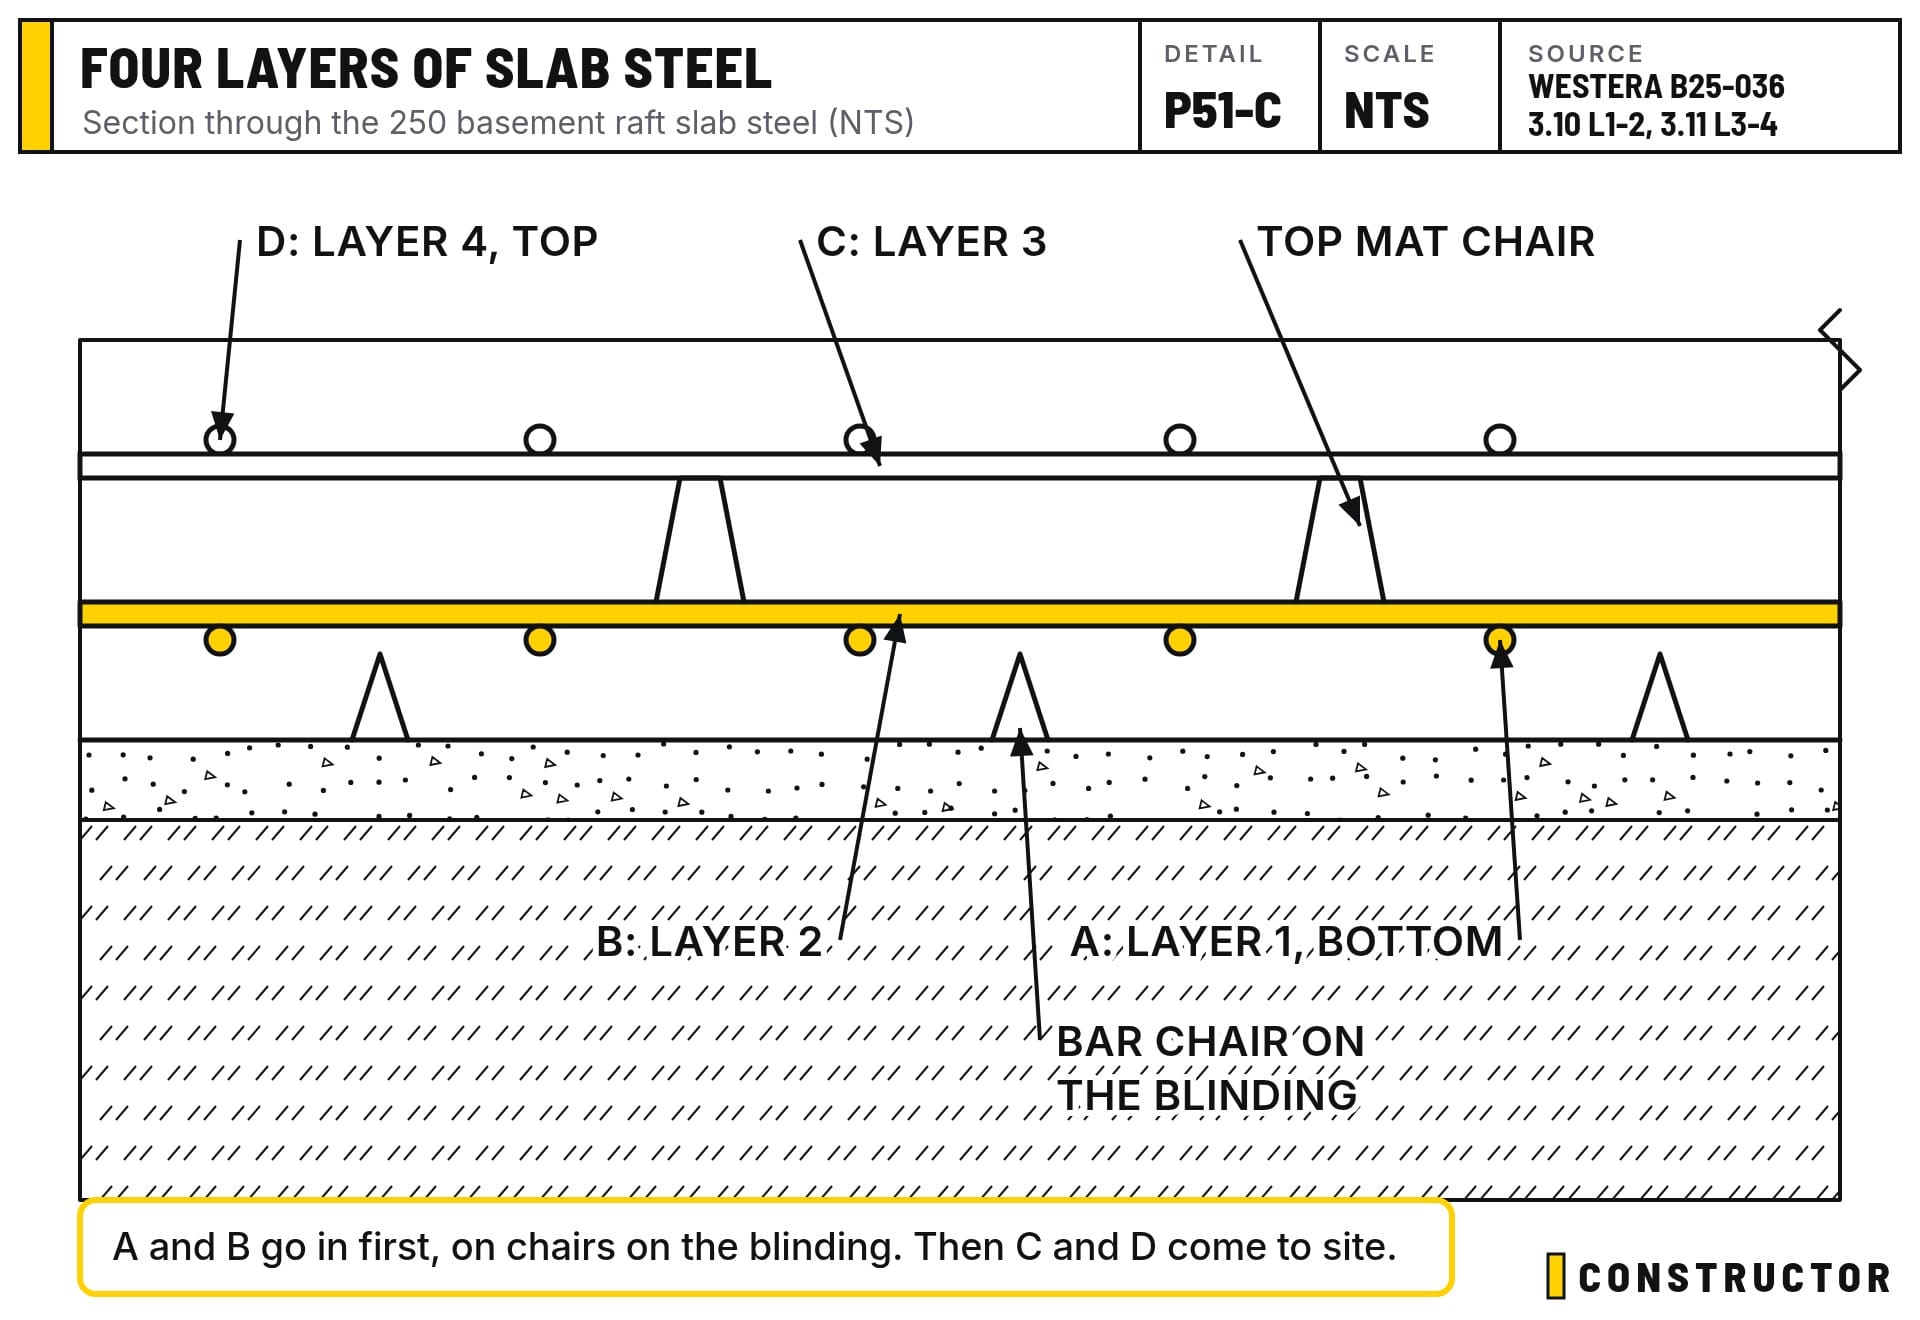
The basement raft has four layers of steel. Westera's drawings number them 1 to 4. On site we call them A, B, C and D:
- A and B are the bottom mat (layers 1 and 2), sitting on bar chairs on the blinding.
- C and D are the top mat (layers 3 and 4), held up on chairs above the bottom mat.
Most of it is N16 bars at 200 mm centres, with heavier N20 and N24 bars where the drawings call for them. The engineer is strict about cover: no extra bars under layer 1 or over layer 4 to make placing easier.
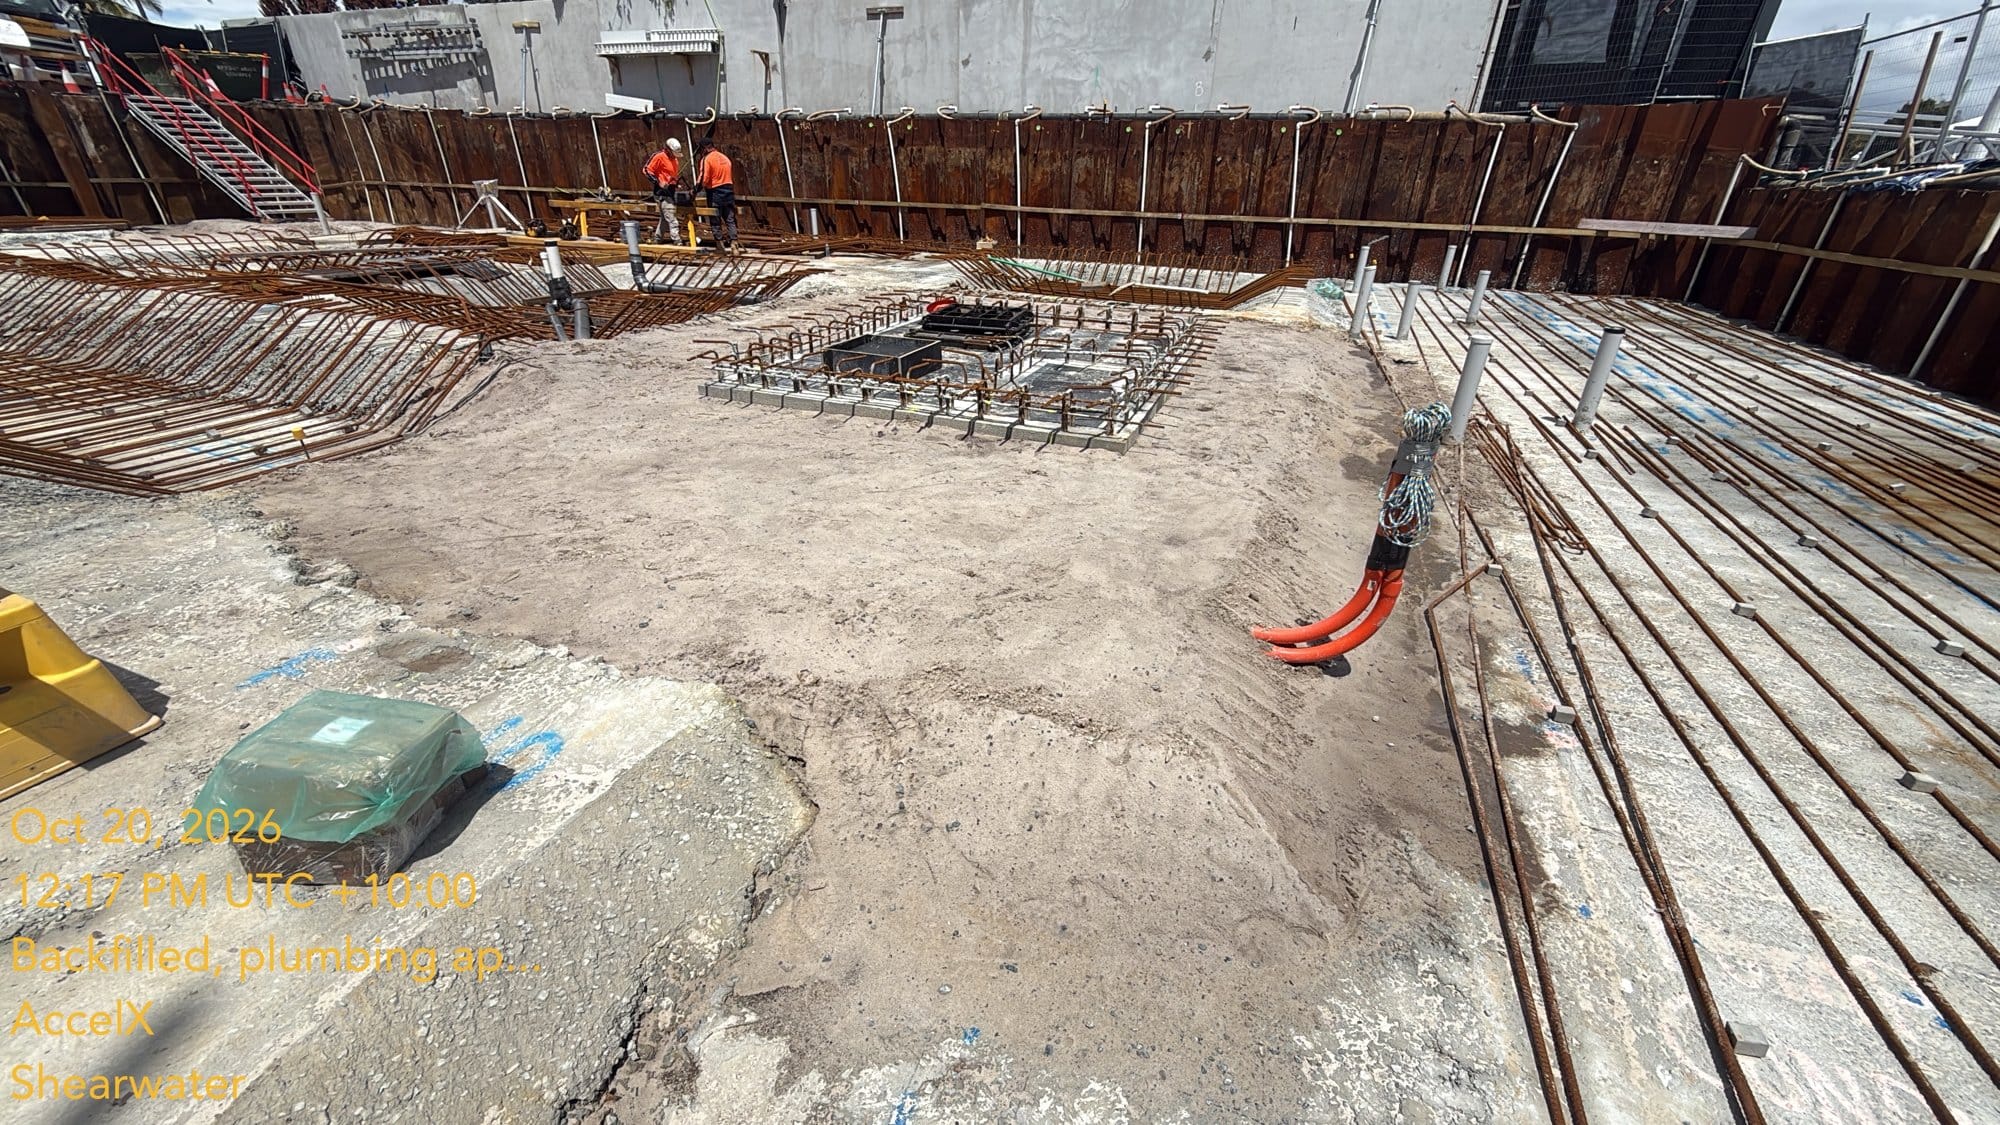
The steel fixers can't lay A and B without a clean, flat, finished blinding to sit the chairs on. Every bit of blinding still to pour was a bit of the basement they couldn't work on. With the fill out, the tanks backfilled and the blinding finished, they can move right through the basement and complete A and B. Once that's done, we can bring C and D to site.
Next
- Finish A and B right through the basement.
- Bring C and D to site and fix the top mat.
- Form the middle pad and keep the slab moving towards the pour.
Not very exciting, which is how we like it.