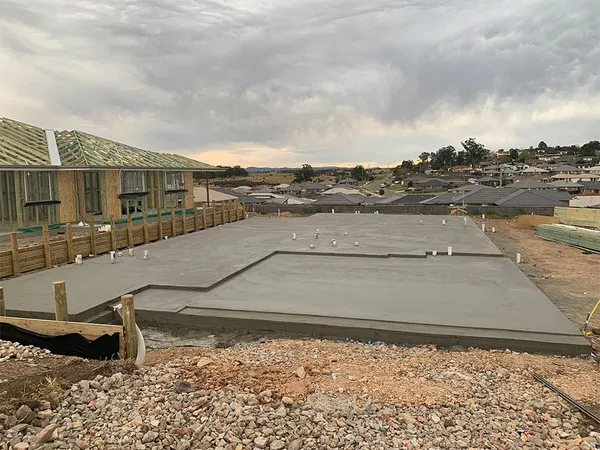
Almost every concrete slab cracks. That fine line across your garage floor is usually nothing more than concrete doing what concrete does. But some cracks are a sign of a real problem, and in Queensland there are clear rules for telling the difference.
Here's why concrete cracks, which cracks are normal, which are defects, and what to do if you find one.
Why concrete cracks
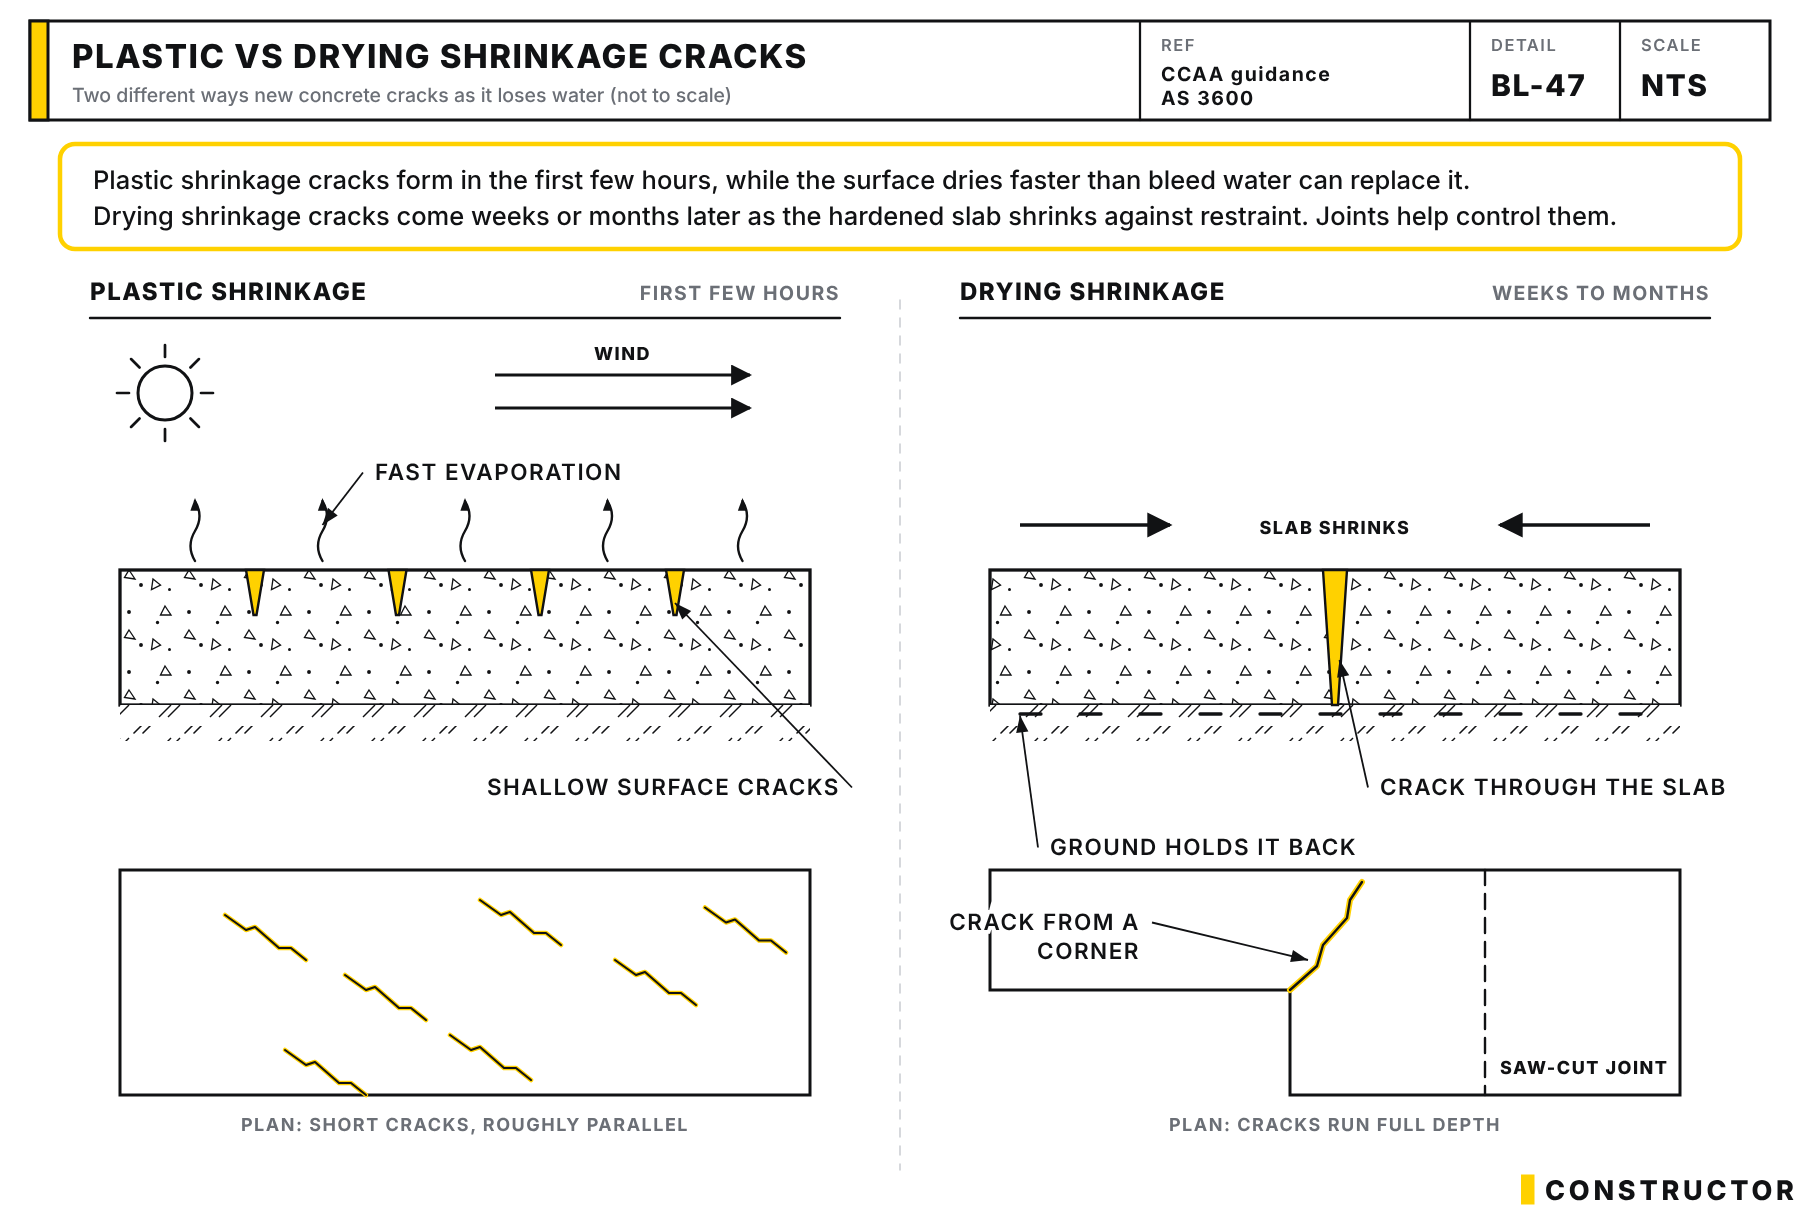
Concrete hardens through a chemical reaction called hydration. As it cures and dries, it shrinks slightly. If something stops it shrinking freely, such as the ground, footings or reinforcement, tension builds up and the concrete cracks to relieve it. Temperature changes add more movement over time.
The main causes are:
- Drying shrinkage. Concrete loses water and shrinks for months after the pour. This causes most fine, random cracks.
- Plastic shrinkage. In hot, dry or windy weather the surface dries too fast before the concrete has set, leaving short, shallow cracks. Common in a Queensland summer if curing isn't managed.
- Restraint. When the slab can't move freely, cracks often form in straight lines. Saw-cut and control joints give the slab a planned place to crack.
- Reactive clay soil. This is the big one in Queensland. Clay swells when wet and shrinks when dry, lifting and dropping parts of the slab. That movement causes most of the serious slab and wall cracking we see here.
- Poor site drainage. Water ponding against the slab, leaking pipes, garden watering and downpipes that discharge onto the ground change soil moisture unevenly and make reactive soils move.
- Trees. Roots draw moisture out of clay, causing it to shrink near the tree.
- Settlement. Poorly compacted fill under the slab settles over time.
- Overloading. Loads beyond what the slab was designed for, such as heavy vehicles on a residential driveway.

How good builders control cracking
You can't stop concrete cracking completely, but you can control it. To control cracking, slabs are correctly reinforced, joints are saw-cut at the right time, and the surface is kept moist (cured) for at least 7 days. Add a footing system designed for your site classification, well-compacted fill and good drainage away from the house, and most cracking stays small and harmless.
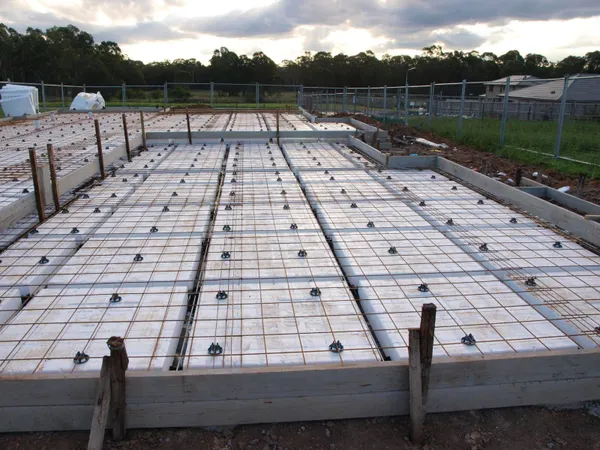
That's why the pre-pour stage matters so much. Our C5 Pre Pour Slab checklist covers reinforcement, cover, membranes and set out before any concrete arrives.
C5 - Pre Pour Slab Inspection Checklist
$119.00 AUD
Last updated 21 Oct 2026 · Revision 3 · Free updates for life
Checklist Type: Major (Base Stage)
Form Factor: Fillable, print-ready PDF (A4, 22 pages)
When to use: Base stage: after the slab is prepped, before concrete is poured
A 95-point pre-pour slab checklist. Check setbacks, boxing, membrane, pipes and steel after the slab is prepped and before concrete is poured, while fixes are still simple.
Crack categories: what's normal and what's a defect
Australian Standard AS 2870 (Residential slabs and footings) classifies damage to concrete floors by crack width and by how much the slab has moved out of level. The QBCC's Guide to Standards and Tolerances uses the same table.
- Category 0, negligible. Hairline cracks under about 0.3 mm, slab basically level. Usually shrinkage and nothing to worry about.
- Category 1, very slight. Fine but noticeable cracks up to about 1 mm. Slab reasonably level.
- Category 2, slight. Distinct cracks up to about 2 mm. Slab noticeably curved or changed in level.
- Category 3, moderate. Wide cracks of 2 to 4 mm, with obvious curvature or change in level.
- Category 4, severe. Gaps of 4 to 10 mm, with disturbing curvature or change in level.
The change in level is measured with a 3 m straight edge centred over the crack. Under the QBCC guide, Category 3 and 4 cracks in a slab are defects. Category 1 and 2 cracks generally aren't.
There's an important exception. If your slab is part of the termite management system, which is common in Queensland, cracks right through the slab must not exceed Category 1 width. Wider cracks can give termites a way in.
Driveways, paths, patios and garage slabs are assessed differently. Under the QBCC guide, random cracks wider than 1 mm in the first 12 months can be defective where the builder didn't allow for shrinkage and movement with proper joints.
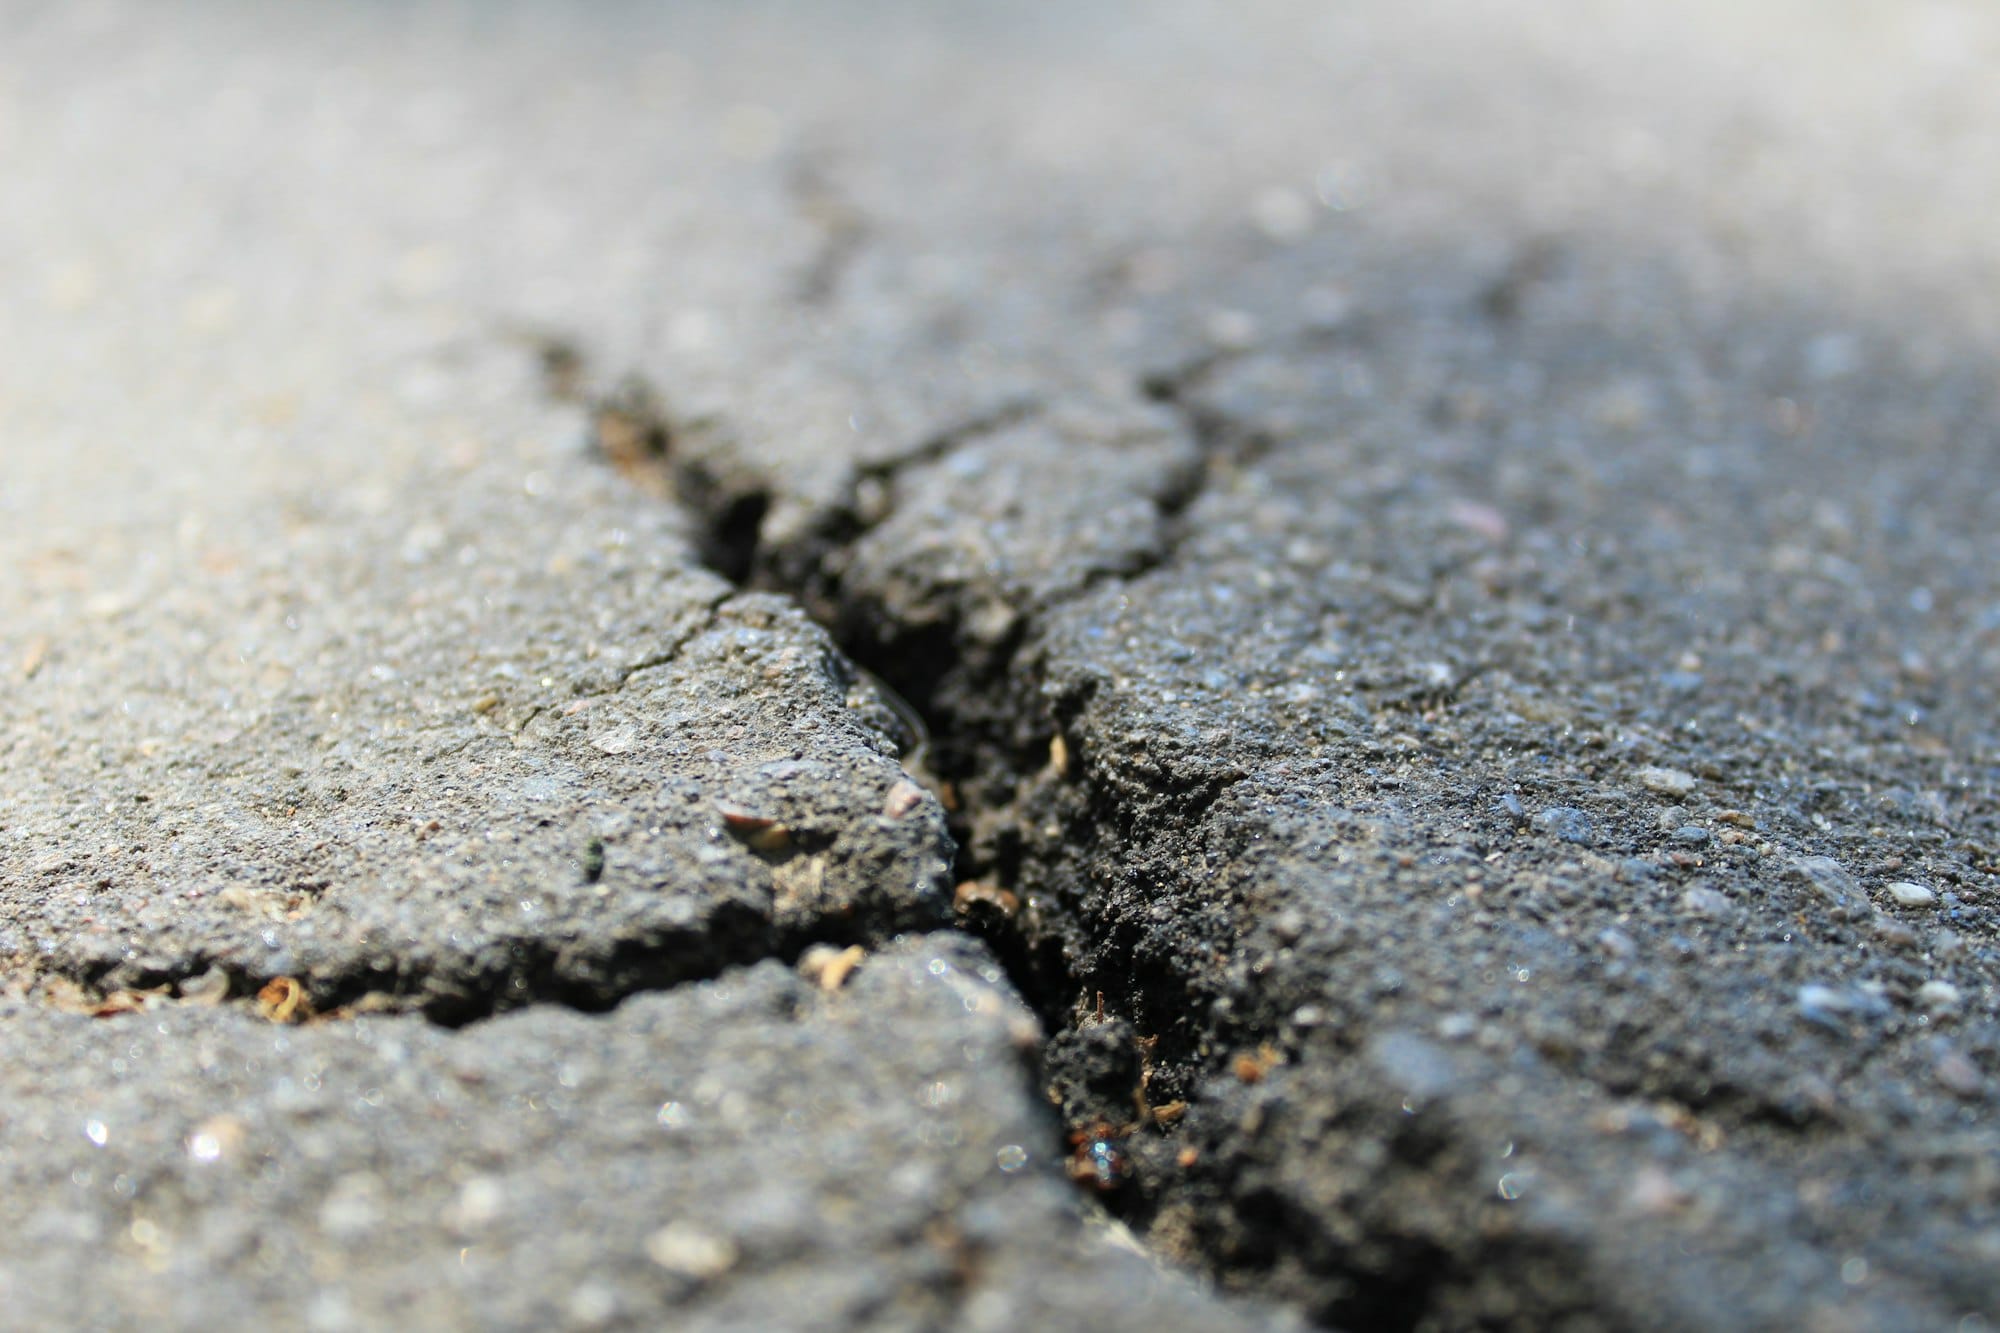
Warning signs
Look harder at a crack, or call an engineer, if:
- It's wider than about 2 mm, or wider at one end than the other
- One side is higher than the other (a step or "lip")
- It's getting wider over weeks or months
- Floors are noticeably out of level, or doors and windows have started sticking
- Matching cracks are appearing in walls, especially diagonal cracks from the corners of doors and windows
- Tiles over the crack are cracking or drummy
What to do if you find a crack
- Photograph it with a ruler, crack gauge or coin beside it for scale.
- Measure the width at its widest point. A crack width gauge card is cheap and accurate.
- Mark the ends with a pencil line and date, so you can see if it grows.
- Check it again every month or so, and after big changes in weather.
- Report it to your builder in writing within the defects period. Under Queensland's standard contracts that's 12 months from practical completion. Keep a copy.
- Call a structural engineer if the crack is growing, steps out of level or is Category 3 or worse.
- Know your warranty. QBCC home warranty insurance covers structural defects for up to 6 years and 6 months. If your builder won't respond, contact the QBCC.
Our C6 Post Pour Slab checklist helps you check the slab soon after the pour, while any problems are easiest to fix.
How cracks are repaired
Repair should always follow the cause. Patching a crack without fixing the drainage or soil movement behind it just means it cracks again.
- Hairline and fine cracks. Usually left alone, or sealed with a suitable filler or sealant if they're in an exposed slab or under a floor finish that needs it.
- Moving cracks. Routed out and filled with a flexible sealant that can take ongoing movement.
- Structural cracks. Epoxy injection can bond and seal a crack that has stopped moving, but only once an engineer has worked out why it cracked.
- Badly damaged sections. Cut out and replaced, with proper joints and reinforcement tied in. Where the cause is ongoing soil movement, the fix may include drainage work, root barriers or, in serious cases, underpinning.
Prevention is better than cure
Once you're in, you have a part to play too. Keep water away from the slab: make sure the ground falls away from the house, downpipes connect to stormwater, and leaking taps and pipes are fixed quickly. Don't plant large trees close to the house, and water gardens evenly rather than drowning one spot. On reactive clay, steady soil moisture is your slab's best friend.

Further reading
 C6 Concrete Slab Inspection Checklist for HomeownersLearn how to use the post-pour concrete slab inspection checklist to check for compliance, surface finishes and generally manage your site to ensure its ready for framing to start.
 C5 Pre-Pour Slab Inspection Checklist ExplainedThe C5 Pre-Pour Slab Inspection Checklist is exactly that. A detailed stage inspection checklist to ensure quality and compliance before concrete is poured on your site.
 Understanding Concrete Joints: Types, Purposes & PracticesEver wondered why concrete pavements have grooved lines? They’re not just for show; they’re concrete joints designed to control cracking & improve the structure’s longevity. This guide dives deep into the different types of concrete joints & their role in construction.
 Concrete Foundations & Slabs: A Guide for Australian HomesIn this post we explain everything you need to know about house slab construction techniques, reinforcement details, best practices and maintenance.
 Concrete Crazing Explained: A Homeowners Comprehensive GuideDespite the durability of concrete, it’s common to notice small cracks or patterns on its surface over time. In this post, we’ll dive into what causes concrete crazing and how home owners can identify, prevent and fix this issue before it becomes a bigger problem.