
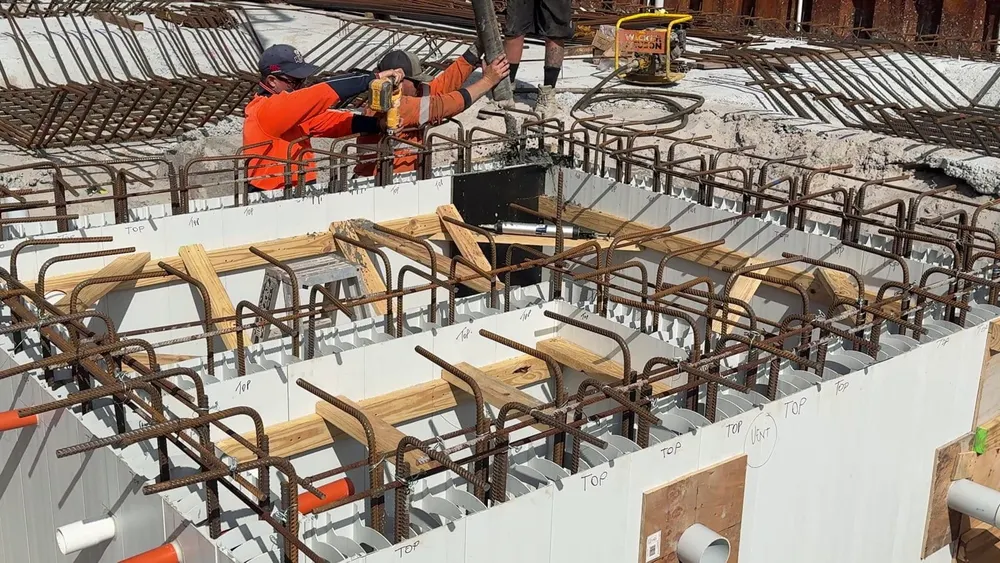
This is a short one: the tank walls getting poured. I finally got my gear together to film it. It got windy, so excuse the noise.
Getting the pump in
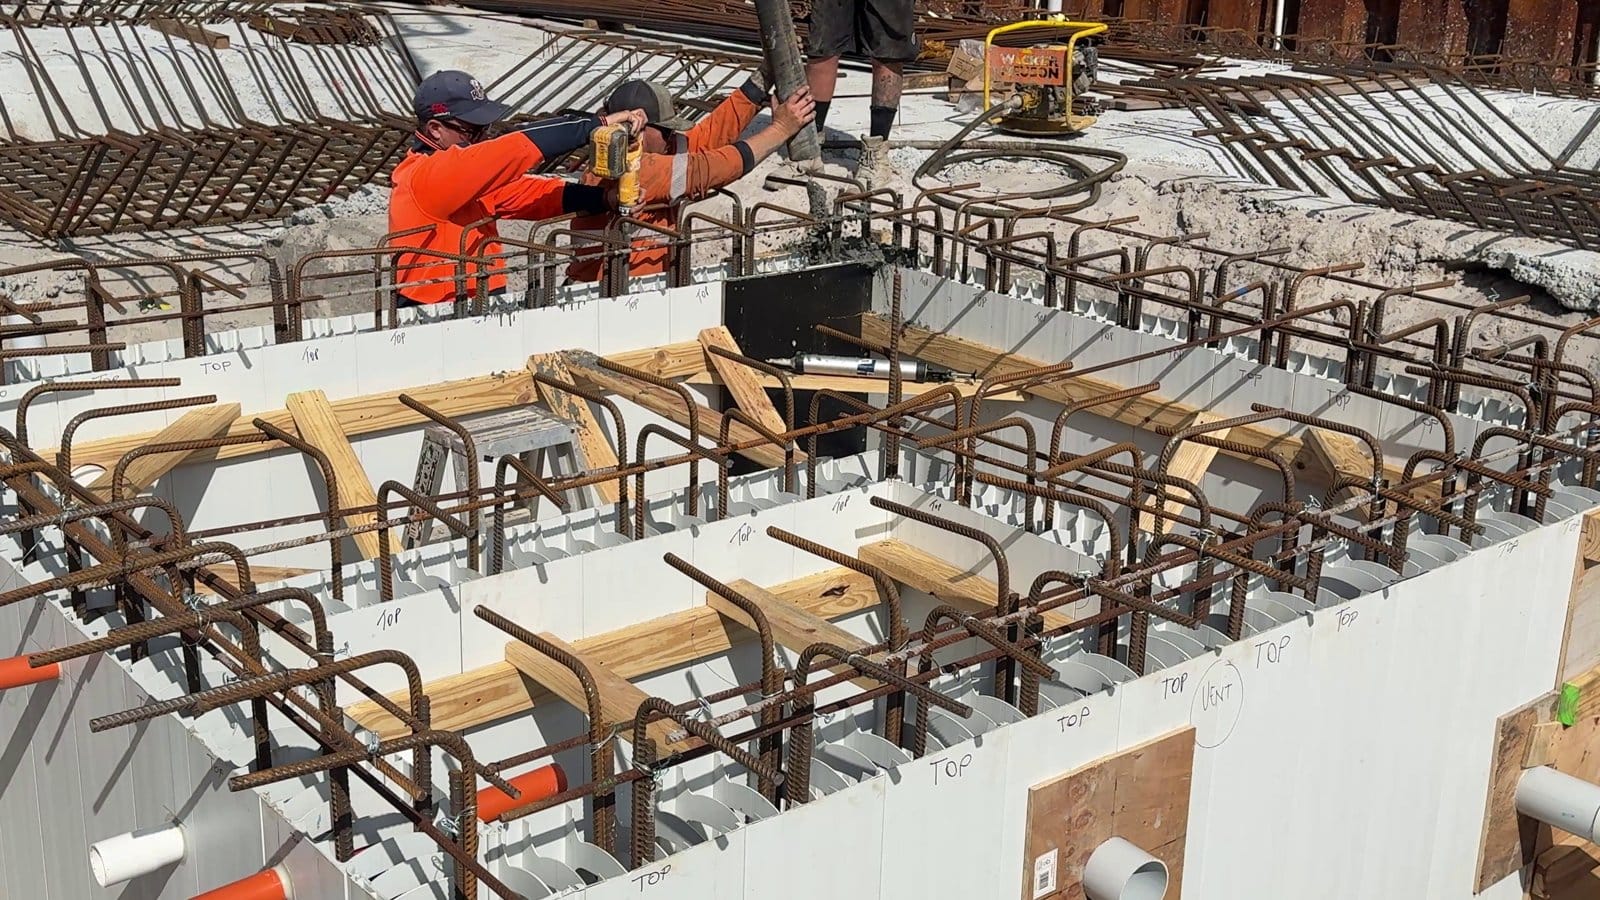
This is as far forward as we could get the concrete pump on this job. It's a 43 m boom pump. With everything on this site, the limiting factor is the outriggers: the legs that fold out to keep the pump stable. The rear outrigger decides how close the pump can get, and you can't cut corners on outriggers. They sit on pads to spread the load, and we cone off the area to keep cars away from the pump.
At the end of the pour, the crew cleans the line out before they pack up.
Core filling the walls
The tank walls are Rediwall: PVC formwork that stays in place, filled with concrete (the "core fill"). Before the pour, the crew put in the rest of the starter bars, which tie the walls into the slab that goes over the top, each way.
- Sand on the base. A layer of sand goes down at the bottom first to catch the splashes, so it's easy to clean up afterwards. There's still some concrete splashed about that we'll clean up tomorrow.
- Three lifts. The walls are filled slowly in three layers of about 300 mm. Pouring in lifts keeps the pressure on the formwork down.
- The crew. The pump operator controls the speed, another operator holds the hose, and one of the guys works a small vibrator.
- A small vibrator. There's so much steel in these walls (Post 47 and Post 48) that only a really small vibrator fits between the bars.
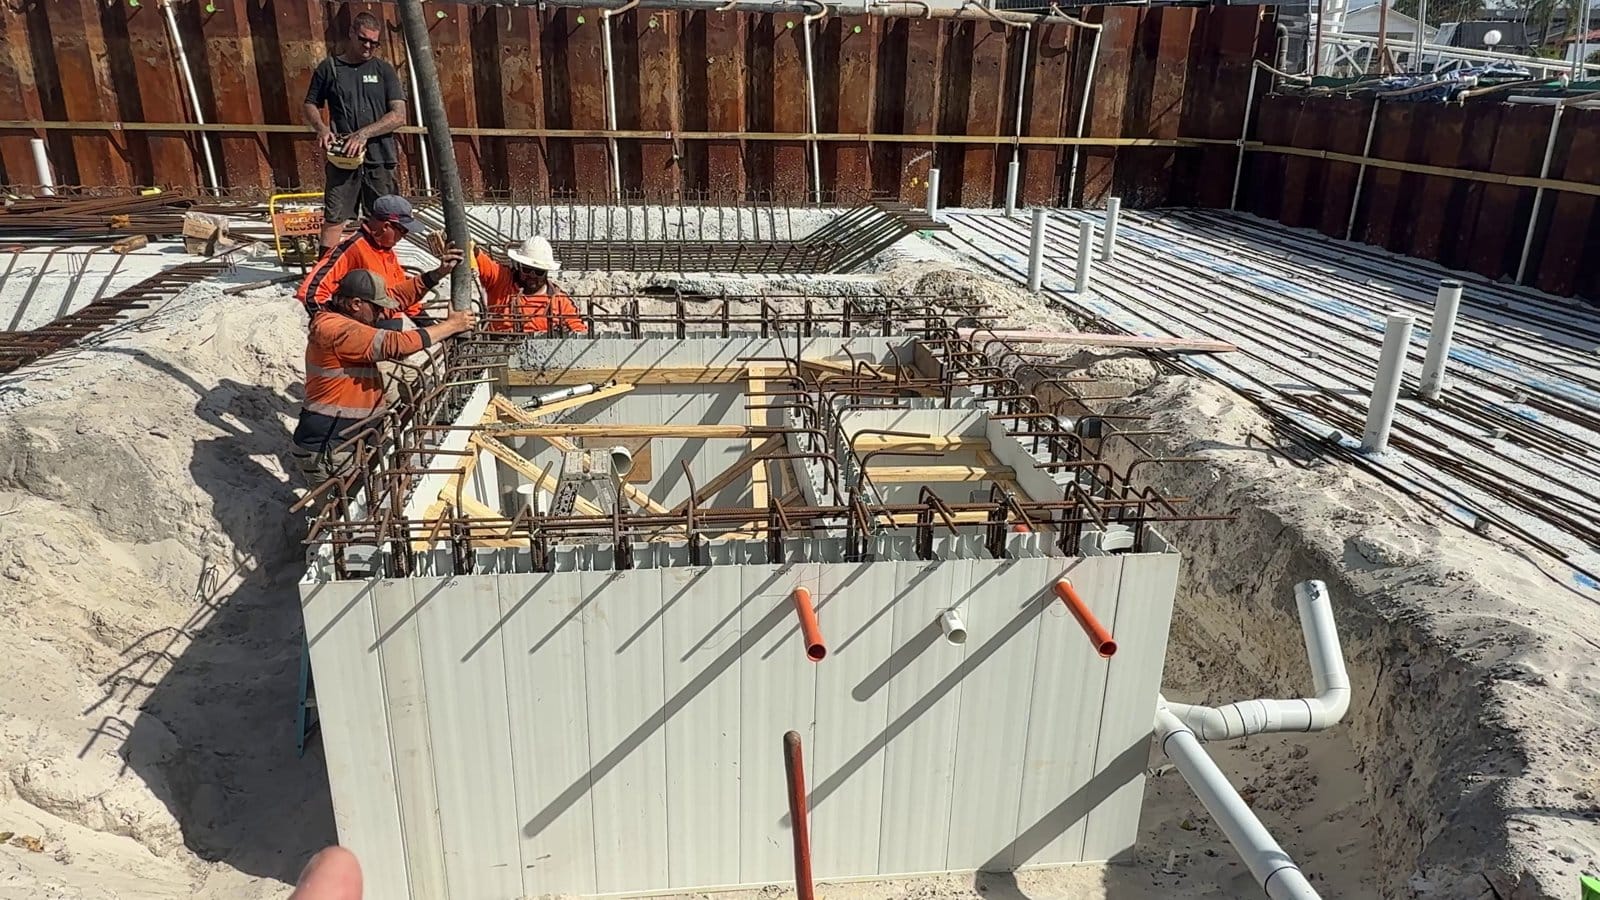
That's about as exciting as it gets, and that's the point. With a pour like this you want it to be very boring. All the concrete goes in the hole, none of it spits out, and none of the formwork breaks.
What went into the tank walls
I didn't mention the mix in the video, so here it is.
- The mix: 32 MPa, 80 slump, 10 mm aggregate. On the order it's written "32 MPa 80/10". The 80 is the slump (how runny the concrete is) and the 10 is the maximum stone size. Westera's drawings call for 32 MPa core fill in these tank walls, and their notes allow up to 20 mm stone and 100 mm slump. We went with 10 mm because there's so much steel in the walls, so the smaller stone flows around the bars.
- Xypex C-5000. This is a crystalline waterproofing admixture. It goes into all the basement concrete on this job. It's mostly used in civil and industrial work: roads, bridges, and structures that sit in water, like basements and tanks. As water gets into the concrete, it grows crystals in the pores and fine cracks, and it can seal cracks narrower than about 0.5 mm.
- Roughly what it costs. A standard 32 MPa mix is around $250 per cubic metre, supply only. The Xypex adds around $110 per cubic metre, so the mix comes to roughly $360 per cubic metre.
One tip if you're thinking about an admixture for your own build: check your engineer's notes first. Ours say no additives go into the mix without the engineer's approval.
Finishing the wall tops while they're wet
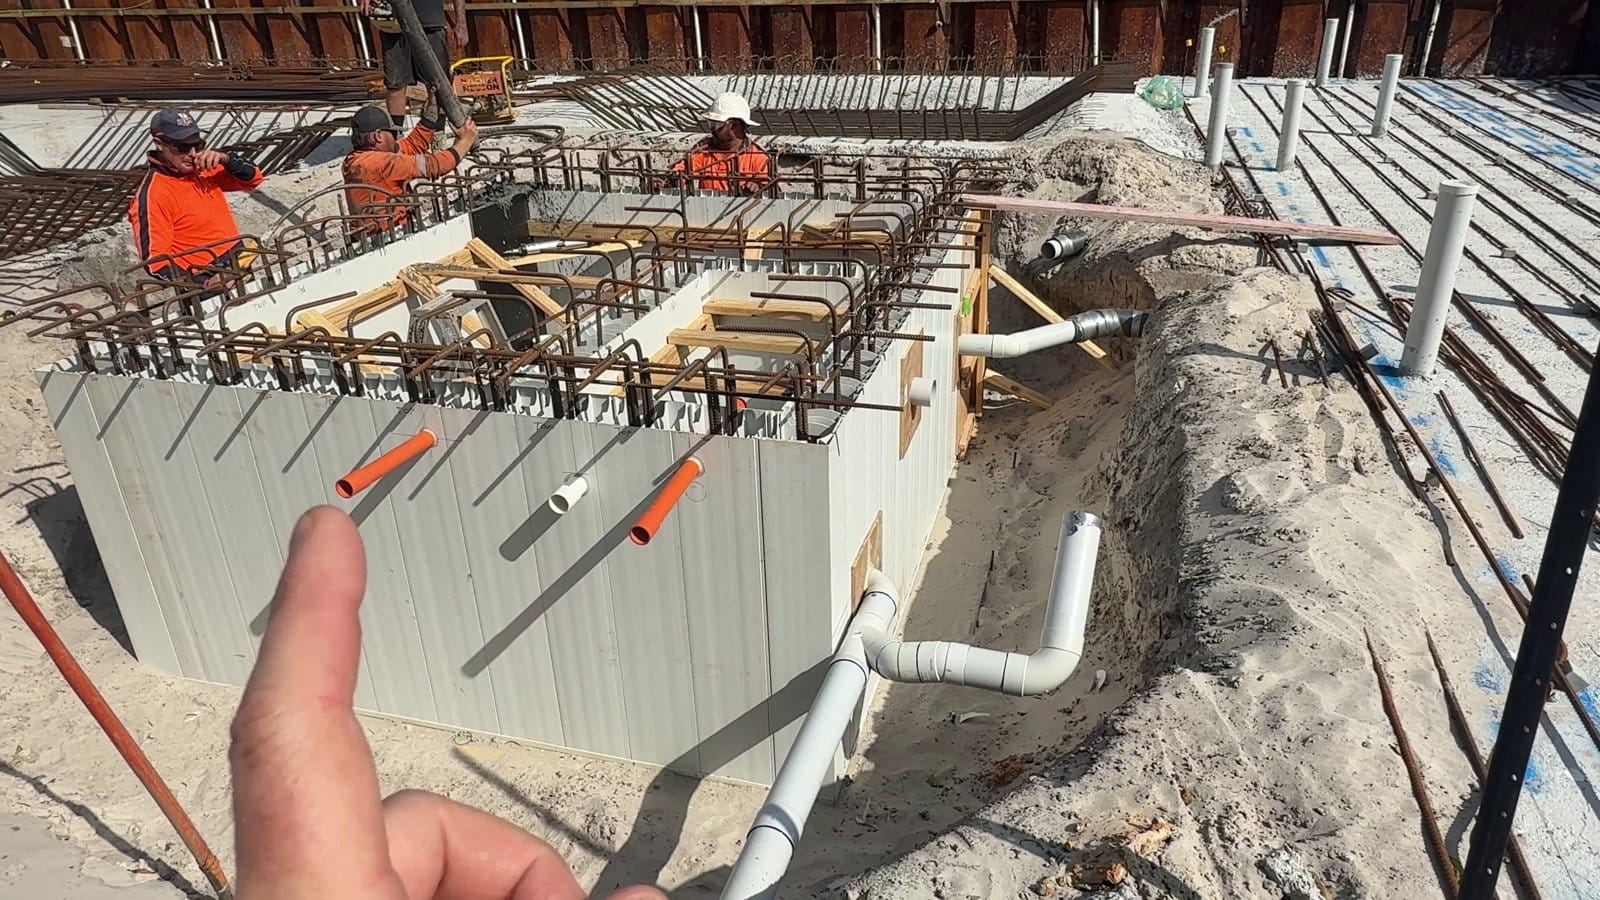
This bit wasn't filmed, but it's one of the best small tips I can give you.
About half an hour after the pour, I went round the tops of the tank walls with a small pointing trowel. I smoothed the concrete between the starter bars as flat as I could, taking out the humps. It took about half an hour.
Why bother? Before the basement slab is poured over the tanks, a waterstop goes along the top of every wall, between the starter bars. Here that's a swelling bentonite strip centred on the wall, with a Xypex slurry brushed over it. The strip needs a flat, sound surface to sit on.
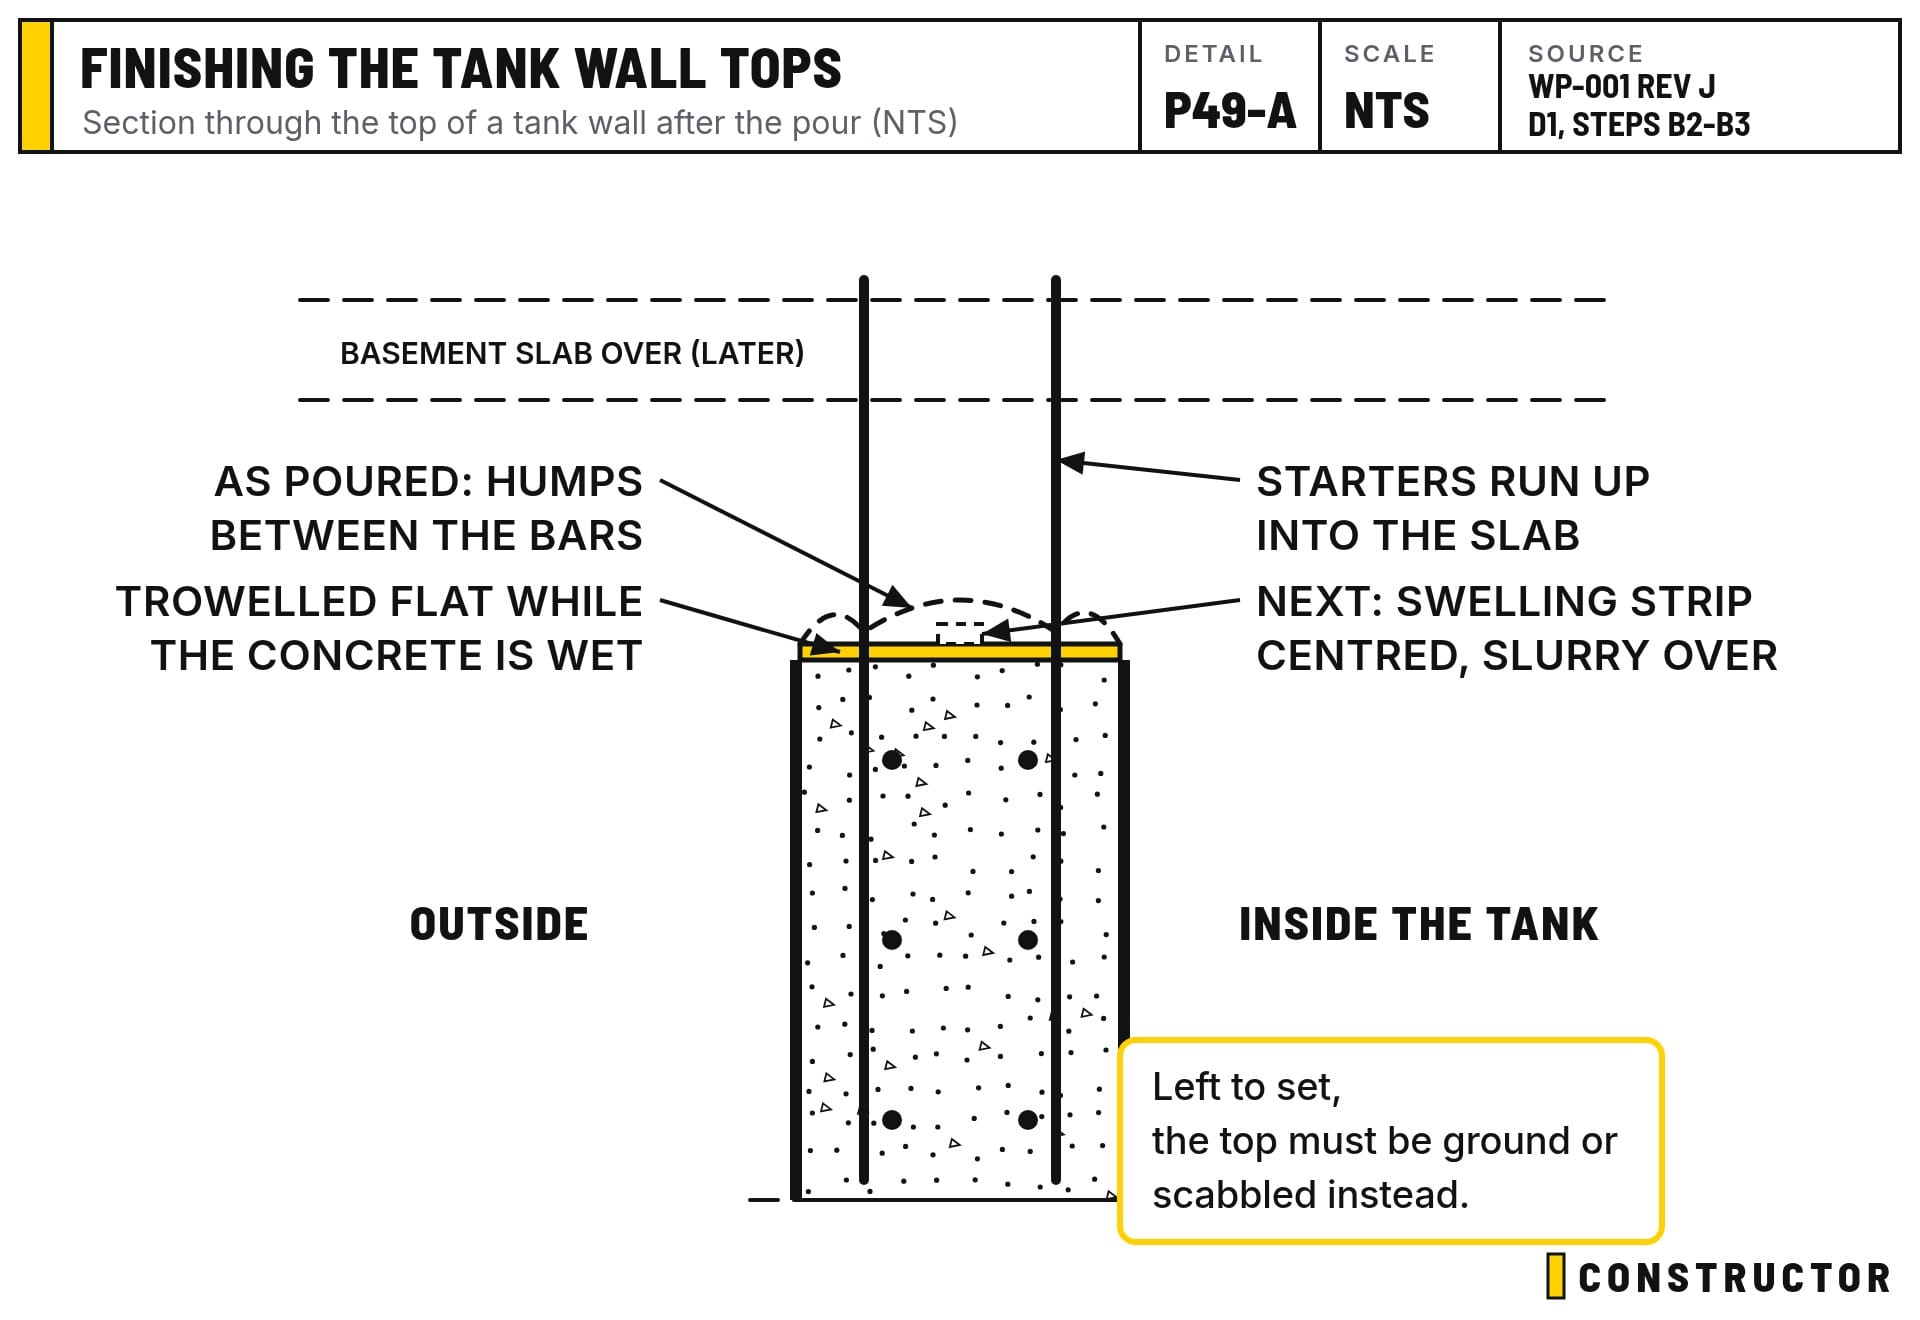
You can fix the top after the concrete has set, but then you're grinding it back or scabbling it with a small jackhammer. Doing it while it's wet takes a fraction of the time and effort.
Trowels, and what each one is for
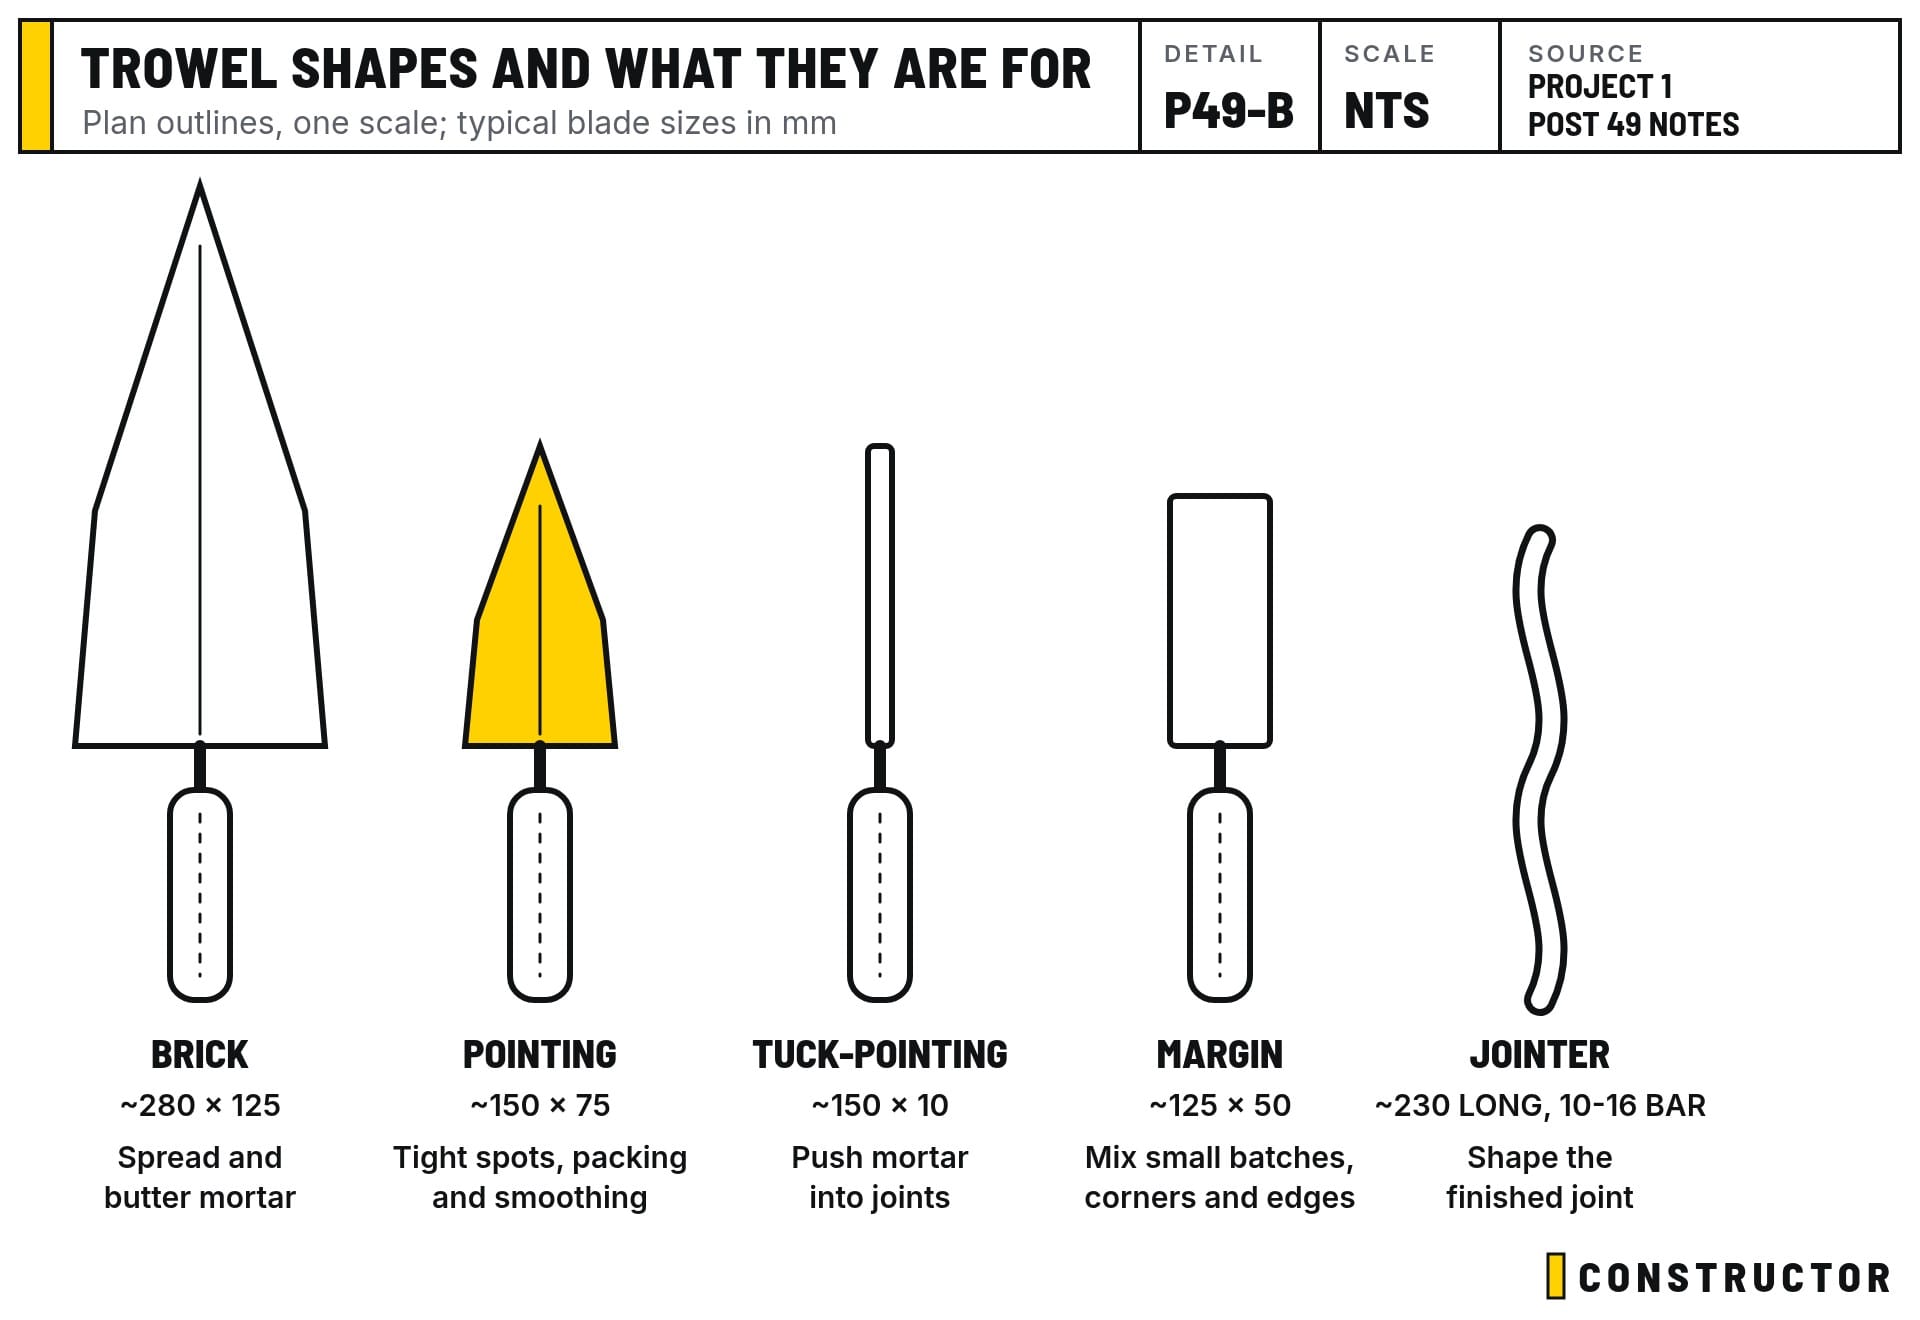
If you've never stood next to a bricklayer, "pointing trowel" might not mean much. Here are the common shapes:
- Brick trowel. The big, pear- or diamond-shaped one. It's used to spread and butter mortar and to lay bricks.
- Pointing trowel. A small version of the brick trowel. It's for packing and finishing mortar in tight spots, and it's what I used to smooth the wall tops between the starter bars.
- Tuck-pointing (finger) trowel. Long and narrow, for pushing mortar into joints.
- Margin trowel. Rectangular. It's handy for mixing small batches and working in corners and along edges.
- Jointer (striking iron). Not really a trowel. It's a shaped bar that gives the finished mortar joint its profile: ironed, raked or weathered.
Next
- Strip and clean the formwork around the tanks.
- Waterproof the joins, corners, pipes and walls (the plan is in Post 48).
- Backfill behind the tank walls.
- Waterstop the wall tops, then pour the basement slab over the tanks.

