Last time (Post 57) was the walk-round the day before the core fill. This time I thought I'd get half organised and film while we were actually pouring.
The pump and the crew
We've got a 47 metre boom pump, and it reaches fine. No issues getting to every wall.
Here's how the crew is set up:
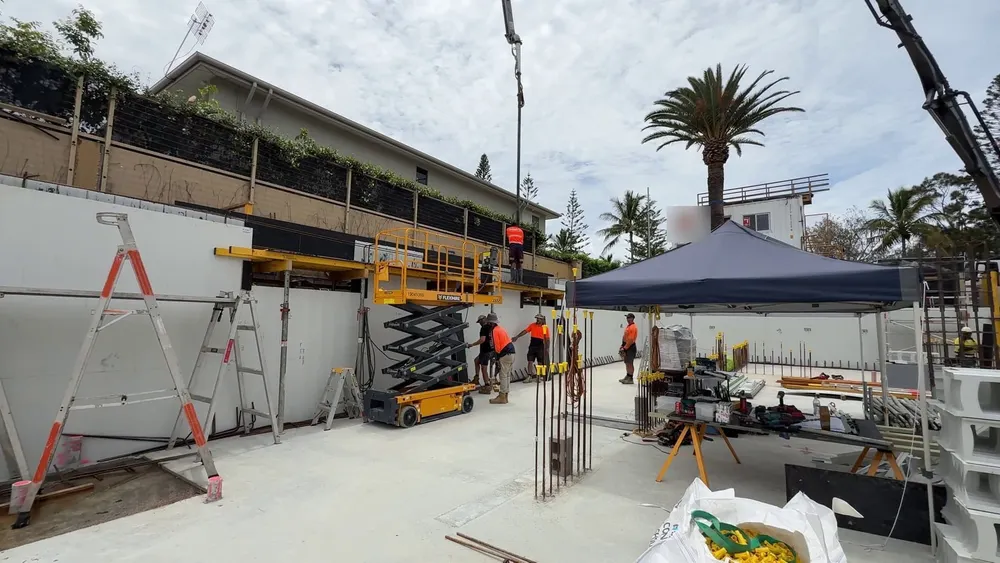
- The pump operator sits up top, controlling the flow and the speed.
- The placer is up at the top of the wall with the hose, putting the concrete into the cores.
- Two on the vibrators, one on the inside face and one on the outside face.
- Me, walking the walls, tapping them, watching for leaks, and handing up anything the guys need.
The mobile scaffold from Post 57 and the scissor lifts let the crew run the full length of the walls. The mix has Xypex Admix C-5000 in it again, the waterproofing additive from Post 57, and it was a good day for pouring.
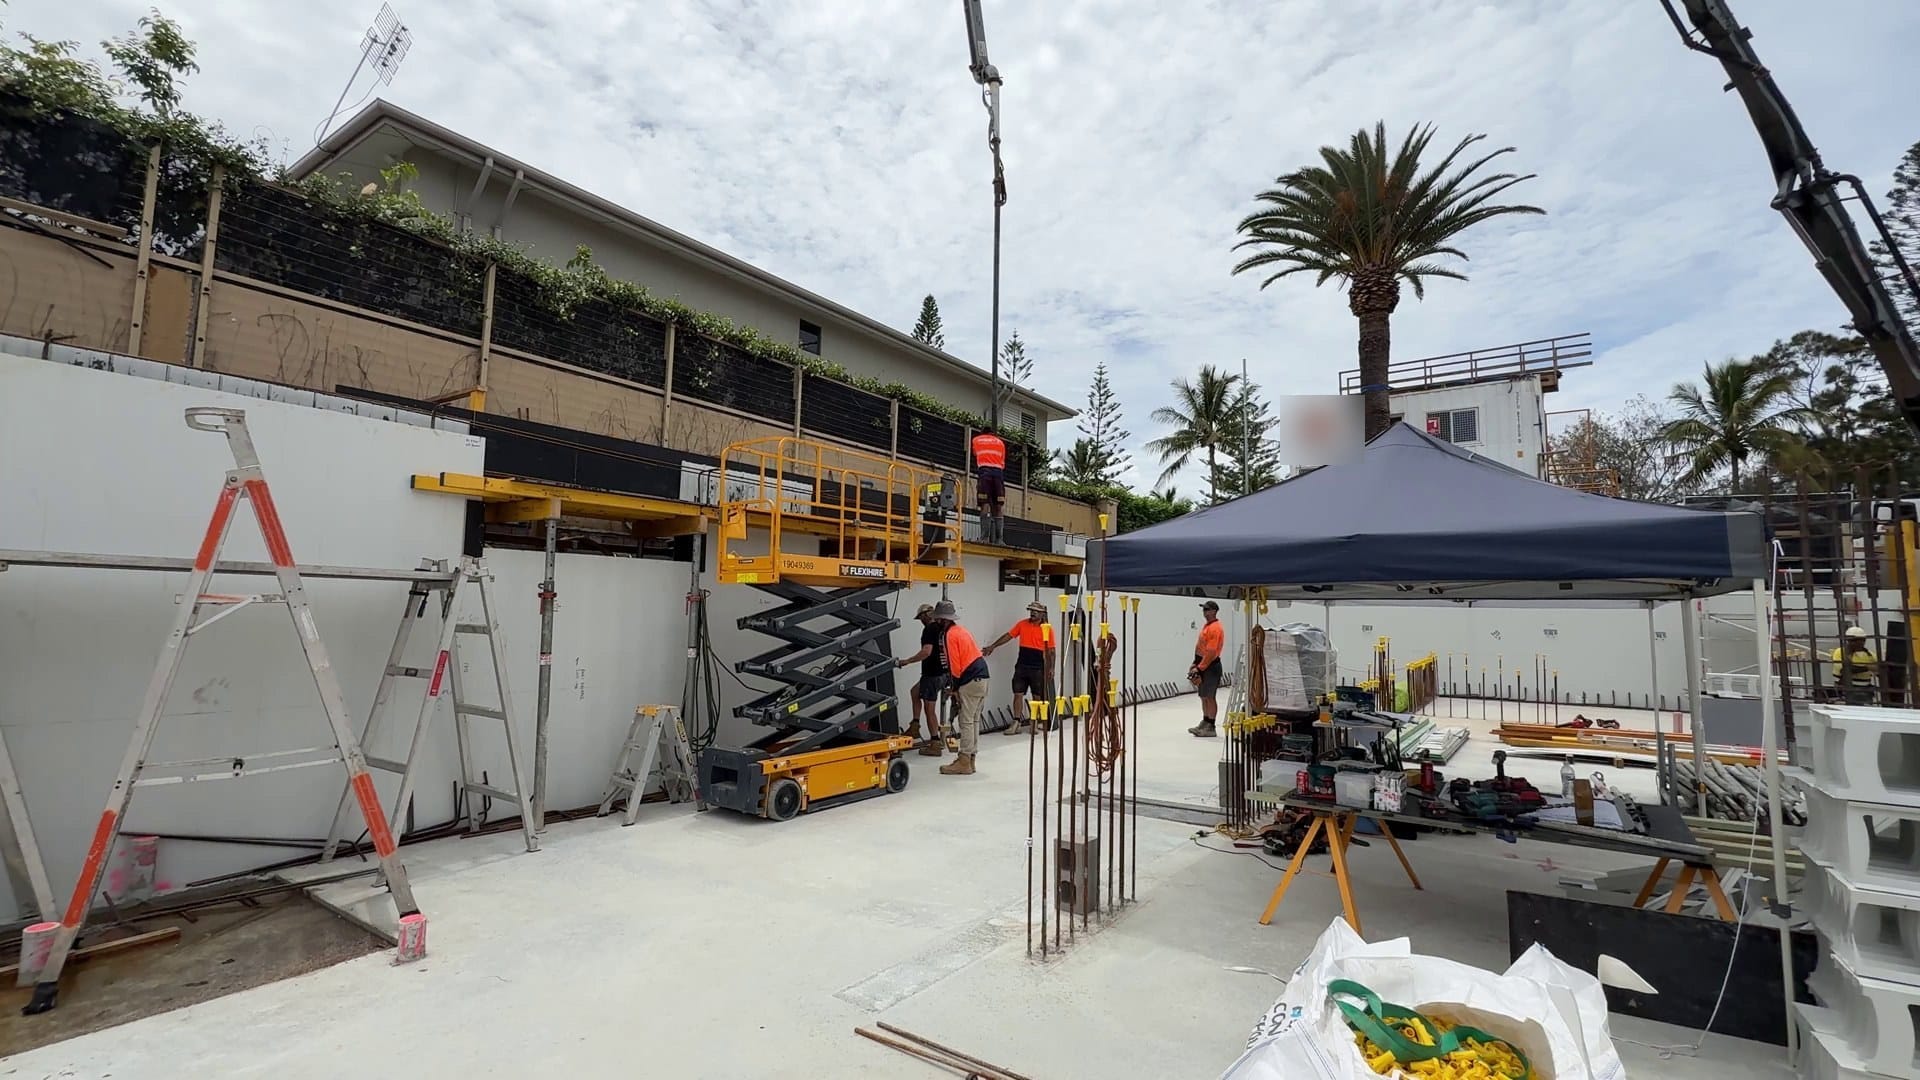
Three lifts, round and round
We have to do three lifts all the way around. A lift is one layer, poured to a set height right round the walls before the next one goes on.
We started with a little in one section, jumped over and did the next, and then started the third lift through each run. Then you just keep going around and around. Building it up in layers lets the lower concrete start to firm up before more weight goes on top, which keeps the pressure on the formwork down.
Vibrating with a hammer drill
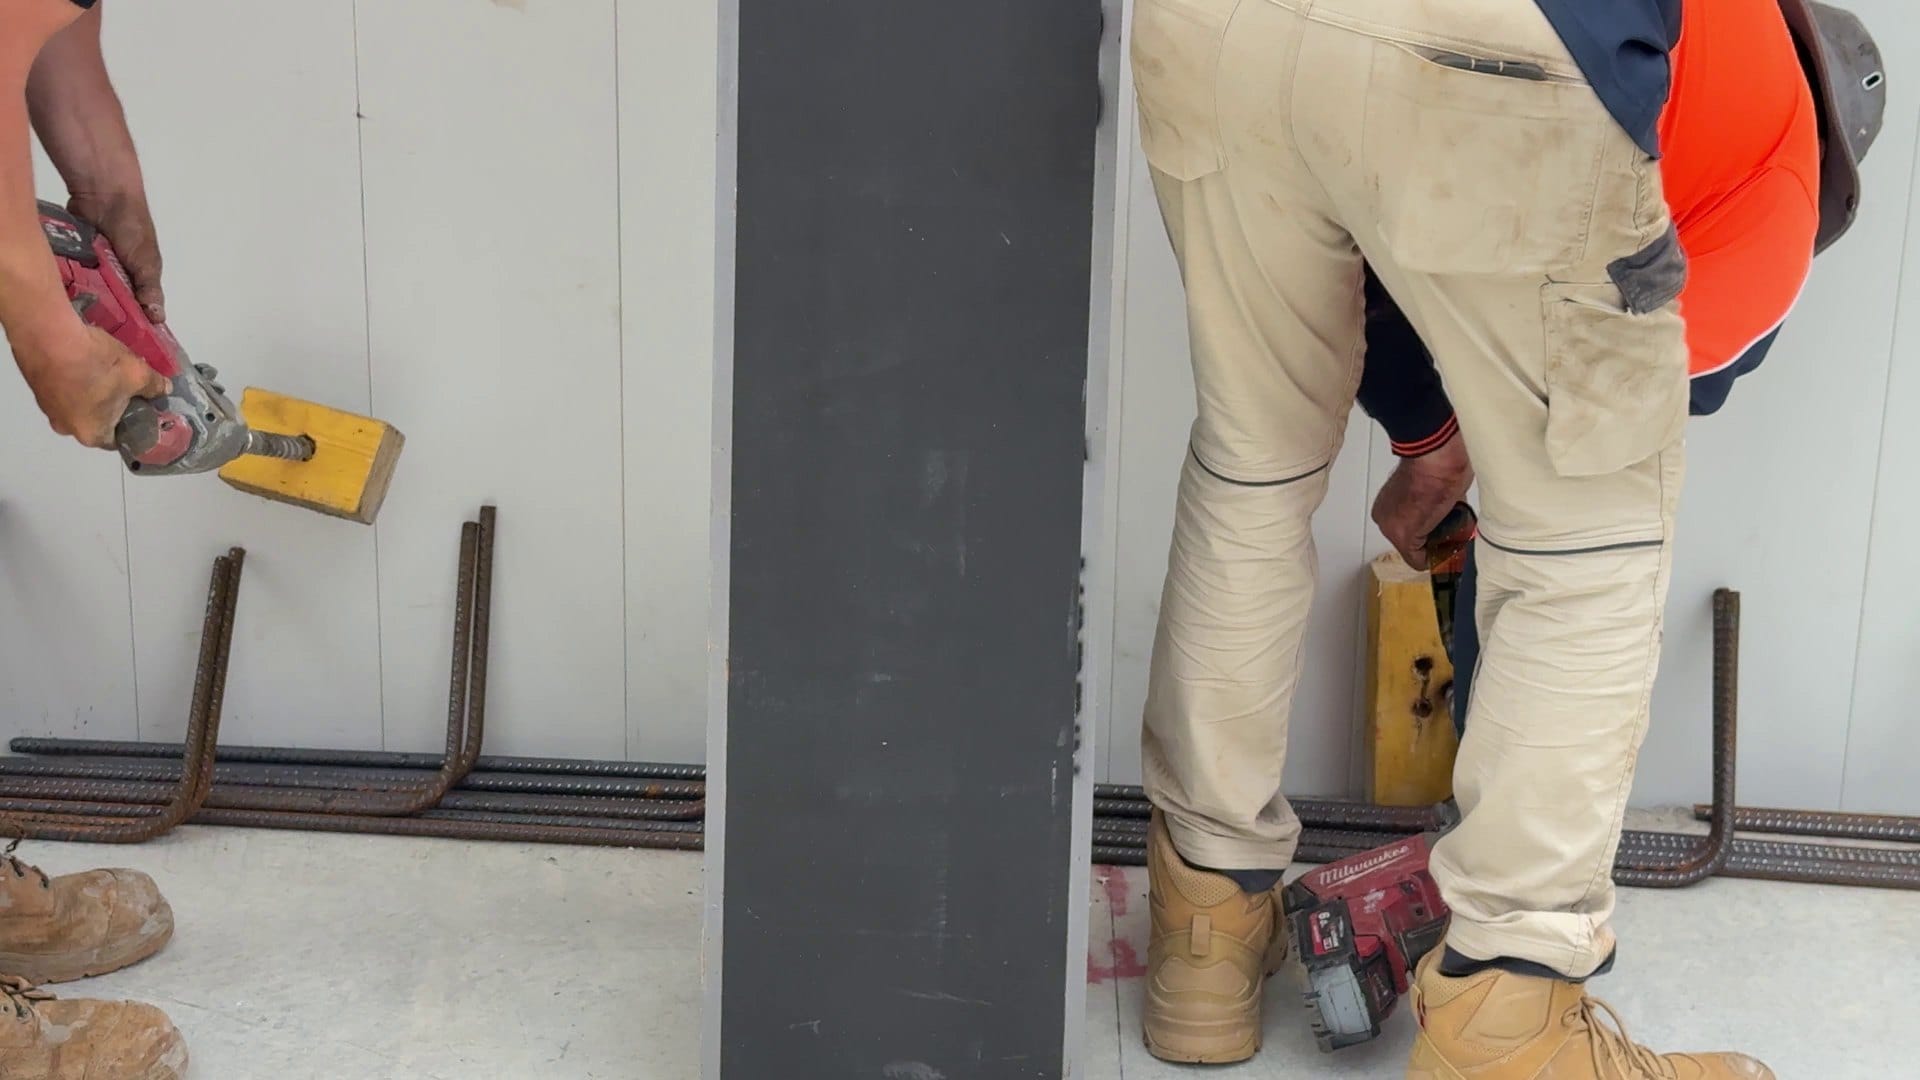
As we go, there's one person on the inside and one on the outside, vibrating the wall. We use hammer drills with a block of timber on the end, held against the face of the Rediwall. The vibration shakes the air out and helps the concrete settle round the steel.
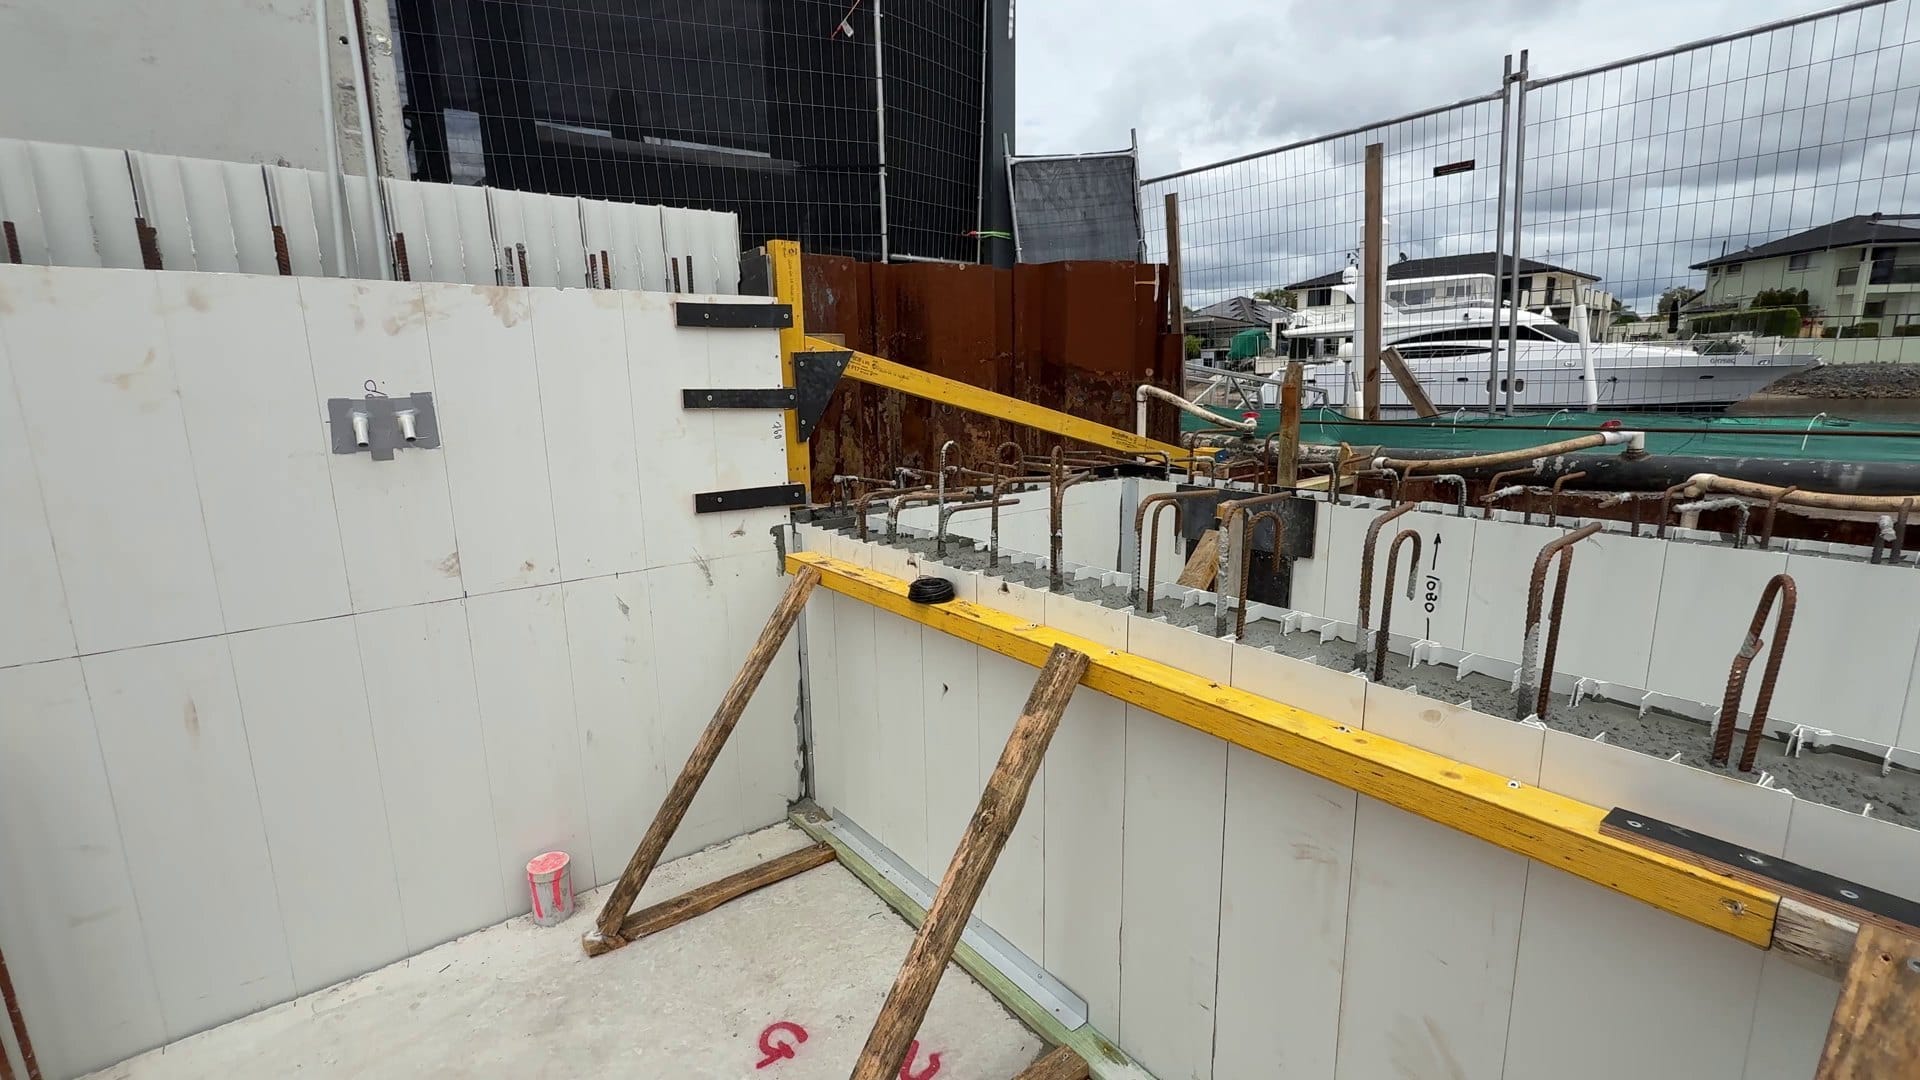
Dave is tapping the wall as he goes. That's just to check where the concrete is up to. Full cores sound solid, empty ones sound hollow.
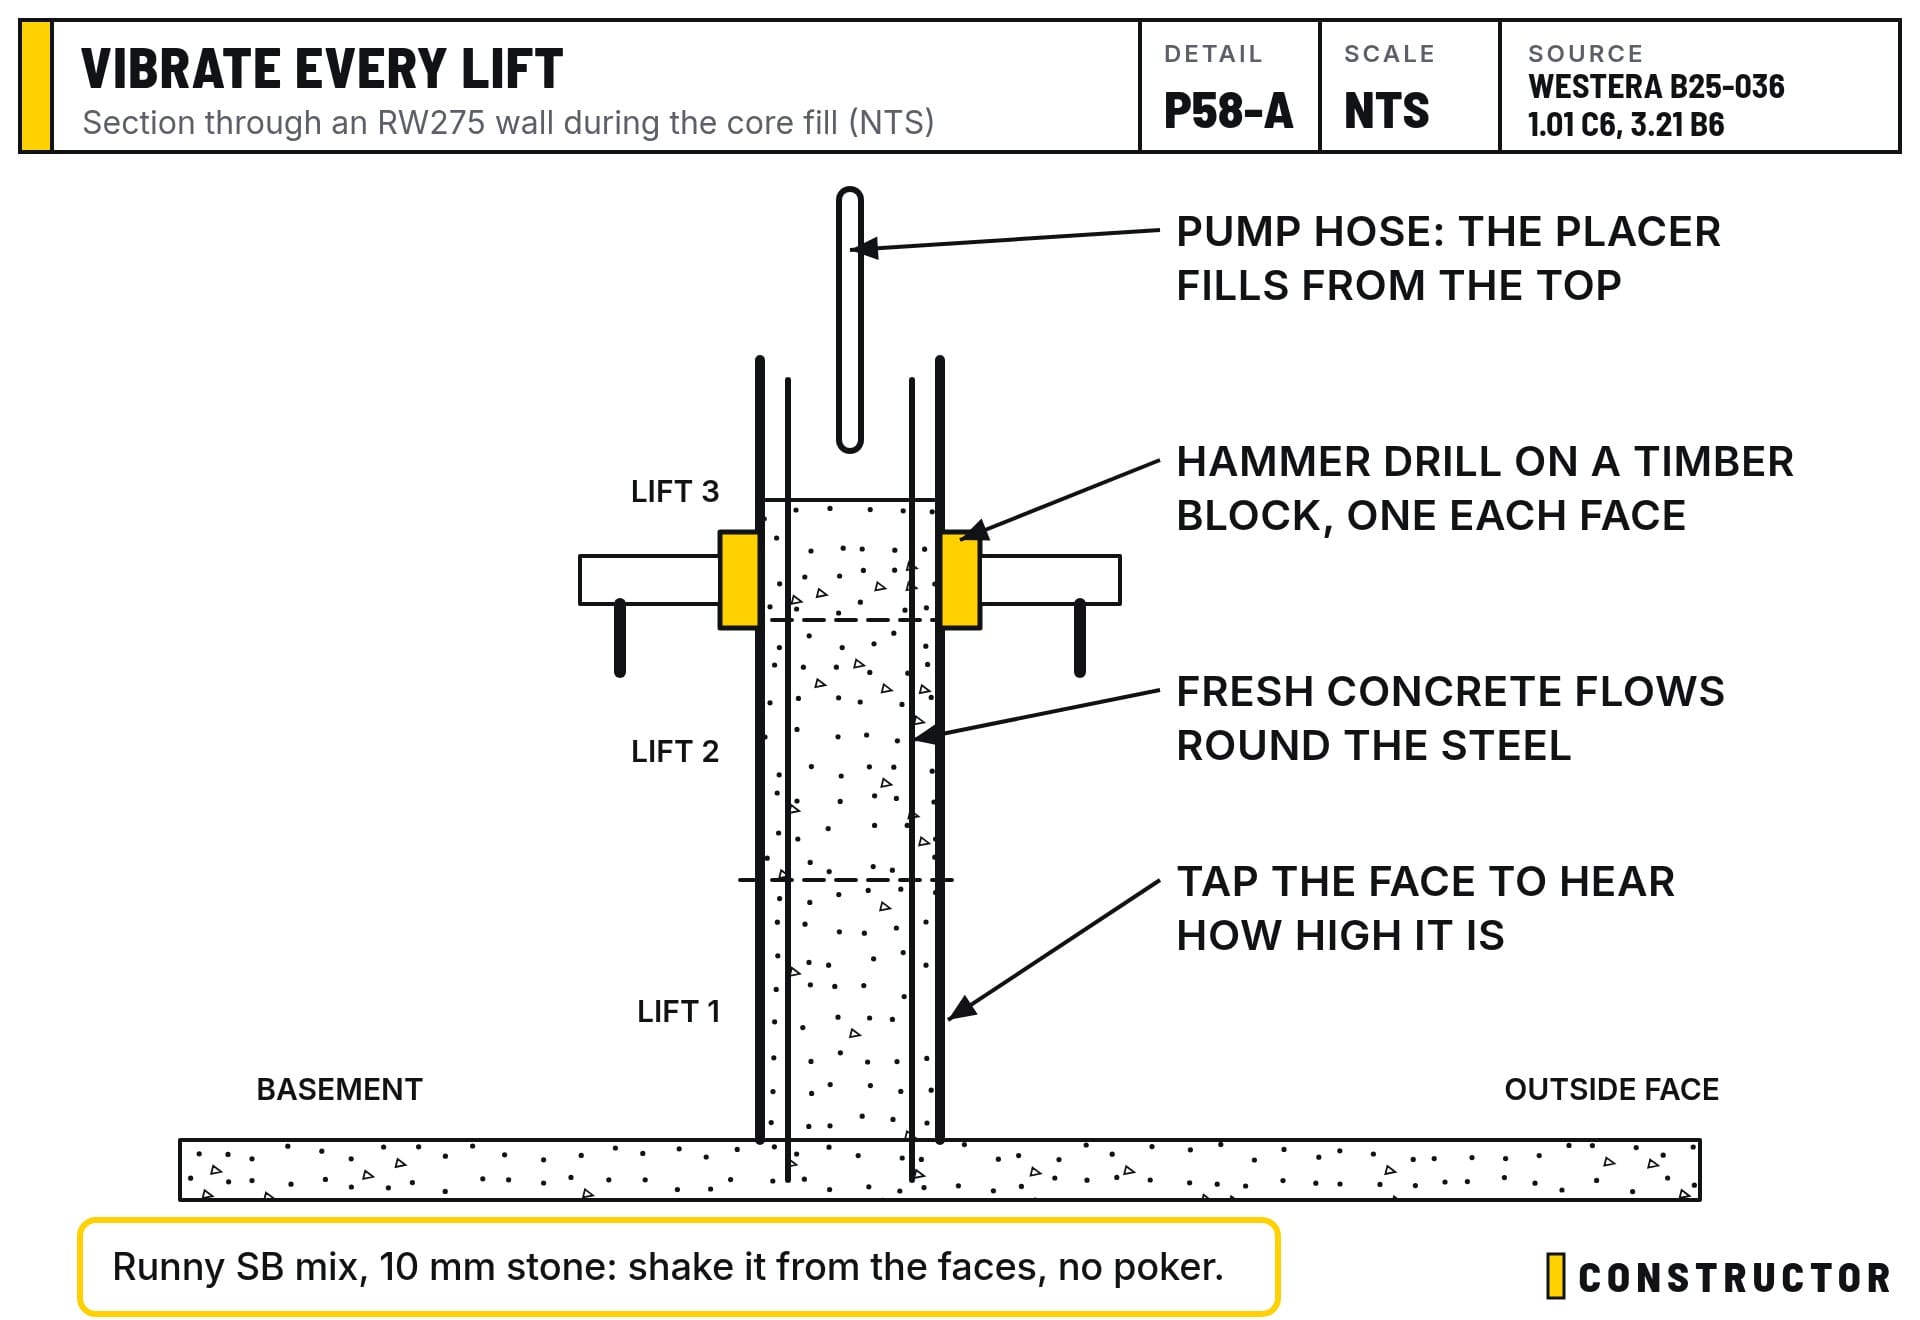
Westera's general notes (sheet 1.01, note C6) say all concrete must be mechanically vibrated, and vibrators must not be used to spread concrete. The vibration is there to compact each lift, not to push concrete along the wall.
So why no poker vibrator down the cores? We didn't need one. The core fill is an SB mix with 10 mm stone and a high slump, so it's runny and flows down the cores and around the steel on its own. Vibrating from the faces with the hammer drills is enough to settle it and get the air out. A poker would also be hard to get down a narrow core past all the bars.
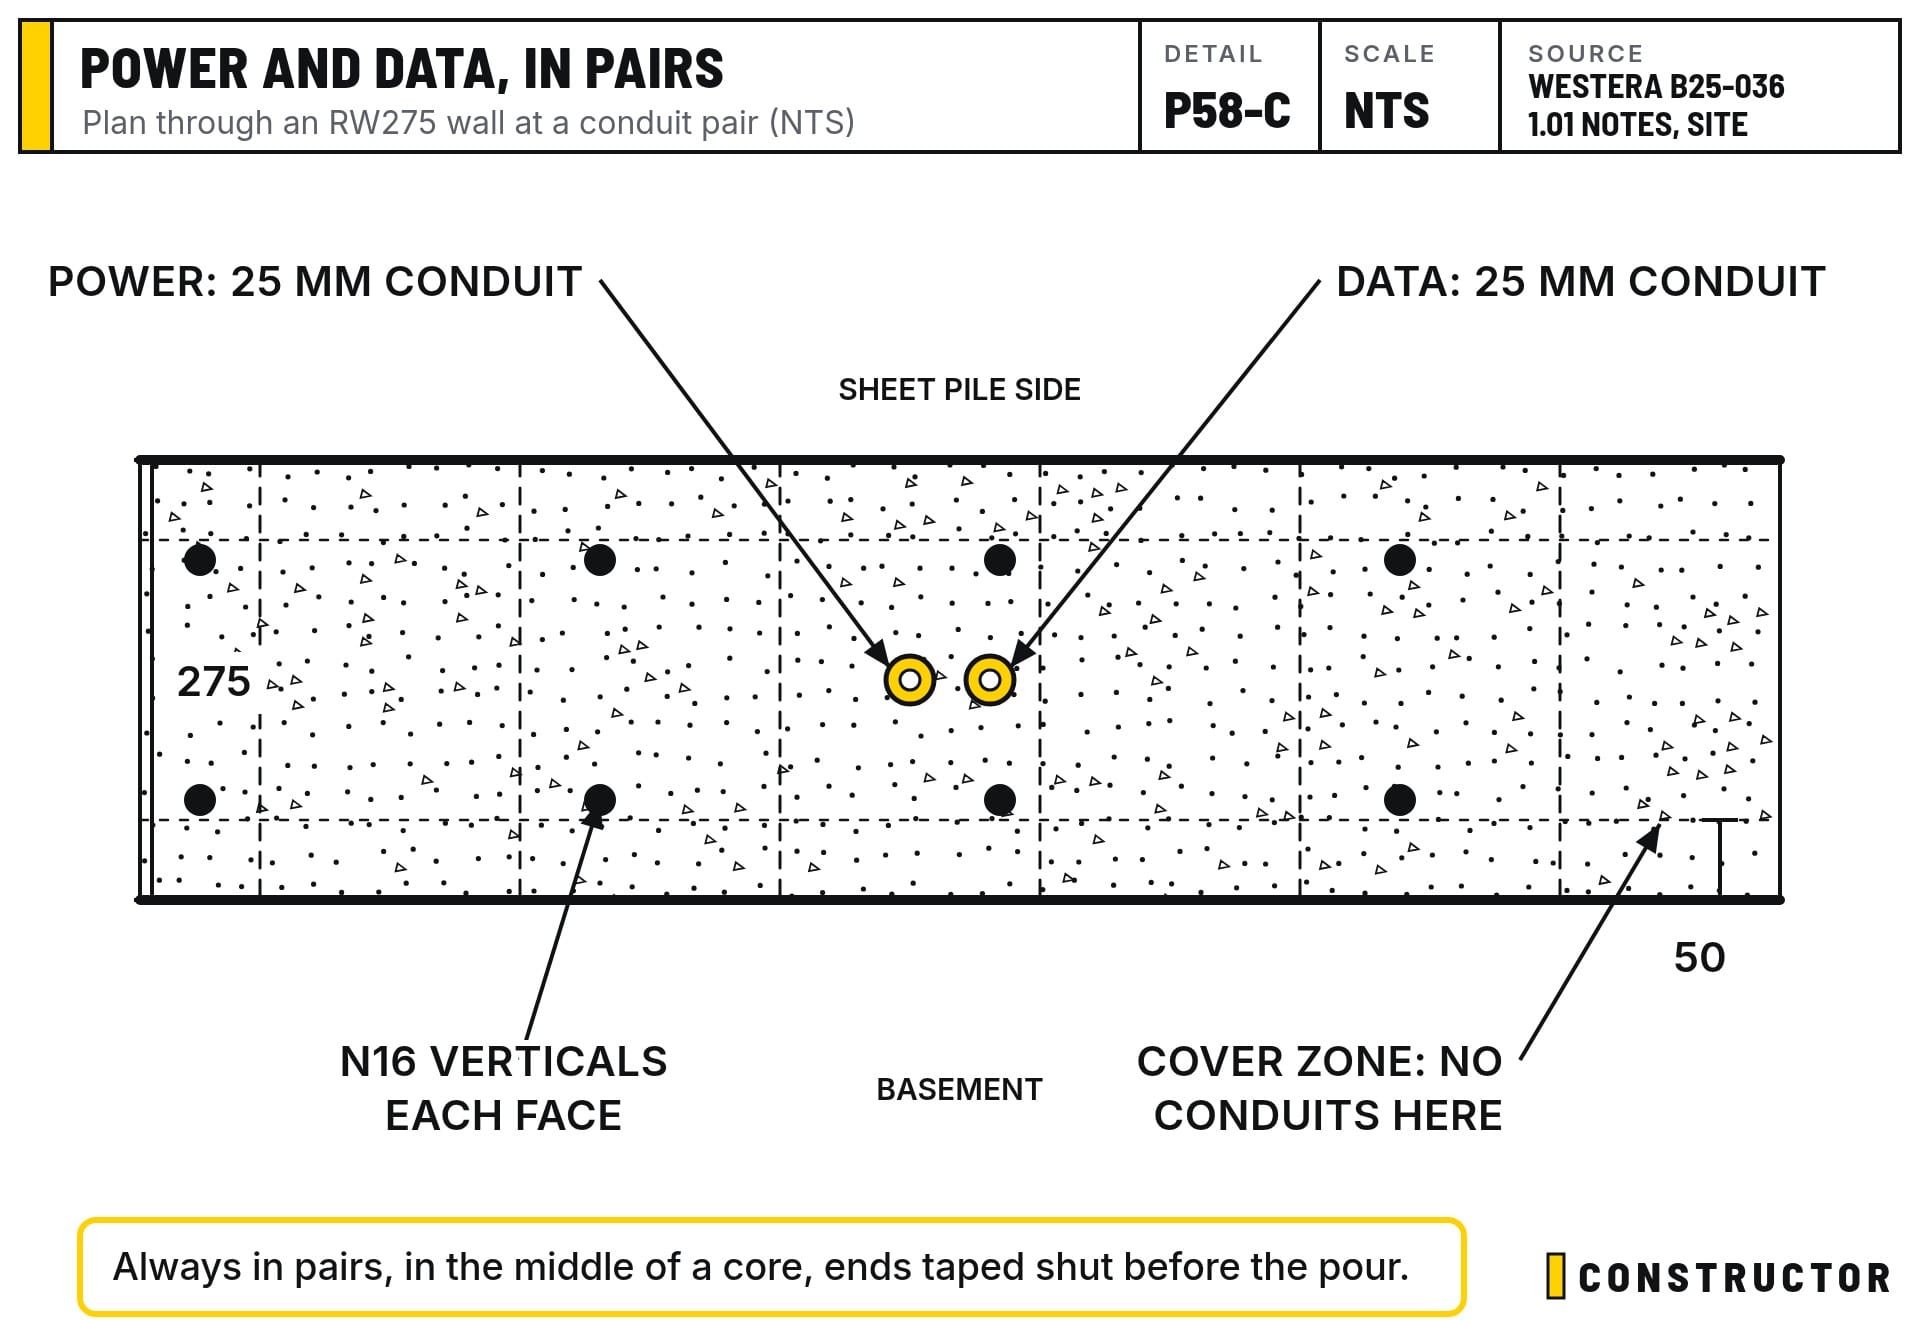
Conduits sealed up
We finished putting the conduits in last night. This morning we sealed them up and taped them. A good thing about Rediwall is that it's plastic, so you can just tape them up as well. Then the concrete can't get into the ends.
We went around for one more check with the owner to see where they want everything. We put in one for power and one for data everywhere, so always in pairs. You don't want your data in your power conduit.
- 25 mm conduit for both power and data.
- Marked on the wall. You can write on Rediwall, so each stub gets marked with a felt marker. That way we know what's what once the concrete is in.
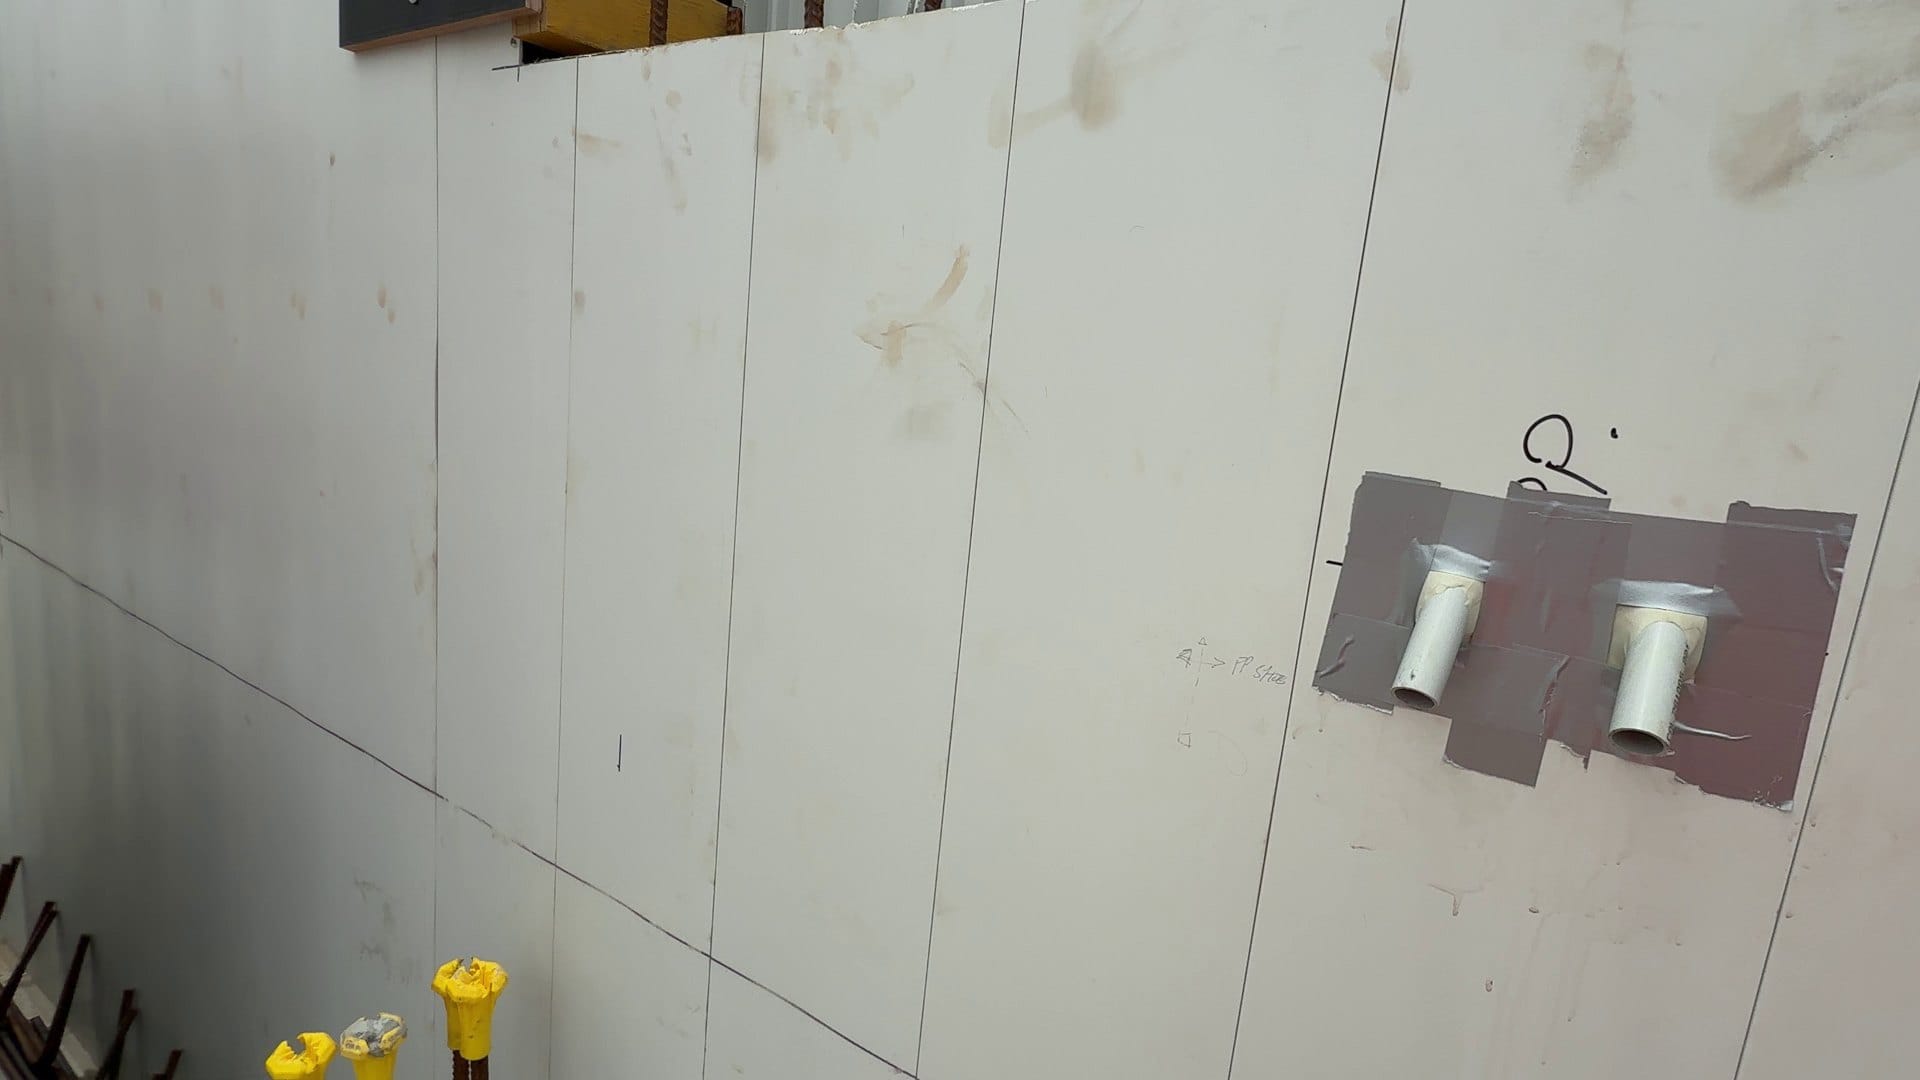
To get them in, we use a blowtorch. One person is up the top and another at the bottom. The person at the top holds the length while the bottom person heats it until the end gets nice and floppy. The top person drops it in, the other sticks a screwdriver through the wall, grabs the end and pulls it out. You only bend it slightly, so you don't pinch the conduit too much. There are no 90 degree bends, just gentle angled turns.
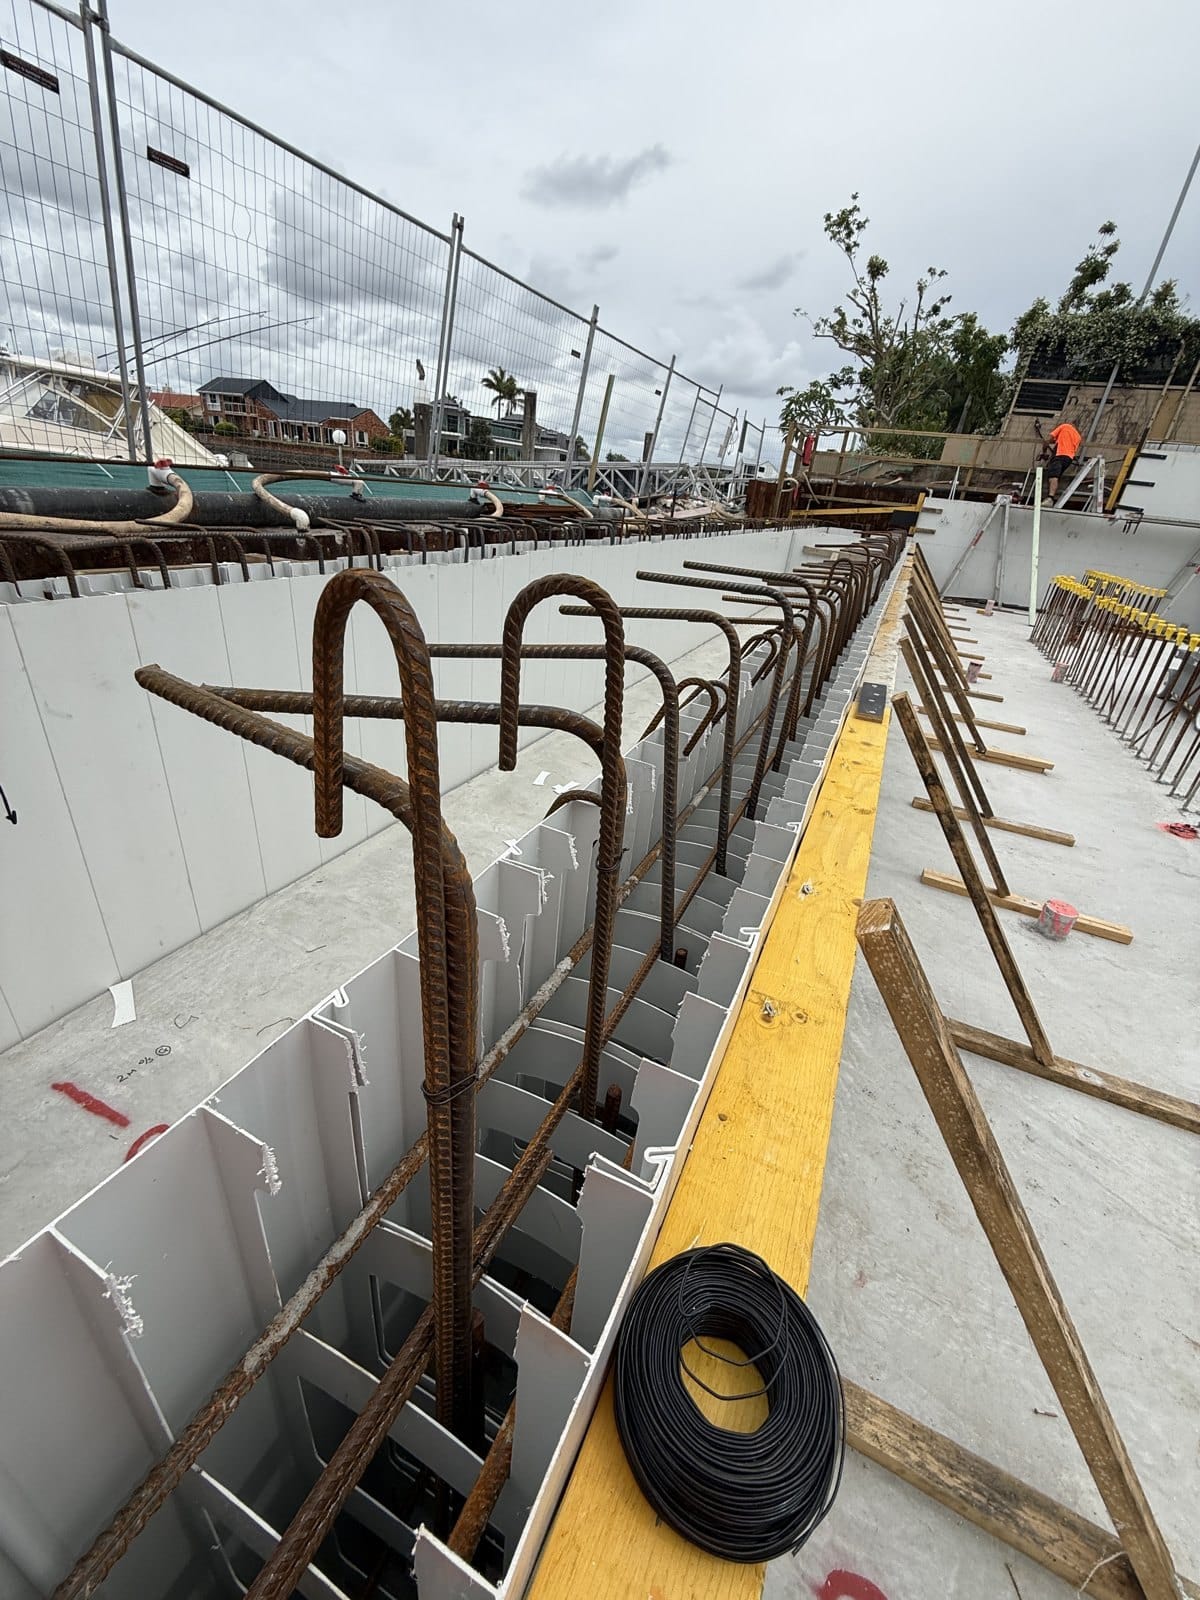
L bars set to height
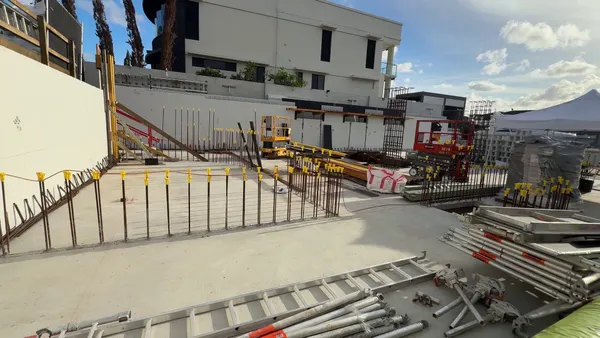
I finished placing all the bars yesterday, and then we started setting the heights of the L bars. Up the top of the walls you can see them sitting at the height we want. These L bars connect the walls to the next level.
There are so many bars down on the floor that we set the heights first. When it's time to hand them up, we can drop them straight into the core fill. It makes them much easier to place and set.
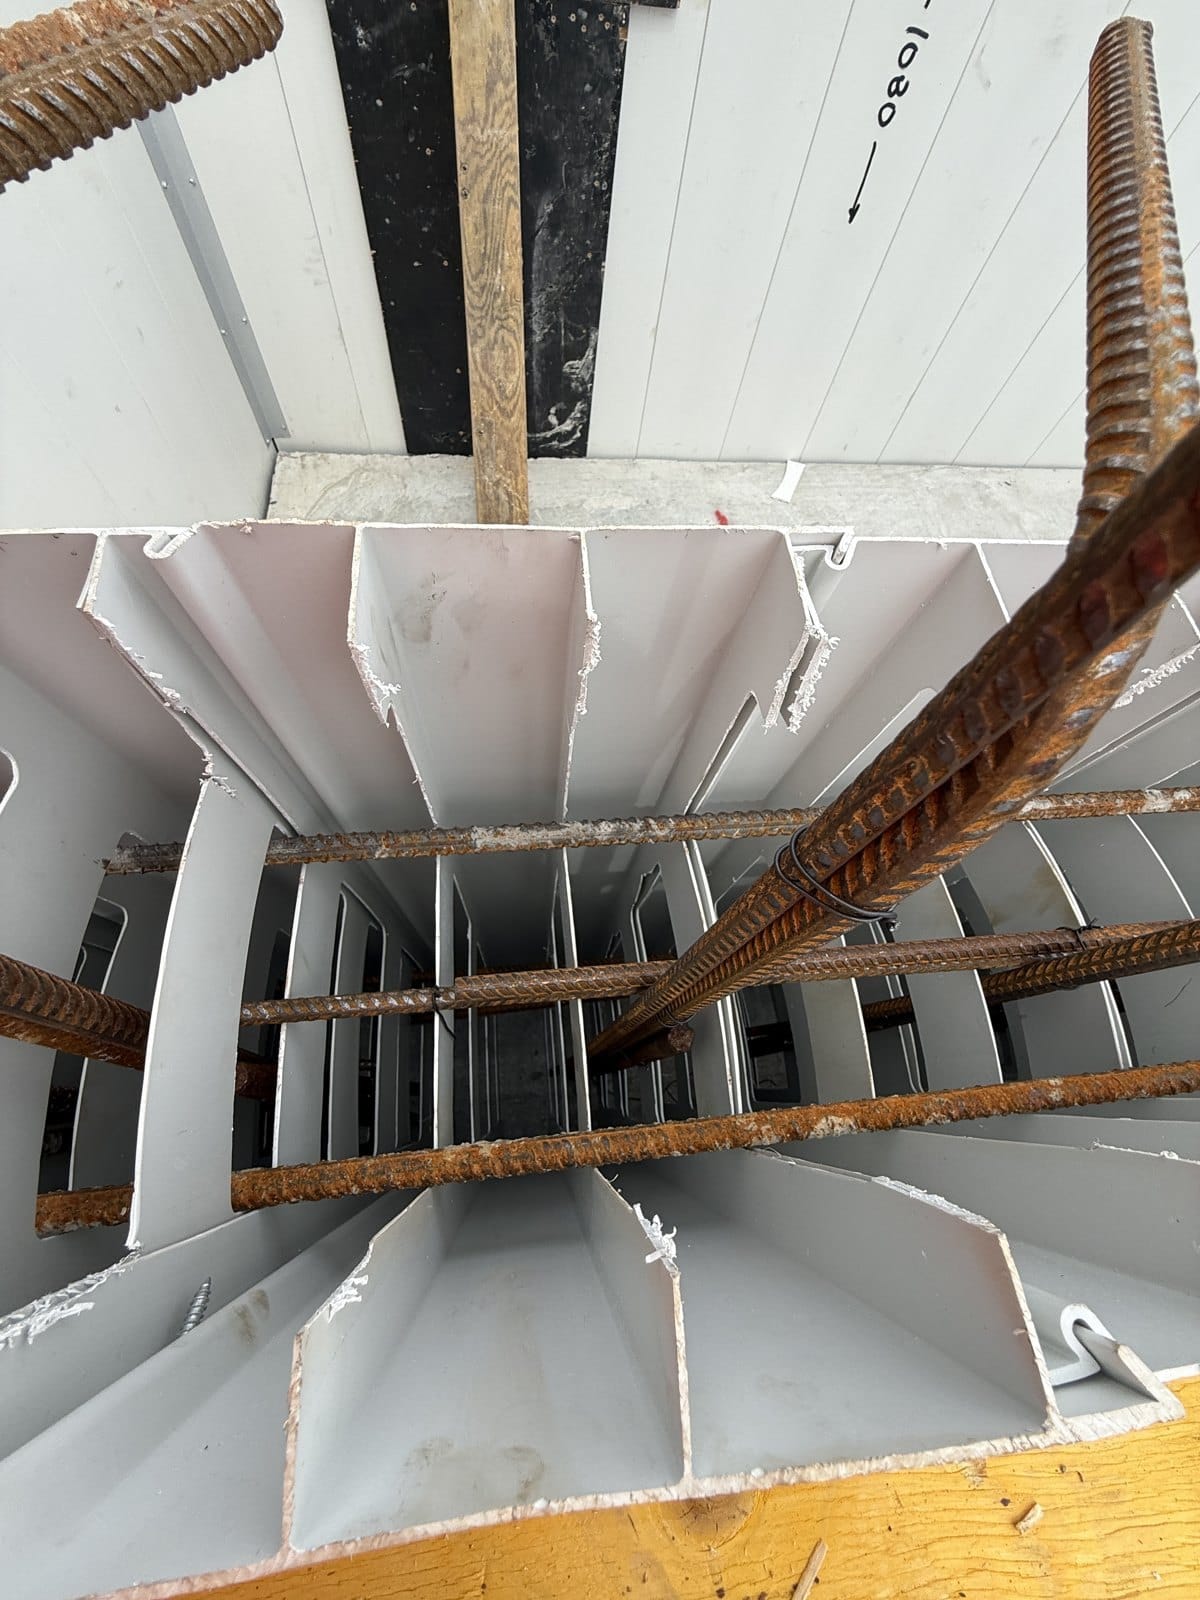
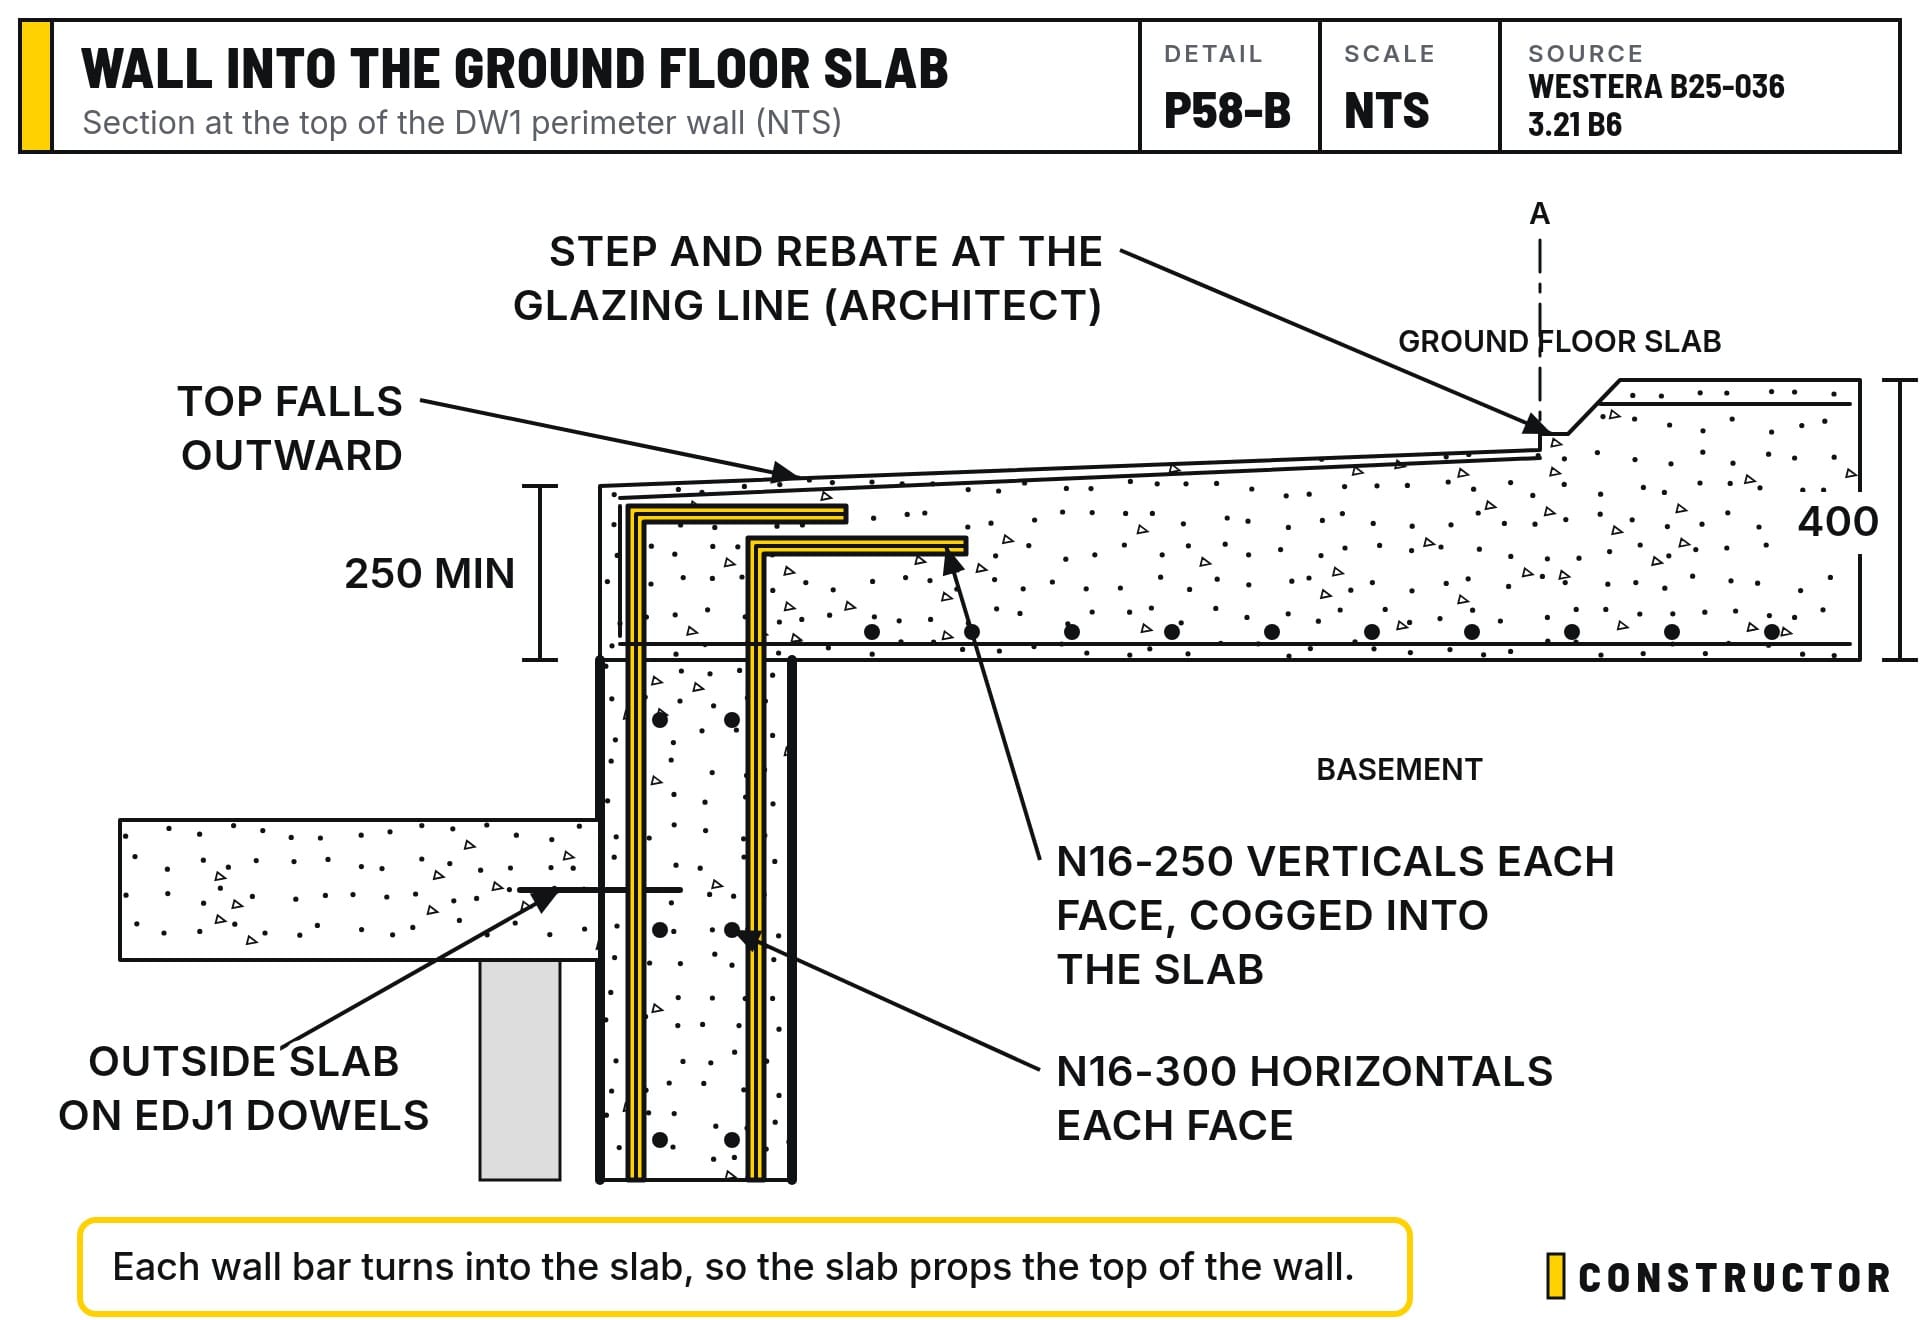
Westera's DW1 detail (sheet 3.21, B6) shows why. The wall's vertical bars each face turn over into the ground floor slab, so the slab holds the top of the wall and the two act together.
The engineer's check
The engineer was out again this morning for another check before we poured, as planned in Post 57.
Some of the walls already have concrete in them now. On the canal side there are double L bars at the concrete face. Those ones will bend over later.
Those canal side bars follow Westera's cantilevered pool section, P3, for the DW7 wall. That's where the slab sails out over the sheet piling toward the canal (see Post 57), so the wall steel has to turn both ways: into the floor on one side and out into the cantilever on the other. Westera's wall schedule (sheet 2.00) sends DW7 to its own detail sheet, separate from the basement details. The DW7 wall was meant to be a thinner Rediwall, but we built it from offcuts of the RW275 we had left over.
The setup from the street
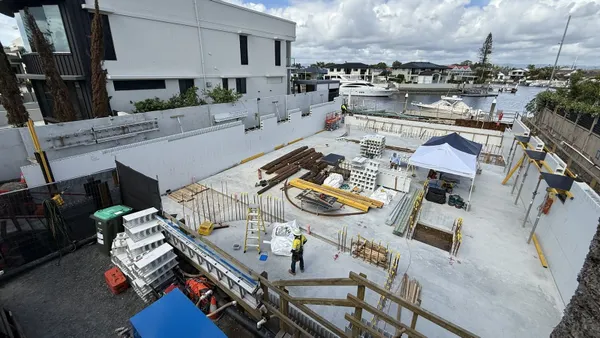
The pump is set up out the front, with its outriggers fully extended on sole plates. We're not too worried about damaging anything. The plates just give the pump a nice stable surface. It's the same on the back.
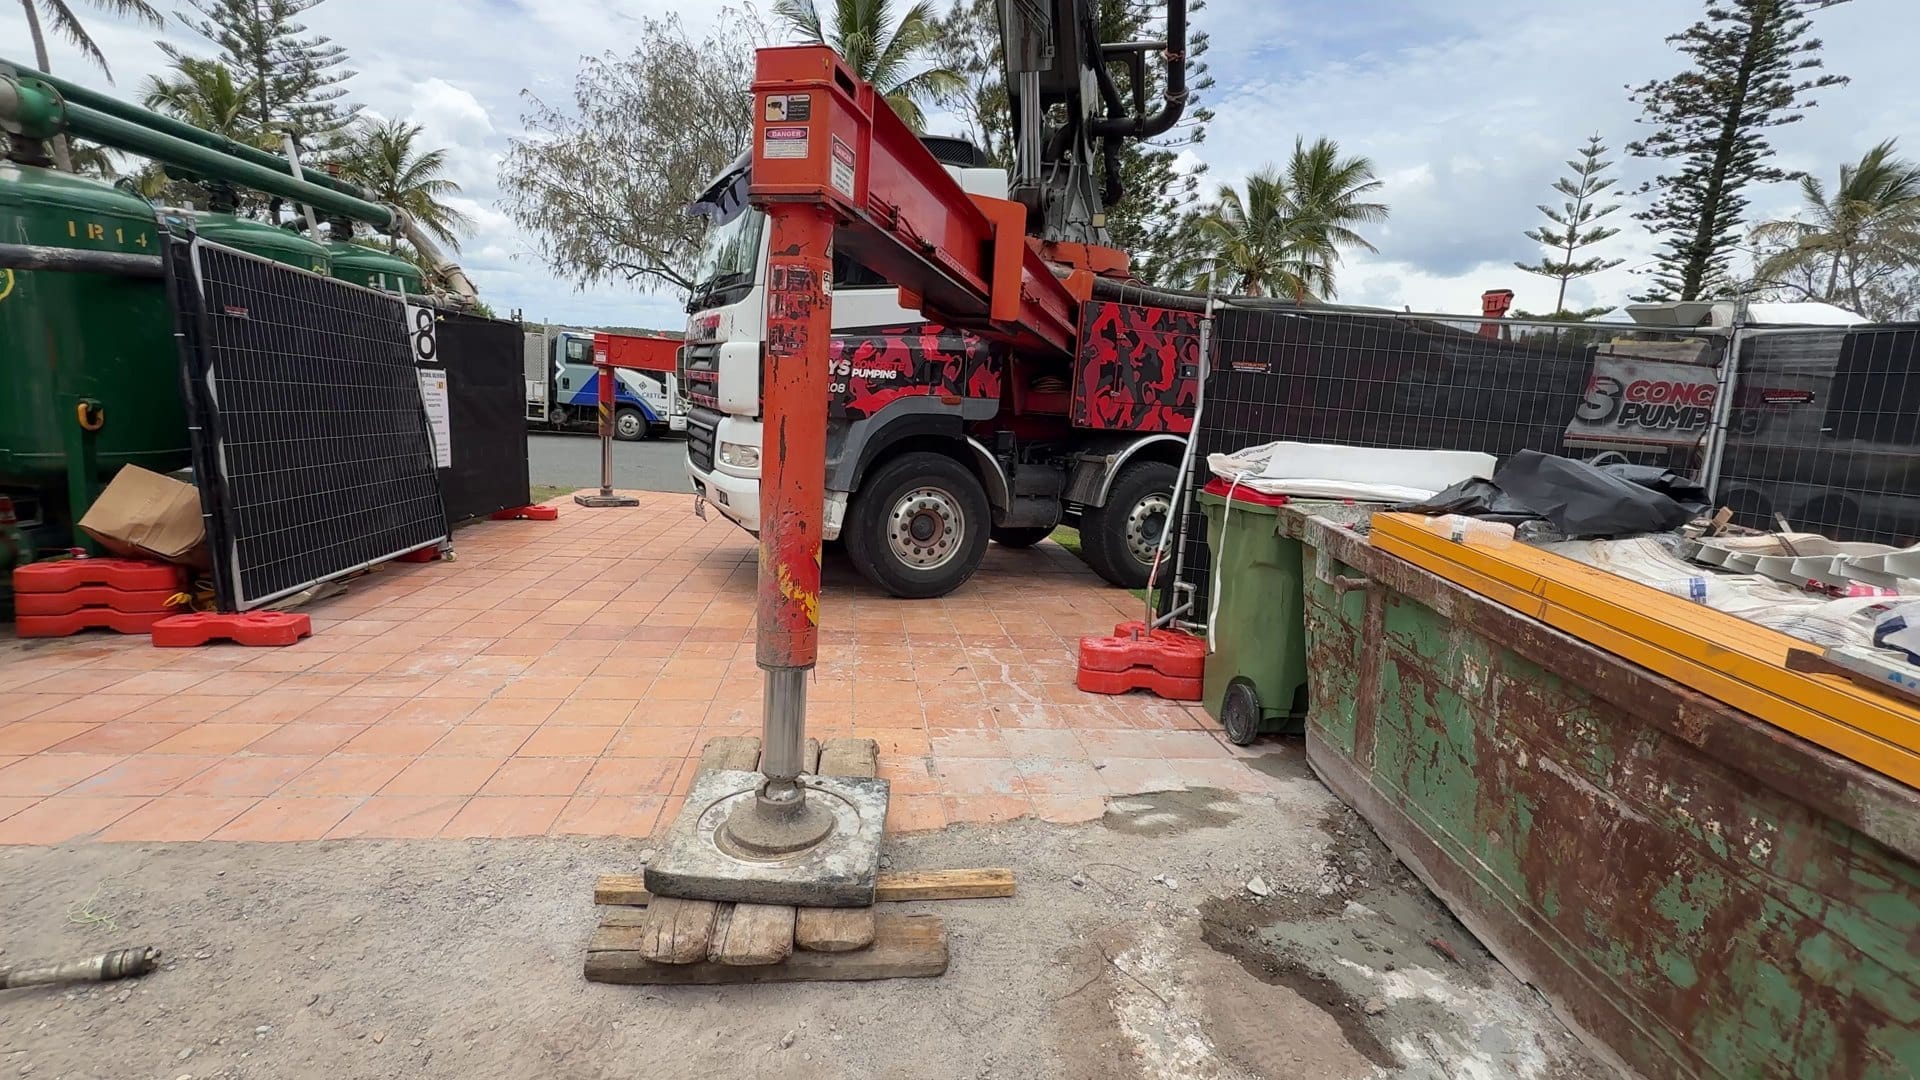
- Plastic under the hopper. It's laid on the ground so any concrete that drops from the hopper goes on the plastic, and we'll wash the road off afterwards.
- Cones around the trucks.
- Trucks one at a time. They line up, one truck leaves and the next one reverses in.
We're very fortunate that we get on very well with the neighbour, given that the concrete pump is parked all over their lawn.
The viewing platform comes in handy too. Not that you'd want to stand on it while we're pouring. Maybe we'll call it a Juliet platform, for all those people with fancy houses.
What I'm doing on pour day
My job is mostly watching. I'm knocking on the walls, checking for any leaks, constantly looking around and keeping an eye on everything, and getting reinforcement and materials up to the guys so they've got what they need.
Next, the mobile scaffold comes around, and we bring the pump through the area where the windows and the lintel formwork are, then continue on around.
If you're having concrete poured on your own build, it's worth knowing what to look at once the forms come off. Our C6 Post-Pour Slab Inspection Checklist walks you through it.

C6 - Post Pour Slab Inspection Checklist
$59.00 AUD
Last updated 28 Oct 2026 · Revision 4 · Free updates for life
Checklist Type: Minor
Form Factor: Fillable, print-ready PDF (A4, 21 pages)
When to use: After the concrete pour, before the frame goes up
A 61-point checklist to inspect your slab after the pour: records, curing, edges, levels, pipes and cracks, while repairs are still easy to arrange.
✓ Authorship verified on the blockchain · View certificate