As a prospective Aussie homeowner, you may have heard terms like "level 4 finish" or "level 5 finish" thrown around, but what do they actually mean?
Choosing the right level of finish for your plasterboard comes down to your budget, the complexity of your design and the look you want. In this guide I walk you through the levels of plasterboard finish, what's required for each, and how to choose the right one for your new home.
The good news is, unless you specify otherwise, a simple level 4 finish is typically the default and will work for most standard installations. But if you’ve got an architecturally designed space or want to use semi gloss or gloss paints, you’ll need to opt for a higher level of finish.

C12 - Fixing Stage Inspection Checklist
$119.00 AUD
Checklist Type: Major (Fixing Stage)
Form Factor: Fillable, print-ready PDF (A4, 35 pages)
When to use: Fixing stage: plasterboard, eaves, joinery, fixout carpentry and tiling
A 370-point fixing stage checklist. Inspect plasterboard, eaves, joinery, fixout carpentry and tiling, including glancing light checks, before the stage is signed off.
Understanding Plasterboard Levels of Finish
The level of finish refers to the amount of jointing compound and taping required to cover plasterboard joints, corners and screw fixings.
The default level in wet areas in residential homes is level 3. This provides a neat finish with visible joints and screw fixings filled and taped. It’s suitable for most wet areas like, bathroom, ensuite and laundries where surfaces are to be tiled over.
For a seamless surface ready to paint, level 4 is the default standard. It involves three separate coats of jointing compound, 500 mm wide over sheet butt joints, 250 mm wide over tapered edge joints and external corners, and 100 mm at internal angles, each coat sanded smooth before the next is applied. This extra effort gives a durable, professional-looking finish, ideal for most painted walls and ceilings.
In high-visibility areas, or where semi-gloss or gloss paints or dark colour schemes will be used, level 5 is best. It's a Level 4 finish plus a skim coat of compound over the entire surface, so the board face and the joints look the same under paint and light.
The level of finish for your plasterboard ultimately comes down to your needs, the house design (glancing light/light sources and type), timeline and budget. But for most homes, opting for level 4 in general living areas and level 3 or 4 in wet areas is a smart choice to ensure performance, appearance and value for your investment. Carefully consider each room and how the finish may impact the space to achieve your desired result.
What to put in your contract: check your contract or specification states the level of finish. If it doesn't, ask for Level 4 throughout and Level 5 where you're using gloss paint or have large windows casting light along the walls. Our C12 Fixing checklist (above) and C15 Painting checklist cover what to check on site.
When to Use Each Level of Plasterboard Finish
When it comes to finishing off your plasterboard walls and ceilings, you've got options. The level of finish you choose depends on how smooth you want the surface and how visible imperfections will be.
The Australian Standard AS/NZS 2589:2017 'Gypsum linings - Application and finishing' defines three levels of finish for plasterboard walls and ceilings. These are named Level 3 to Level 5, with Level 5 being the highest standard.
Level 3
Joints and screw heads are taped and coated, but not to a paint-ready finish. Use it where walls will be tiled or get a heavy texture.
Level 4
Joints get tape plus three coats of compound, each sanded smooth. Level 4 is the usual default for painted walls and ceilings in house construction, and suits flat or low-sheen paint. To get the best from it, the painter should sand between coats and use a 10 to 13 mm nap roller (and back-roll if spraying) to get the right paint build-up for each coat.
Level 5
The highest level of finish (when specified) for plasterboard lining where the desired outcome is to have a finished surface that is as free as possible from surface defects and visual blemishes. Level 5 finish does not however mean that the surface is without texture variation.
Design Tips to Enhance Plasterboard Performance
When designing your home, keep these tips in mind to help your plasterboard perform at its best.
Choose a Higher Level of Finish
Choose Level 5 where you'll have gloss or dark paint, or strong side-lighting (long hallways, big windows, downlights close to walls). Level 4 is fine for most other rooms, and Level 3 suits wet areas that will be tiled. The higher the level, the more plastering and painting time, and cost, it takes.
Extra Effort Required
It is much easier to achieve higher levels of finish by rolling (or back rolling) tinted sealers, base and top coats. Most painters spray for speed and efficiency so back rolling with the correct nap roller, typically a 10mm to 13mm nap is best for achieving the desired build up for each layer of the coating system. Ensuring each coat has sufficient time to dry is also very important to achieving higher finish outcomes. Finally, sanding between coats is essential to remove imperfections as well as help each paint layer bond to the last.
Consider Moisture Resistance
In bathrooms, laundries or kitchens, use moisture-resistant plasterboard. It contains water-repellent additives to prevent sagging or crumbling if exposed to high humidity or occasional splashes. For full wet areas like showers, use water-resistant or waterproof boards. Remember that stud adhesive should not be used in wet areas. Board is only fixed with screws or nails per the manufacturers installation details. When doing full height wall tiling, additional wall fixing (additional screws) is required to ensure the wall is resistant to the weight of the tiles to be applied to it.
Consider the Framing
The plasterboard finish can only be as level and good as the framing behind it. For the best results, ensure wall framing members are evenly spaced and at a maximum of 600mm centres (450mm is better but uses more timber = +$Cost), securely fixed and provide a flat surface (3mm or less straightness) before the plasterboard is installed.
Additionally, using furring channels (resilient mounts can also be used) on ceilings installed with a laser level to ensure that timber variations (ceiling joists/truss cord) are levelled out to provide a flat mounting surface.
 Mastering Level 4 Plasterboard Finish: A Comprehensive GuideDiscover how to achieve a Level 4 plasterboard finish, the second-highest standard for a smooth surface ready for painting. This guide covers installation, joint finishing, sealing, and painting techniques, essential for creating a flawless, professional-looking wall surface in your home.
 Defining Plasterboard Finish Levels in ConstructionExploring the importance of specifying plasterboard finish levels for project builders to guarantee quality and client satisfaction.
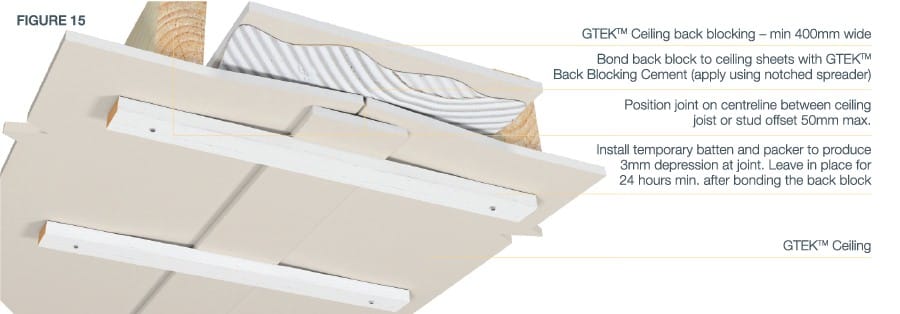 Plasterboard Backblocking: What is backblocking & why do it?Backblocking is crucial for plasterboard wall strength. It involves securing extra plasterboard behind joints for stability, preventing issues like cracking and damage over time. This guide explains the process, its importance, and how it meets building standards for durable wall construction.
 Painting QA Record-Keeping: Ensure Quality in Your HomeIn this guide we explain Painting QA record-keeping, key documents like Coating Inspection Reports, and actionable tips for you to protect your investment and achieve quality results.
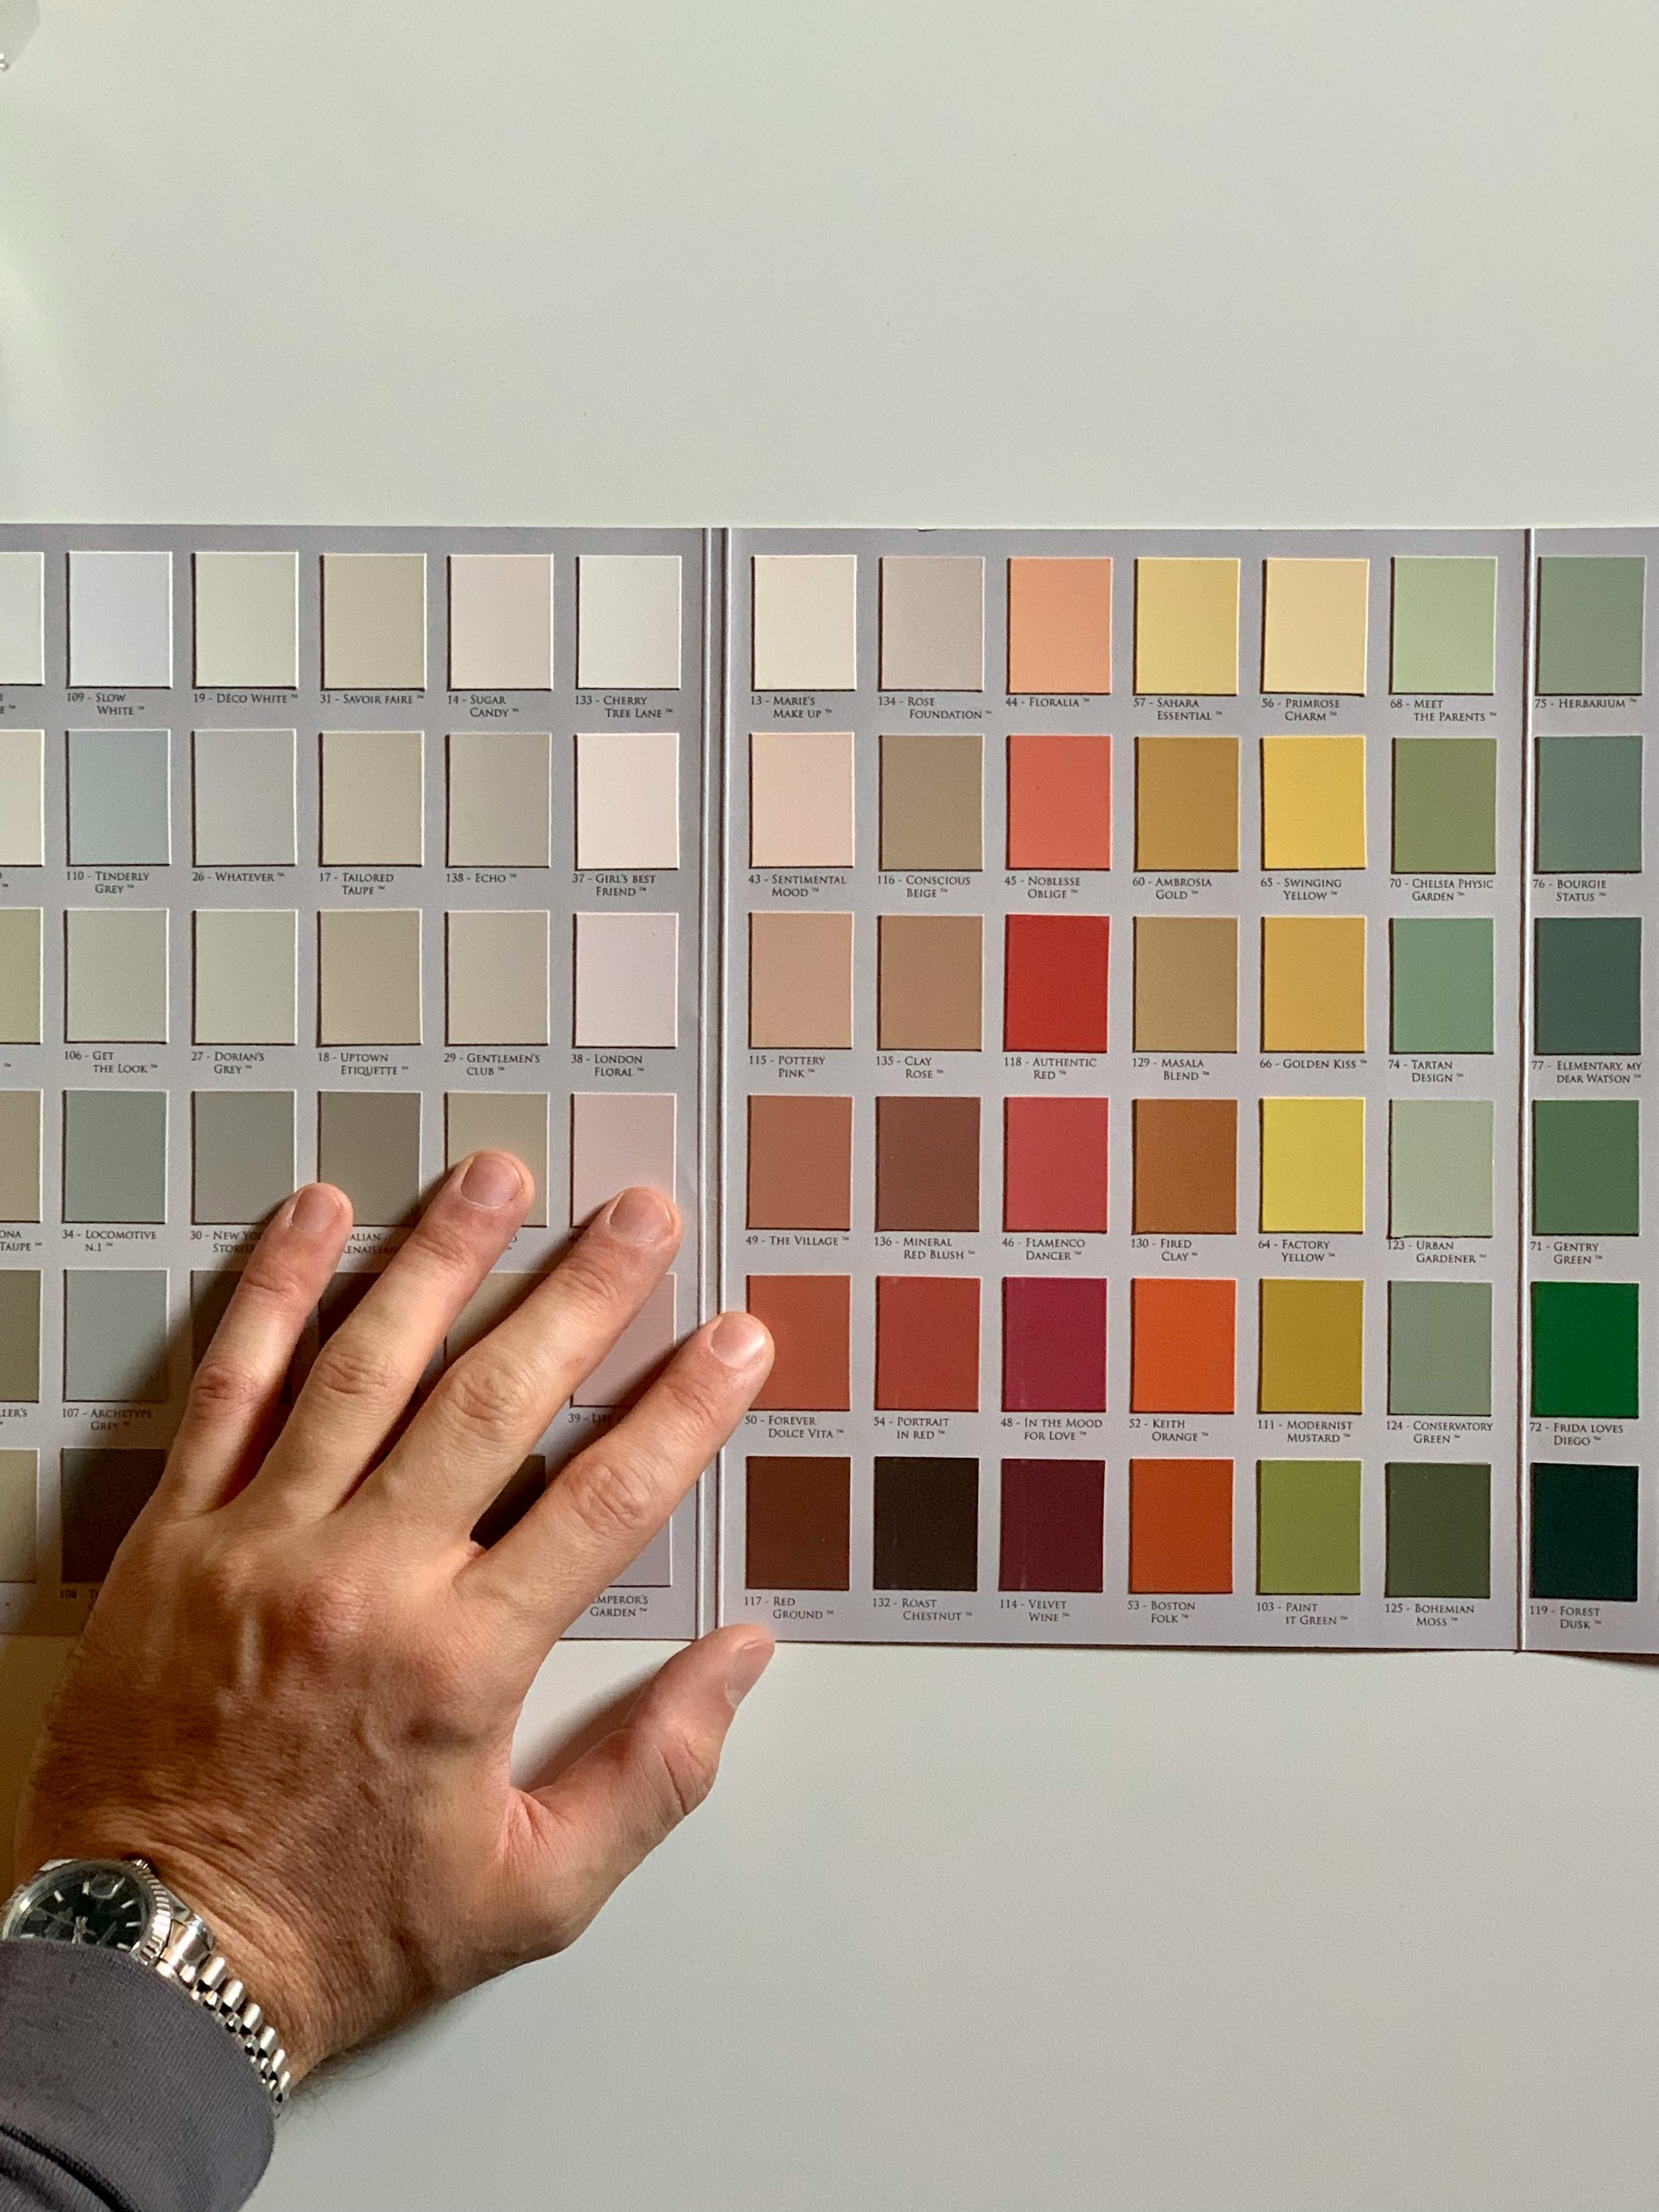 3 Timeless Interior Paint Colors to Transform Your HomeRefresh your home’s interior with three classic paint colors: white, grey, and beige. This guide explains why these colors are fool-proof choices for any room, offering versatility, style, and the ability to stand the test of time, making them ideal for a chic and enduring home makeover.
 Low VOC Paint: The Healthy Choice for Your New HomeConsidering the paint for your new home? Traditional paints can release harmful VOCs, affecting indoor air quality. Discover the benefits of low VOC paint: a healthier environment, no strong odours, and an eco-friendly choice. Ensure your home’s air remains pure and safe for your family.