A building site changes every day. Trades come and go, scaffolds go up, trenches get dug, leads get dragged through mud. On a contracted build your builder is responsible for site safety. This checklist helps you see whether they're managing it, and gives you a record if something goes wrong.
Untested electrical gear, missing edge protection and sediment washing into the street are all easy to spot if you know what to look for. That's what the C19 Periodic Safety Inspection Checklist is for:
- No jargon. Clear checks anyone can follow.
- Catches problems early, like sediment runoff that can bring a council fine.
- Puts you in control, even if you're not a construction expert.
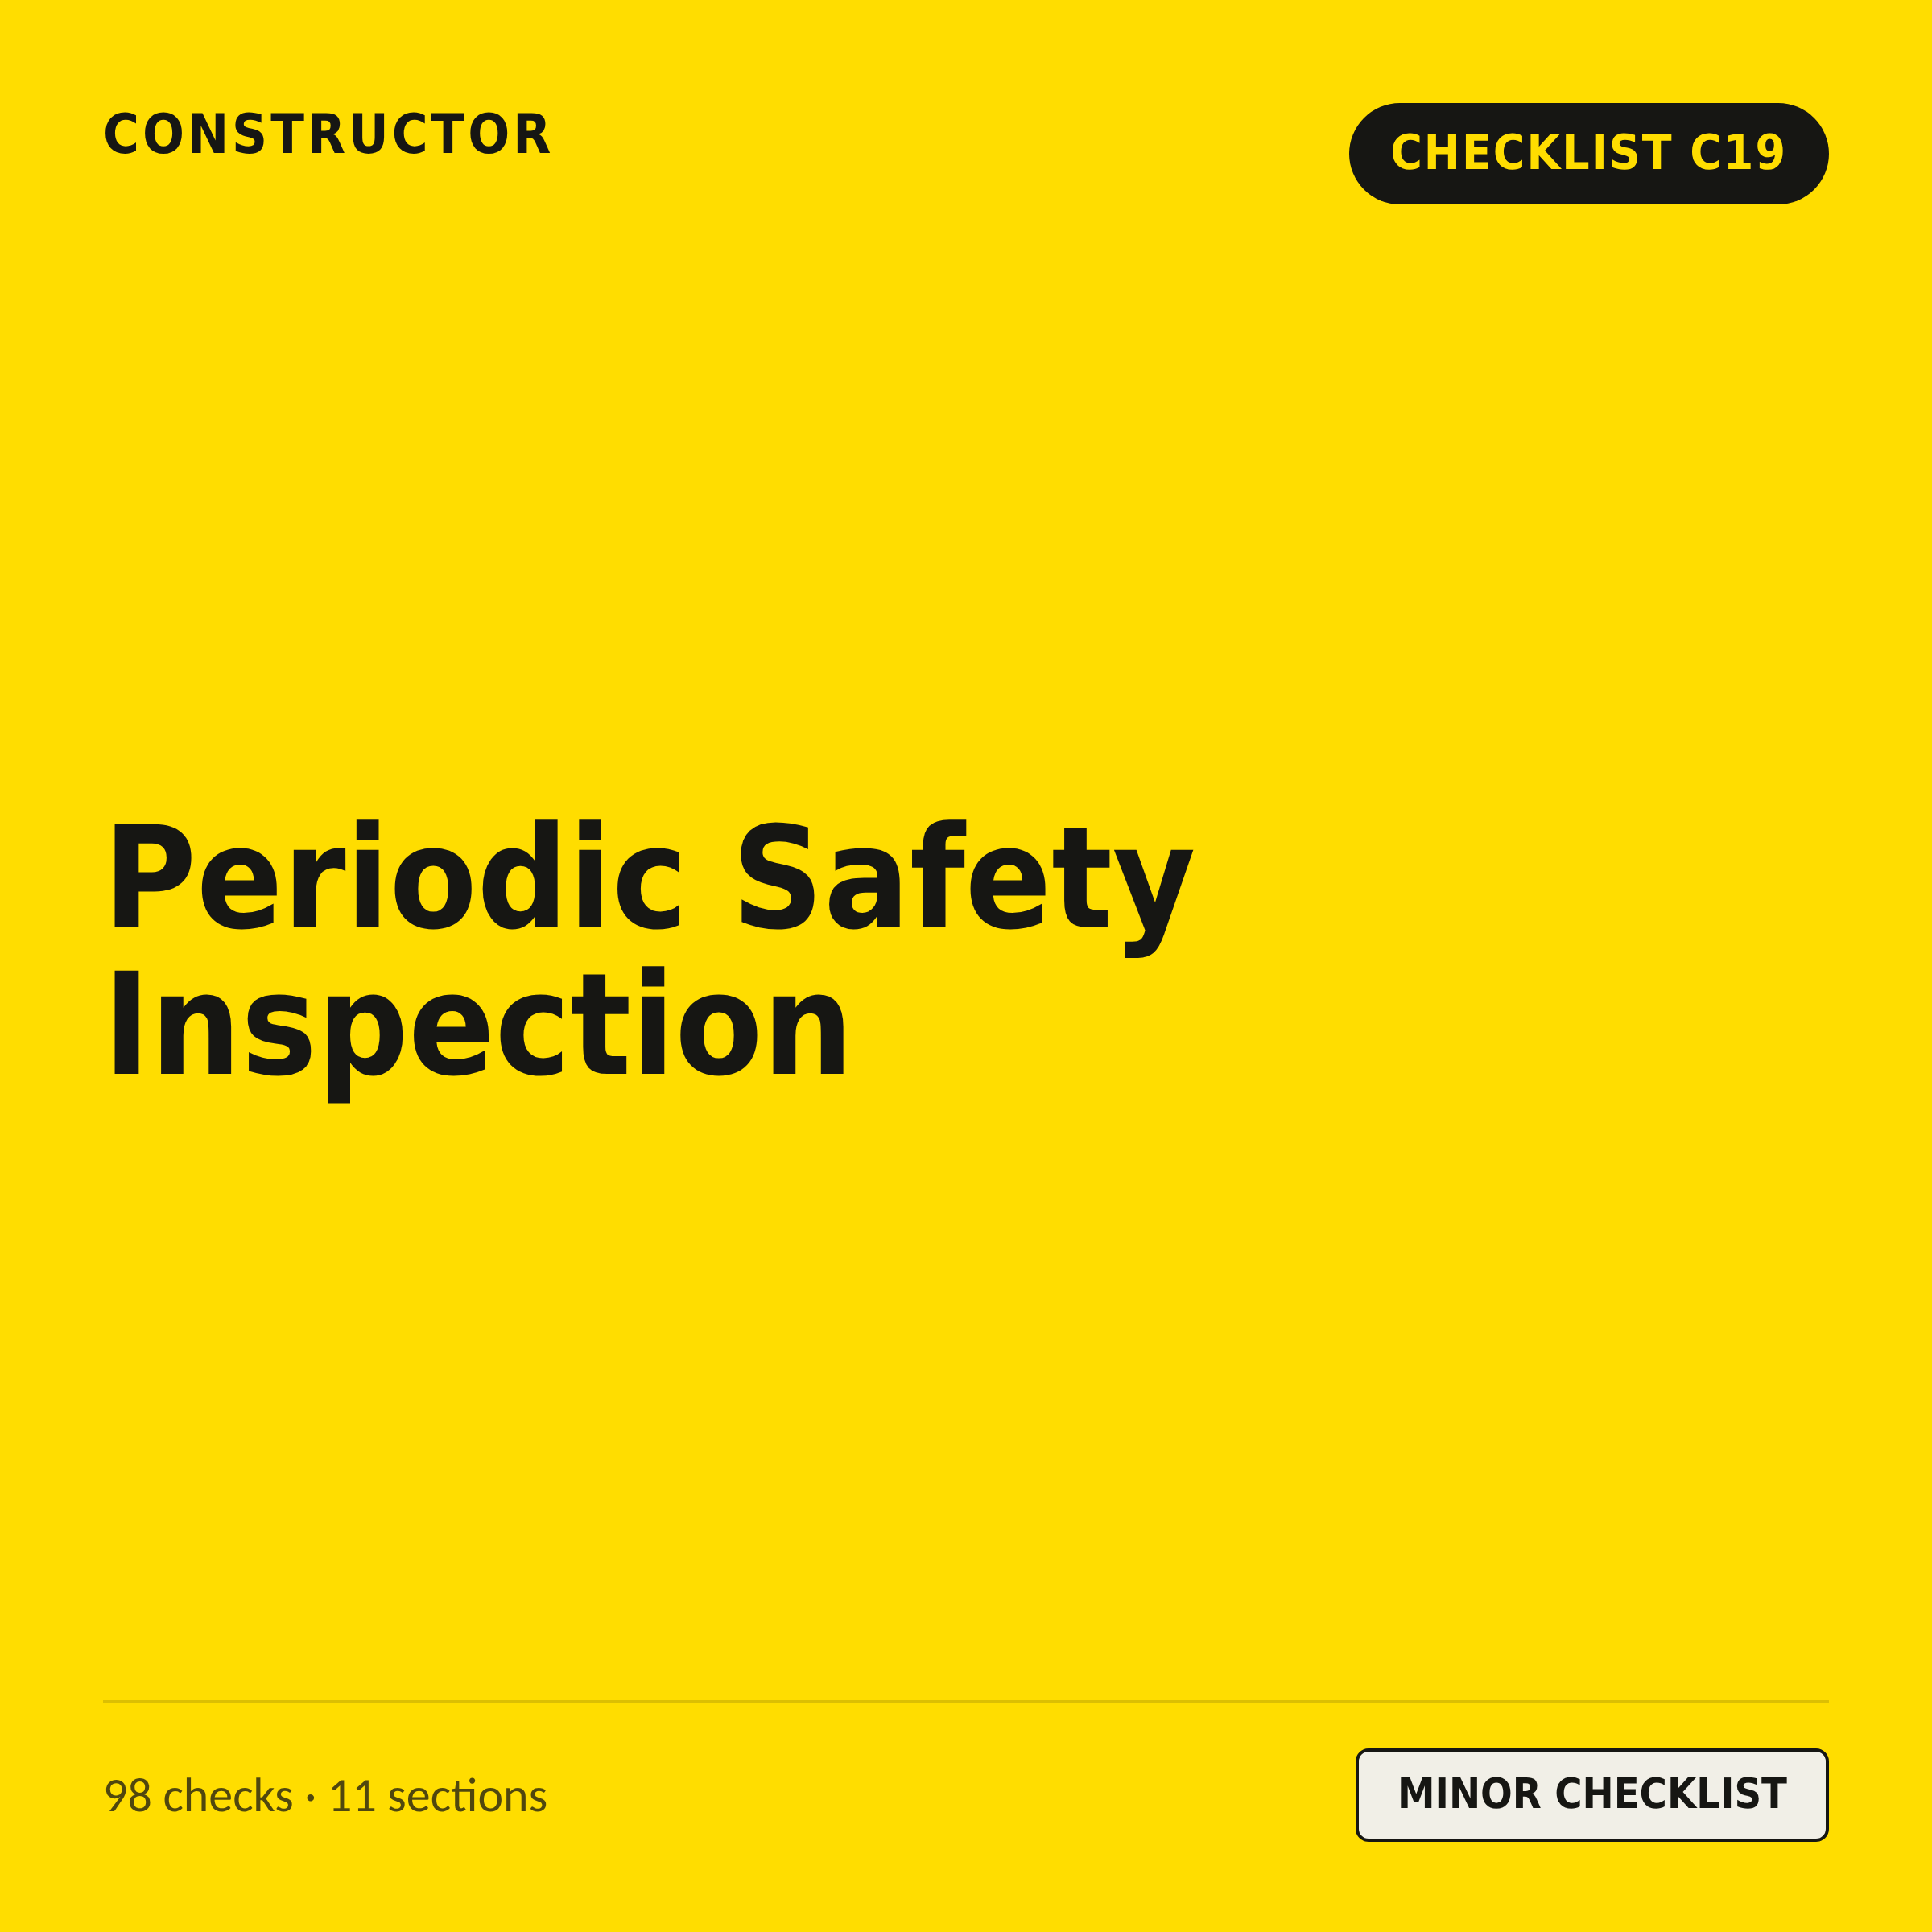
C19 - Periodic Safety Inspection Checklist
$59.00 AUD
Last updated 5 Oct 2026 · Revision 1 · Free updates for life
Checklist Type: Minor
Form Factor: Fillable, print-ready PDF (A4, 19 pages) with registers
When to use: Throughout construction: regular site health and safety inspections
A 98-point site health and safety inspection checklist with action, non-compliance, risk, communication and photo registers, to review site safety and follow up every issue.
✓ Authorship verified on the blockchain · View certificate
Why periodic safety inspections matter
Safety is a legal duty. Under Queensland's Work Health and Safety Act 2011, the person conducting the business (usually your builder) must ensure, so far as reasonably practicable, the health and safety of workers and others on site. Regular inspections are one of the main ways they show they're doing it.
Problems are cheaper caught early. A blocked stormwater grate or a failed silt fence takes ten minutes to fix today. Left until the next storm, it can mean council action, a cleanup bill and a delay.
Clean sites are productive sites. Have you ever tried to work with rubbish all around you? It slows you down. A site littered with offcuts and packaging forces everyone to work around obstacles, and untagged leads or open edges make people work slower and more carefully than they should need to. Safe workers are more productive workers.
It builds trust with the trades. Clear expectations reduce arguments. Everyone goes to work wanting to get home safely at the end of the day.
What the checklist covers
Site management (S1)
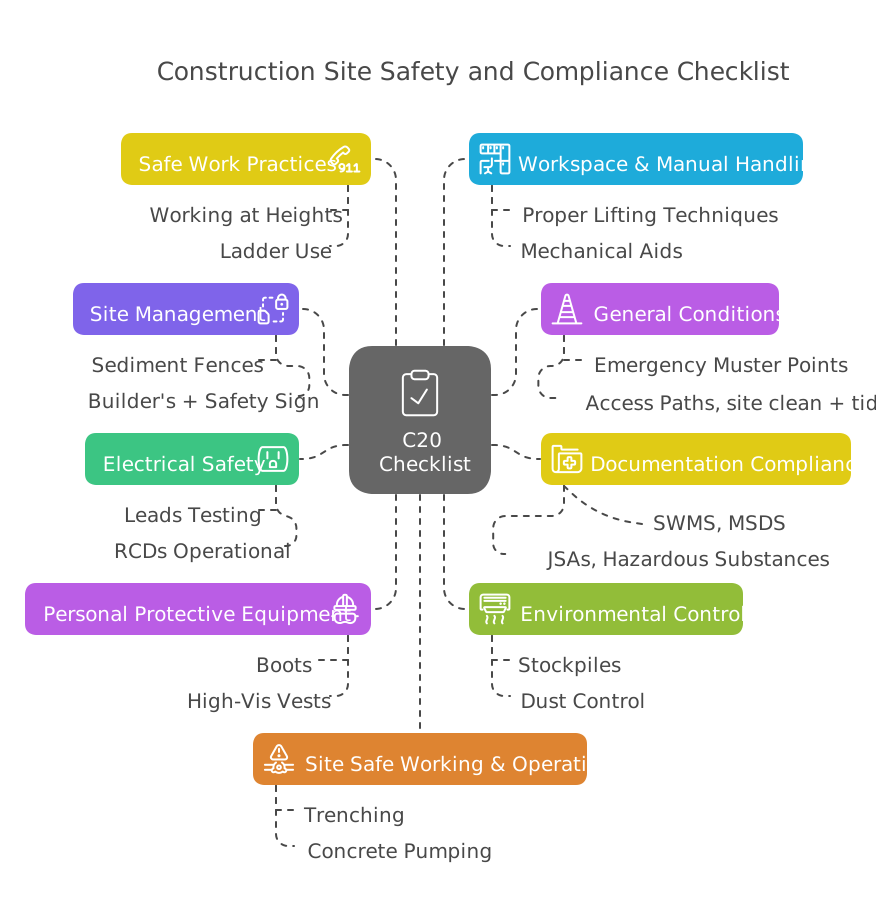
- Sediment controls working: silt fences and wattles in place (S1.01, S1.06).
- Builder's signage visible from the street (S1.02).
- No damage to neighbouring properties (S1.04).
- Toilet within the site boundary (S1.08).
- Stormwater grates clear and drainage working (S1.11, S1.13).
Tip: photograph your sediment controls regularly. Timestamped photos are useful evidence if there's ever a dispute with council or a neighbour. Our C3 Sediment + Erosion Control checklist goes into more detail.
General site conditions (S2)
- Clear emergency muster points (S2.02, S2.03).
- Clean amenities and drinking water (S2.06, S2.07).
- Tidy work areas and clear access (S2.08, S2.09).
- Deliveries following the traffic management plan (S2.10, S2.12).
Slips and trips are among the most common injuries on site, and tidiness is the cheapest fix.
Documentation (S3)
- Safe Work Method Statements (SWMS) for high-risk construction work (S3.03, S3.04, S3.12).
- Workers holding a general construction induction (White Card) (S3.09).
- Up-to-date safety data sheets for chemicals (S3.11).
- Emergency contacts posted on site (S3.08).
Missing SWMS for high-risk work is a common reason for a regulator to stop work on the spot.
Electrical safety (S4)
- Leads and tools tested and tagged, with no damaged cords (S4.02, S4.03).
- RCDs working and tested (S4.05).
- Builder's temporary power board undamaged, and safe distances kept from overhead power lines (S4.04, S4.07).
Personal protective equipment (S5)
- Hard hats where required, boots and high-vis worn (S5.01).
- Task-specific gear like hearing protection and masks (S5.02).
- PPE matches what the SWMS for each task says (S5.03).
Environmental controls (S6)
- Stockpiles covered or contained (S6.02).
- Dust controlled (S6.04).
- Protected trees undamaged (S6.07).
High-risk activities (S7 to S11)
- Working at heights: guardrails, edge and void protection (S7.05, S9.05).
- Manual handling: mechanical aids and training (S8.05).
- Trenches and excavations: barricades and shoring (S11.03).
- Concrete pumps and cranes: safe setup (S11.08, S11.10).
Falls from height are one of the leading causes of death in construction, so unprotected edges deserve your full attention.
Records and follow-up (S12 to S19)
- Corrective actions tracked in registers (S13 to S16).
- Conversations with contractors logged (S18).
- Timestamped photos linked to checklist items (S19).
How to run an inspection
1. Plan when to inspect
Inspect at least three times during the build, more on longer projects:
- Early works: after the slab is poured, before major construction.
- Mid-construction: around the frame stage, after the roof is on and before internal fit-out.
- Pre-handover: before practical completion.
2. Walk the site in order
Start at S1 and work through to S19, marking each item TODO, DONE or ISSUE. Photograph and note everything as you go, for example "S4.02: frayed lead at north-west corner" or "S5.01: subcontractor told to replace cracked helmet today".
3. Deal with what you find
- Minor issues (like poor lighting): raise them with the builder or trade and note it in the communication register (S18).
- Serious risks (like a faulty RCD or an unshored trench): put it in writing with a clear description, the checklist reference, a photo and a deadline.
Photos speed up fixes. It's hard to argue with a picture.
4. Close the loop
Recheck flagged items within a day or two. Add "after" photos once they're fixed. If the same issue keeps coming up, log it in the risk register (S17). Repeat problems usually point to a system problem, not just a careless worker.
5. Keep your records
Store every completed checklist and its photos in one place. They become your site safety record and are invaluable if there's a dispute.
Common mistakes
- Treating photos as optional. Without photos linked to checklist items, you have no evidence. Name them with the item code and date, for example S4.05-RCD-test-14May.jpg.
- Skipping the paperwork. An expired SWMS or missing White Card can stop work instantly.
- Rushing the high-risk areas. For electrical, scaffolding and excavations, look, test where you can (like pressing the RCD test button), and get the relevant trade to confirm.
- Ignoring patterns. If PPE issues keep appearing, the system is failing, not just the worker.
- Poor communication. Discuss findings straight after the inspection or at regular site meetings, put them in writing and agree on timeframes.
- No follow-up. Finding a problem and not checking it's fixed undermines the whole exercise.
Get started
- Get the C19 Periodic Safety Inspection Checklist and note your project's particular risks.
- Schedule inspections at the three key stages.
- Lead with questions, not assumptions.
Great builds aren't accidental. They're built on planning, process and checklists. Hope isn't a safety strategy.
A final note: the soundtrack of safety
Here's one song you don't want stuck in your head:
Johnny Cash - Hurt
FAQs
How often should I inspect?
At least three times during the build. Longer or more complex projects need more.
Who should do the inspections?
Ideally your construction supervisor or a qualified WHS professional. As the owner, you can use the checklist to see what's being checked and raise concerns.
What if I find a problem?
Tell your builder straight away, verbally and then in writing. If it's an immediate danger, say so clearly.
Are site safety inspections required by law?
The WHS laws require the builder to manage risks on site, which in practice means regularly monitoring and inspecting the site. The law doesn't set a fixed number of inspections.
Can inspections prevent every accident?
No, but consistent checks reduce how often things go wrong and how bad they are when they do.
What is a SWMS?
A Safe Work Method Statement sets out the hazards and controls for high-risk construction work, like working at heights or in trenches. One is legally required before that work starts.
What if my builder won't do inspections?
Treat it as a major red flag. Consider engaging an independent inspector.
My concretor refuses to wear boots. What should I do?
Start by asking for their SWMS or Job Safety Analysis (JSA). If they've genuinely assessed the risks and decided thongs are the best choice for power floating a slab (yes, seriously), and it's documented in their risk assessment, that's them taking responsibility for their method of work. If they don't have a SWMS or JSA on file, you've got a problem. Raise it as a safety issue and issue a Corrective Action Request (CAR) to the trade. That puts them formally on notice. Personally, I like my toes where they are. They help me balance.
Further reading
 Safety: Tips on How to Clean Construction Dust EffectivelyConstruction dust is a typical byproduct of any renovation or building project. It’s not just a hassle – if not properly managed, it can pose health risks. This guide offers strategies on how to clean construction dust safely, detailing materials needed and methodical cleaning procedures.
 Top 10 Gutter Cleaning Tools for Multi-Story HomesDiscover the top 10 gutter cleaning tools for multi-story homes in Australia. This guide covers innovative gadgets and extendable tools, from telescopic wands to gutter cleaning robots, ensuring safe, efficient gutter maintenance and protecting your home from water damage.”
 Top Men’s Waterproof Construction Boots: 2024 ReviewChoosing the right footwear is important for ensuring safety in construction sites and similar demanding work environments. This article reviews the best waterproof construction boots for men available in 2022. Comfort, durability, and protection are considered in this guide.
 Selecting the Ideal Generator for Construction SitesDiscover essential tips for choosing the right generator for construction sites. Learn about types, fuel options, and practical considerations for your project.
 Top Summer Construction Shirts for Heat & SafetyExplore top choices for hot weather shirts in the construction industry. Featuring breathable, durable, and sun-protective workwear essentials