

About the title: I get bored sometimes and my mind wanders 😄. It sounds like something out of a neo-noir film like Sin City. Rename it The CINS of My Builder and it sounds like a daytime soap set on a renovation show, complete with square-jawed presenters. You know the type.
What is the CINS System?
The Construction Inspection Numbering System (CINS) is a simple tool for tracking and fixing non-conformance items (NCRs: anything that doesn't meet the plans, specification or Standards) on a building site. Each problem gets a physical tag on site and a matching digital record, so it's identified, communicated and fixed.
During a quality inspection, the supervisor or inspector labels each issue with a numbered tag made from waterproof paper, attached in a way that suits the material and location:
- Cloth tape for sealed external elements.
- Masking tape for delicate internal elements, such as painted surfaces.
- Staples or clouts for timber or similar materials.
- Zip ties for elements where a tie can be secured, like reinforcement, around brackets etc.
The tagged issue is then logged digitally with photos and notes, so the trade can find it, understand it and fix it.
Key Features of the CINS System:
- Unique Identifiers: Each tag number matches a specific issue or checklist item, so there's no confusion about which problem is which.
- Digital Integration: Photos and notes captured on a phone link the physical tag to the digital record.
- Accountability: Each issue goes straight to the person responsible for fixing it.
CINS — Construction Inspection Numbering System
Free
Checklist Type: Free tool
Form Factor: Print-ready PDF (11 A3 pages, 352 numbered tags)
When to use: At every stage inspection, whenever you find something that needs fixing
A free set of printable inspection tags for tracking defects found during stage inspections. Tag it, photograph it, and track it through to resolution.
TLDR
If you're like me and have the attention span of a gnat, here's the short version: grab the free CINS tags and instructions and use them with any of our stage checklists.
Introduction to Stage Quality Management Checklists
Stage quality management checklists are used at each phase of construction to make sure everything meets the required standards before the next stage starts.
For example, our C5 Pre Pour Slab Inspection Checklist covers site preparation, materials and compliance with the engineering before the concrete is poured, when problems can still be fixed.
Why Use Stage Quality Management Checklists?
- Consistency: They provide a standardised approach to inspections, reducing the likelihood of overlooked items.
- Accountability: Checklists clearly document what was inspected, who performed the check, and any issues identified.
- Prevention: They help catch errors or non-compliance early, saving time and money on rework later.
- Confidence: For homeowners, checklists show the job is progressing to plan and to standard.
Key Components of a Stage Checklist:
- Sections: Each checklist is divided into categories, such as housekeeping, visual inspections, services and final notes.
- Status Tracking: Items are marked as "OK," "Delay," or "Issue + Follow-Up," providing clear indicators of progress and areas needing attention.
- Actionable Notes: Space for observations and follow-up actions.
How CINS and Checklists Work Together: A Slab Stage Example
Here's how it works in practice at the slab stage, using the C5 Pre Pour Slab checklist. The slab is the foundation for the whole house, so mistakes here are expensive to fix later.
Step 1: Conducting the Inspection
- The inspector works through the C5 checklist section by section:
- Housekeeping (Section S1): Checking sediment fences, site cleanliness, and erosion control measures.
- Services and Specific Elements (Section S2): Verifying placement of plumbing and electrical conduits.
- Engineering Details (Section S4): Inspecting reinforcement mesh, trench mesh, and corner bar placements.
- Each checklist item is assessed, and non-conforming items are noted.
Step 2: Tagging Non-Conformance Items
- For example, the inspector notices that the reinforcement mesh does not meet the required spacing of 200mm (Checklist Item S4.1).
- The item is tagged with a CINS number, such as #201, cable-tied directly to the reinforcement.
Step 3: Capturing and Logging the Issue
- A photo of the non-conformance is taken with a mobile device, clearly showing the CINS tag #201.
- Notes are added, such as "Reinforcement mesh spacing exceeds 200mm; needs adjustment to meet specifications."
- The issue is logged in the digital system and linked to checklist item S4.1.
Step 4: Communicating the Issue
- The report, with the photo and notes, goes to the concreter responsible for the slab.
- A deadline is set so the pour isn't delayed.
Step 5: Resolving and Verifying the Issue
- The concreter fixes the mesh spacing and takes a compliance photo with tag #201 still visible.
- This photo is sent back to the quality controller for review.
Step 6: Finalising Checklist Compliance
- The quality controller reviews the compliance photo and verifies that the issue has been resolved.
- Checklist item S4.1 is marked compliant, and the slab moves towards approval for the pour. No unresolved items carry forward to the next stage.
Additional Applications at the Slab Stage
- Tagging plumbing penetrations requiring adjustments (e.g., Checklist Item S2.7).
- Identifying issues with damp-proof membrane placement (Checklist Item S2.13).
- Verifying proper alignment of formwork and boxing (Checklist Item S5.2).
The same method works at every stage, so each one starts on solid ground.
Digital Tools
Digital tools make CINS faster. Inspectors photograph each tagged item on a phone or tablet and add notes (voice-to-text helps on site). Everything sits in one cloud-based record indexed by CINS number, reports go to the right trade straight away, and trades upload their compliance photos when the fix is done. At the end of each stage, the system produces a report of every NCR and how it was resolved, which can be shared with the homeowner.
Tools That Work Well
- Inspection Apps: Platforms like iAuditor or PlanGrid, Fieldwire, Insite or Smartsheet offer intuitive interfaces for logging and managing NCR items.
- Photo Annotation Tools: Apps that allow text or drawing overlays on photos for added clarity.
- Cloud-Based Collaboration Tools: Software like Procore ensures real-time sharing and tracking of NCR data.
Why You Should Care
As a homeowner, it's easy to feel disconnected from the technical side of your build and unsure whether the work meets the required standards. CINS and stage checklists fix that.
They make sure each stage is inspected, documented and compliant before the next one starts. That protects your investment, gives you a clear record if a dispute ever comes up, catches problems before they cause delays, and lets you see exactly what was found and fixed.
How to Ensure Your Builder Uses These Systems
- Ask Questions: Ask whether your builder uses a quality management process like CINS and stage checklists.
- Request Updates: Ask for regular reports and photos showing tagged NCR items and resolved issues.
- Get Involved: Visit the site during inspections if you can, or ask your builder to explain how quality is managed. It's not micromanaging; it's staying informed about the biggest purchase of your life.
Further Reading
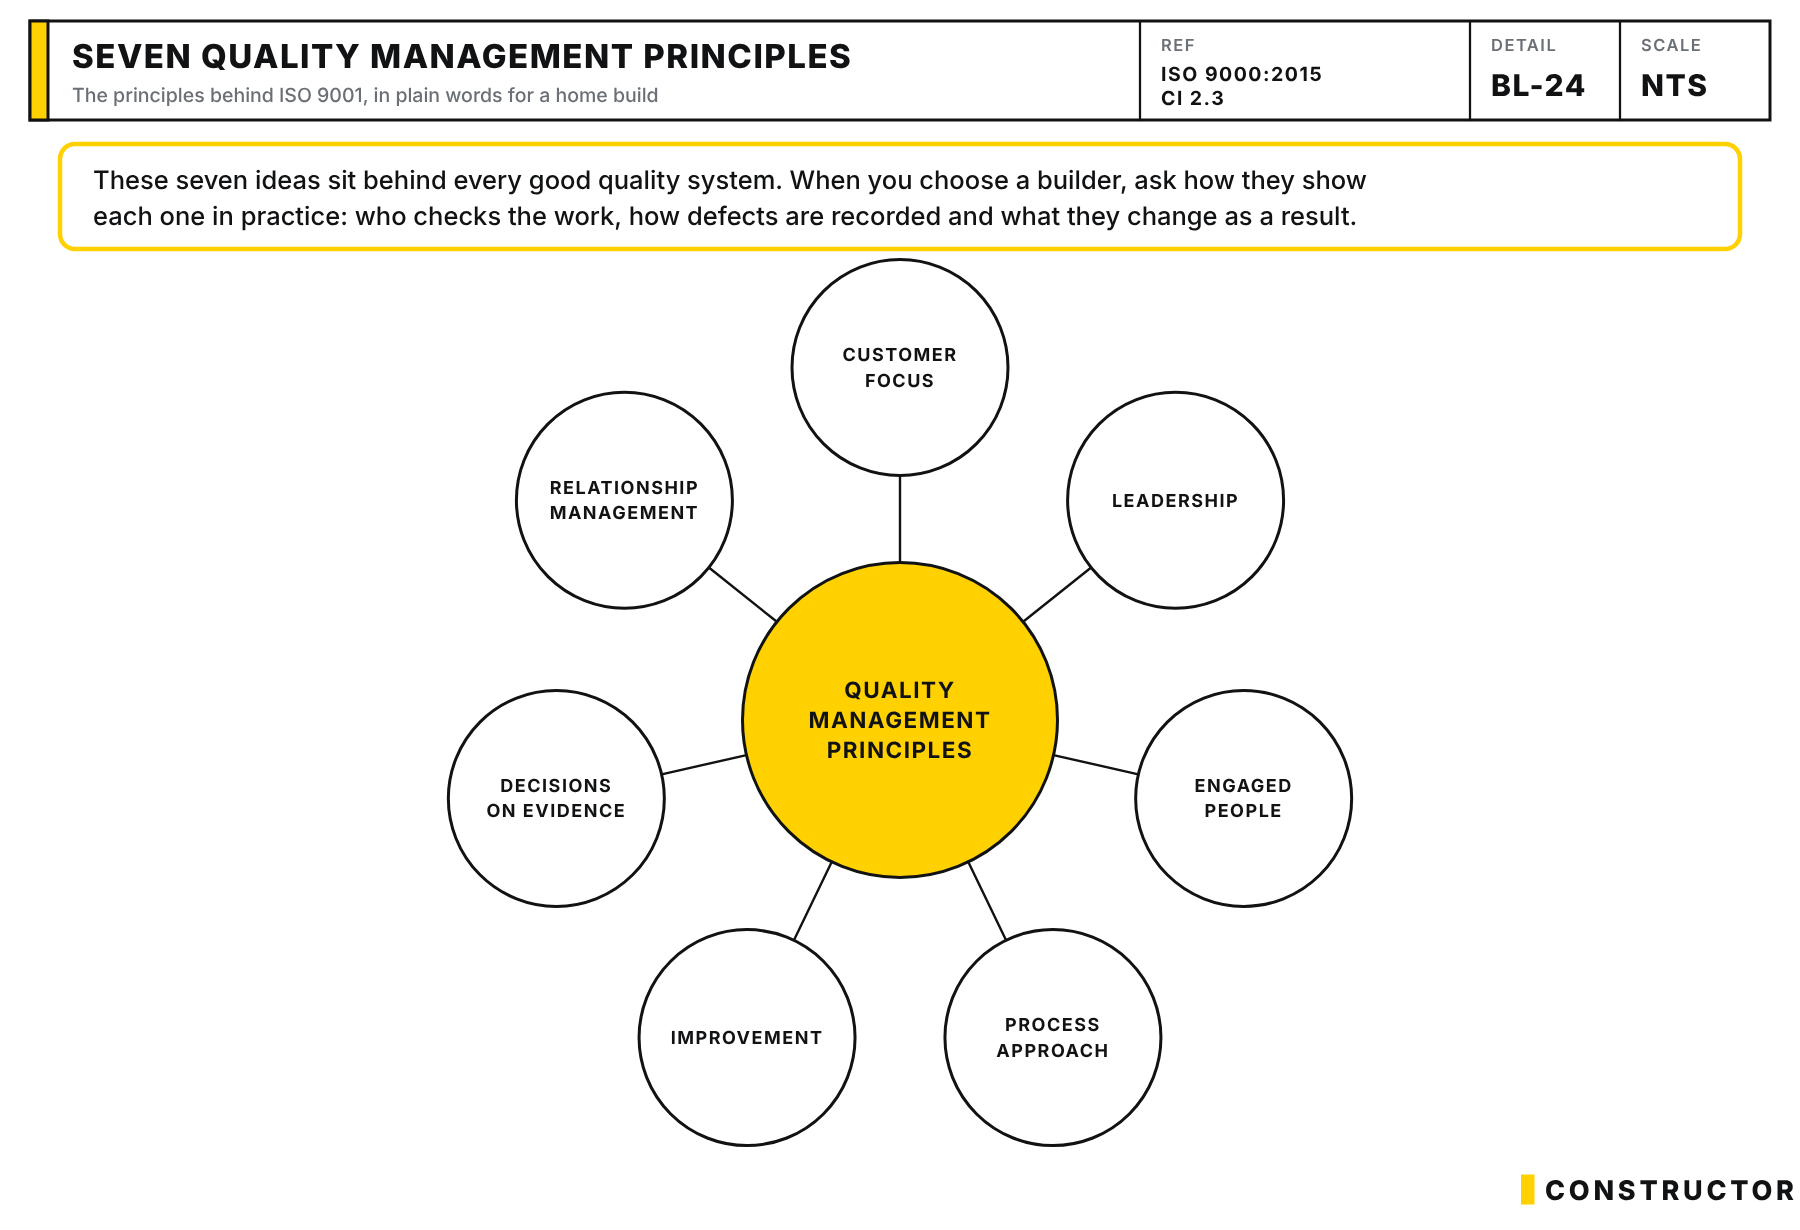 Elevating Residential Construction with SWMS + ITPsThe article explores the transformative role of Safe Work Method Statements (SWMS) and Inspection Test Plans (ITPs) in residential construction. It highlights how these tools not only enhance safety but also significantly improve quality management, offering an integrated approach to both.
 ITP in Construction: Enhancing Quality and Client TrustDiscover why builders need ITP (Inspect, Test, Plan) for quality and client relations. ITP ensures each construction stage meets standards, enhancing client trust and reducing rework. It’s a win-win for builders and homeowners, leading to better builds and stronger relationships.
 Crafting a Quality Management Plan for Project SuccessThe Quality Management Plan (QMP) is not just a document but a roadmap to success. It meticulously outlines how to ensure the highest standards of deliverable quality and also dives into the management processes that underpin quality, including change, risk, and issue management.
 Construction Supervision & Quality Control GuideDive into the world of construction supervision and quality control. Explore their significance, responsibilities, best practices, and impact on project success.
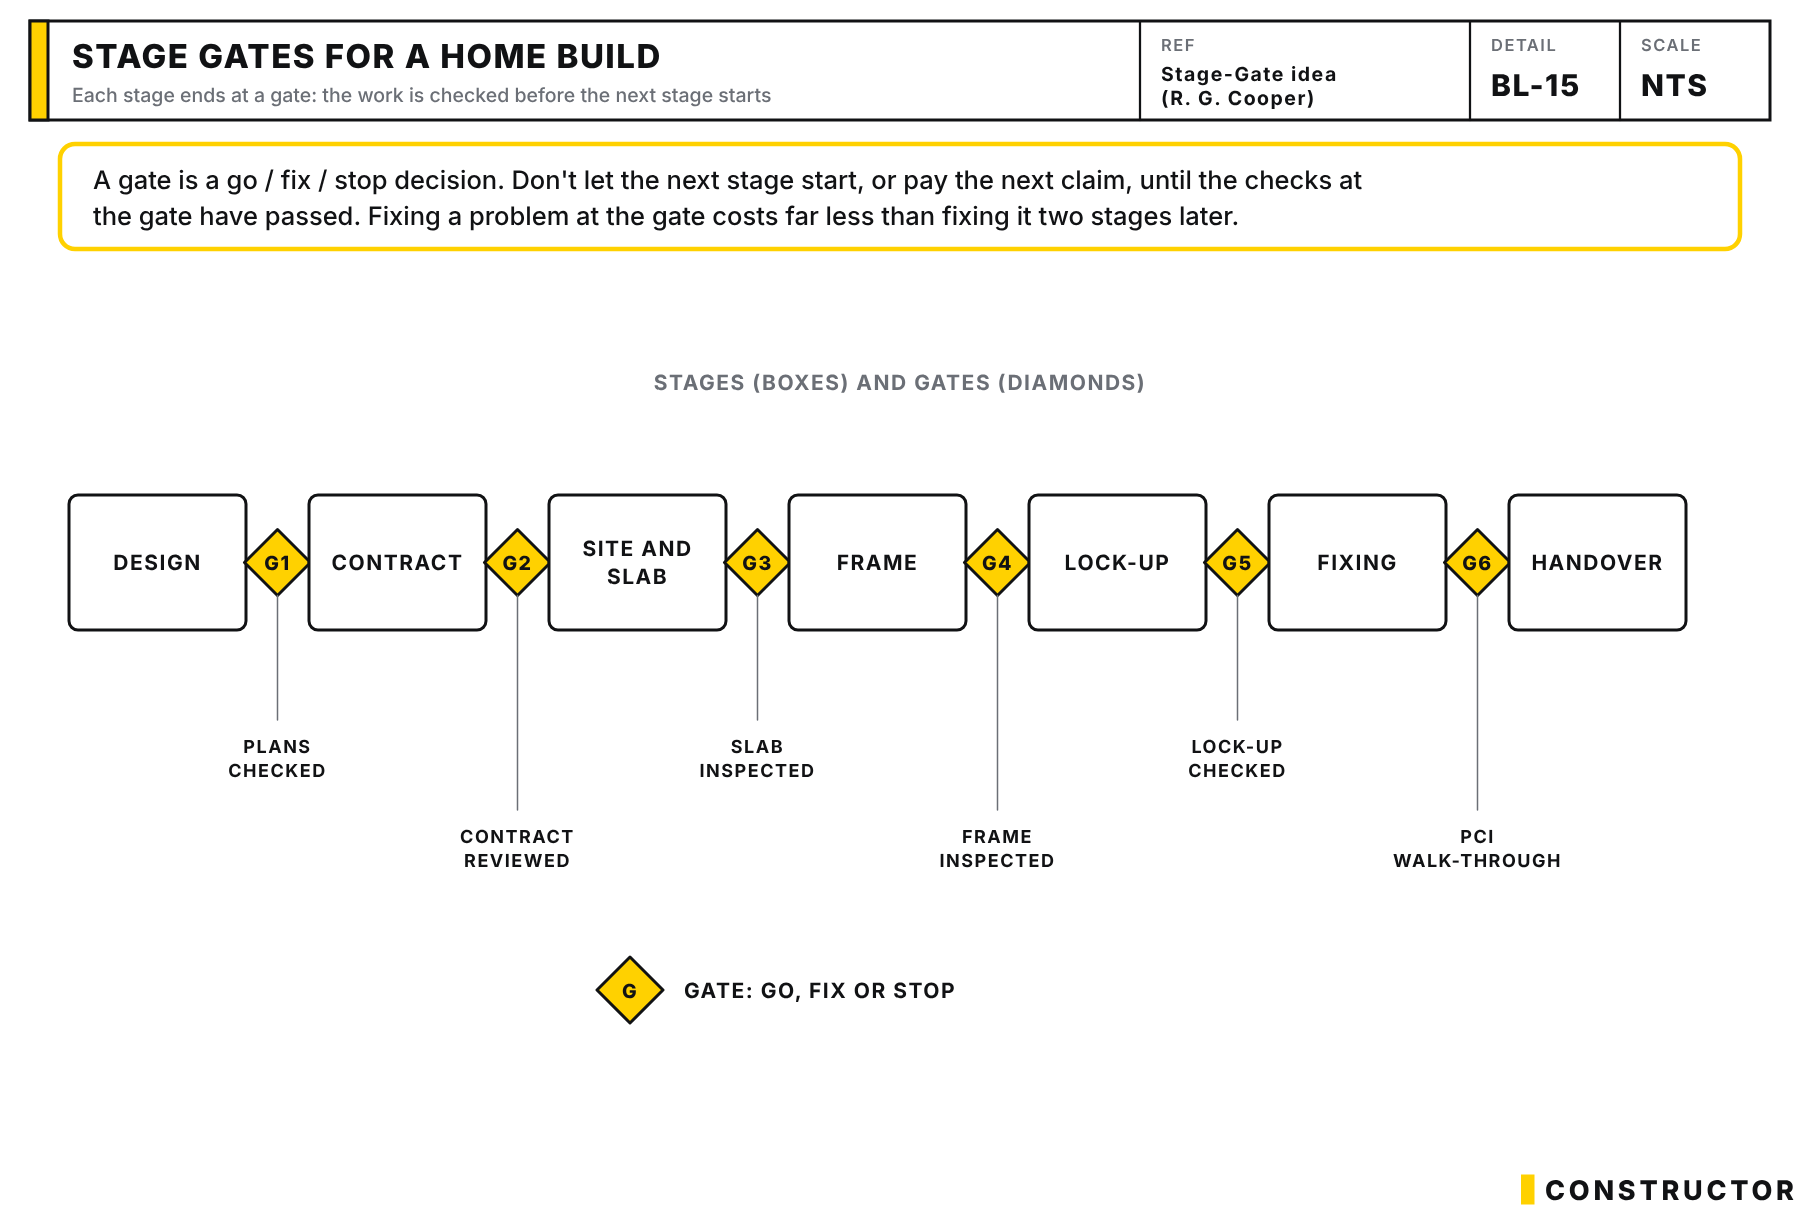 Enhancing Home Construction Quality with Stage Gates + ITPsDiscover how to elevate home construction quality using project management’s stage gates and Inspection Test Plans (ITP). We look into each stage gate, from land selection to builder’s warranty expiration, outlining how ITPs integrate into each phase for quality control & project success.


