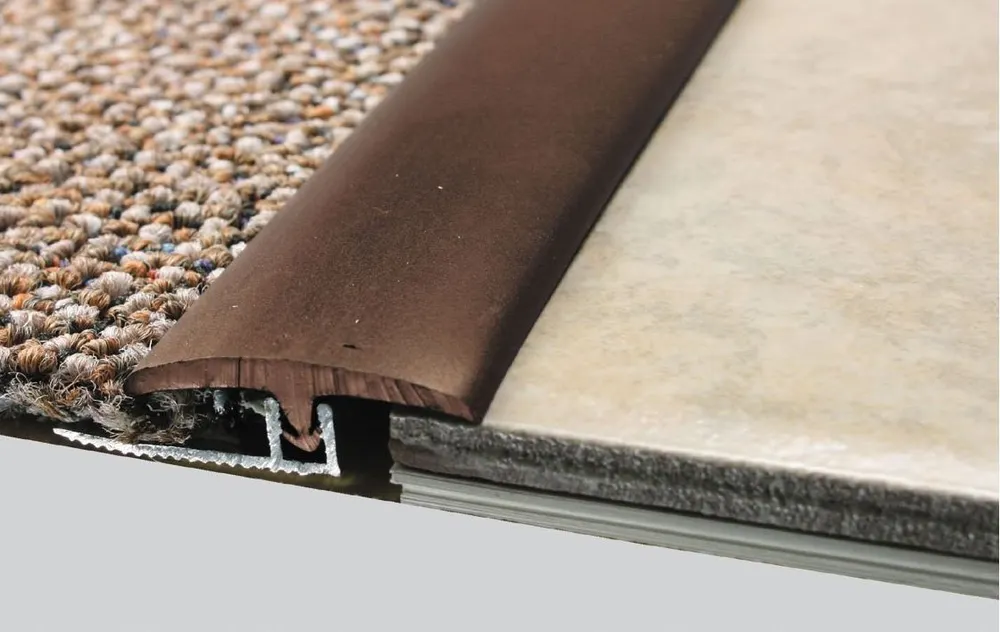
Nothing spoils new flooring like a clumsy join where tile meets carpet or timber. Here's how to plan and manage the transitions between flooring types in your new home.
C12 - Fixing Stage Inspection Checklist
$119.00 AUD
Checklist Type: Major (Fixing Stage)
Form Factor: Fillable, print-ready PDF (A4, 35 pages)
When to use: Fixing stage: plasterboard, eaves, joinery, fixout carpentry and tiling
A 370-point fixing stage checklist. Inspect plasterboard, eaves, joinery, fixout carpentry and tiling, including glancing light checks, before the stage is signed off.
Understanding Transition Strips
Transition strips are narrow pieces of metal, timber or plastic that bridge the join between two floor surfaces. They come in various styles and finishes.
The right transition strip will depend on the height of your flooring, the material it's made of, and the overall look you're trying to achieve.
The main types are T-section trims, reducers and threshold strips. A T-section trim bridges two floors of the same height, a reducer steps down between floors of different heights, and a threshold strip finishes a doorway.
When selecting the right transition strip for your flooring project, be sure to consider the colour, texture, and finish of the material. You want to select a strip that blends seamlessly with both flooring surfaces and complements the overall aesthetic of your space.
Plan Transitions Before the Slab Is Poured
The most important step happens at design stage. Agree finished floor heights and any slab set-downs with your builder before the slab is poured, so tile, timber and carpet finish level and you don't end up with trip hazards or chunky ramps. Then work out which areas will need transition strips and measure up.
For example, if you're transitioning between hardwood and tile, you'll need to determine the height difference between the two floors and select a transition strip that can accommodate that difference. You'll also want to ensure that the strip is wide enough to cover the gap between the floors, and that it's the right colour and finish to match both flooring surfaces.
Installing Transition Strips
Once you’ve got your transition strips, the next step is installing them. You can use adhesive, nails, or screws—depending on the strip material and the surface it’s being fixed to. Before starting, make sure the surfaces are thoroughly cleaned to ensure a strong, secure bond.
When installing a transition strip, always follow the manufacturer’s instructions closely. Some strips may need adhesive on the bottom of the strip itself, while others require it on the floor. Take care to align the strip properly, secure it well, and use a level to make sure it sits flush with the surrounding flooring.
At wet-area doorways (bathroom, laundry), a bead of sealant under a strip isn't waterproofing. AS 3740 requires a waterstop under the tiles at the doorway so water can't track into the next room. Check it's in before the tiler starts; our C13A and C13B waterproofing checklists cover it.
Maintaining Your Transition Strips
Like any feature in your home, transition strips need regular upkeep to stay in good shape. Wiping them down with a damp cloth or mop will help clear away dirt and debris that build up over time. If they become loose or damaged, repair them promptly to prevent tripping hazards or further wear.
If your transition strip is warping or cracking, it may be time to replace it. This matters most at doorways to wet areas, where water can get under a damaged strip and damage your flooring and subfloor.
Let's take a closer look at how to deal with some common transitions between flooring materials.

Carpet to Ceramic Floor Tiles
When transitioning between carpet and ceramic floor tiles, a reducer strip is typically used. This type of transition strip is designed to bridge the height difference between the two flooring surfaces, creating a smooth transition. A reducer strip can be made of metal, wood, or plastic, and it should be selected based on the height difference between the two flooring surfaces.
Z-bar is the most common carpet-to-tile finish in Australian homes. It's a metal strip fixed to the floor under the carpet edge: the carpet is stretched onto its gripper teeth, then the lip is closed down over the carpet for a neat edge against the tile. Purpose-made carpet-to-tile trims are another option.

Tiles to Vinyl Flooring
When transitioning between tiles and vinyl flooring, a T-section trim is often used, as long as the two floors finish at the same height. T-section trims come in metal, timber or plastic, in various styles and finishes to match the surrounding floors.

Tiles to Timber Floors
When moving from tile to timber, pick finishes that work together; with dark timber, choose tiles that complement its colour. Use a T-section trim if the floors finish level, or a reducer sized to the height difference if they don't.

Carpet to Hardwood Flooring
A T-section trim is a common way to finish between carpet and timber. Alternatively, a reducer moulding tapers down from the timber to the carpet height, or a small timber "baby threshold" strip finishes the edge.

Carpet to Polished Concrete
Between carpet and polished concrete you usually don't need a transition strip. If you'd like one, a T-section trim works well.
The Short Version
Agree floor heights before the slab is poured, choose the right strip for the height difference, follow the manufacturer's instructions when installing it, and make sure the waterstop is in at wet-area doorways.
 Ultimate Kitchen Flooring Guide: Ideas and MaterialsSelecting the right kitchen flooring balances style, durability, and comfort. From eco-friendly bamboo to durable vinyl, each material has its pros and cons.
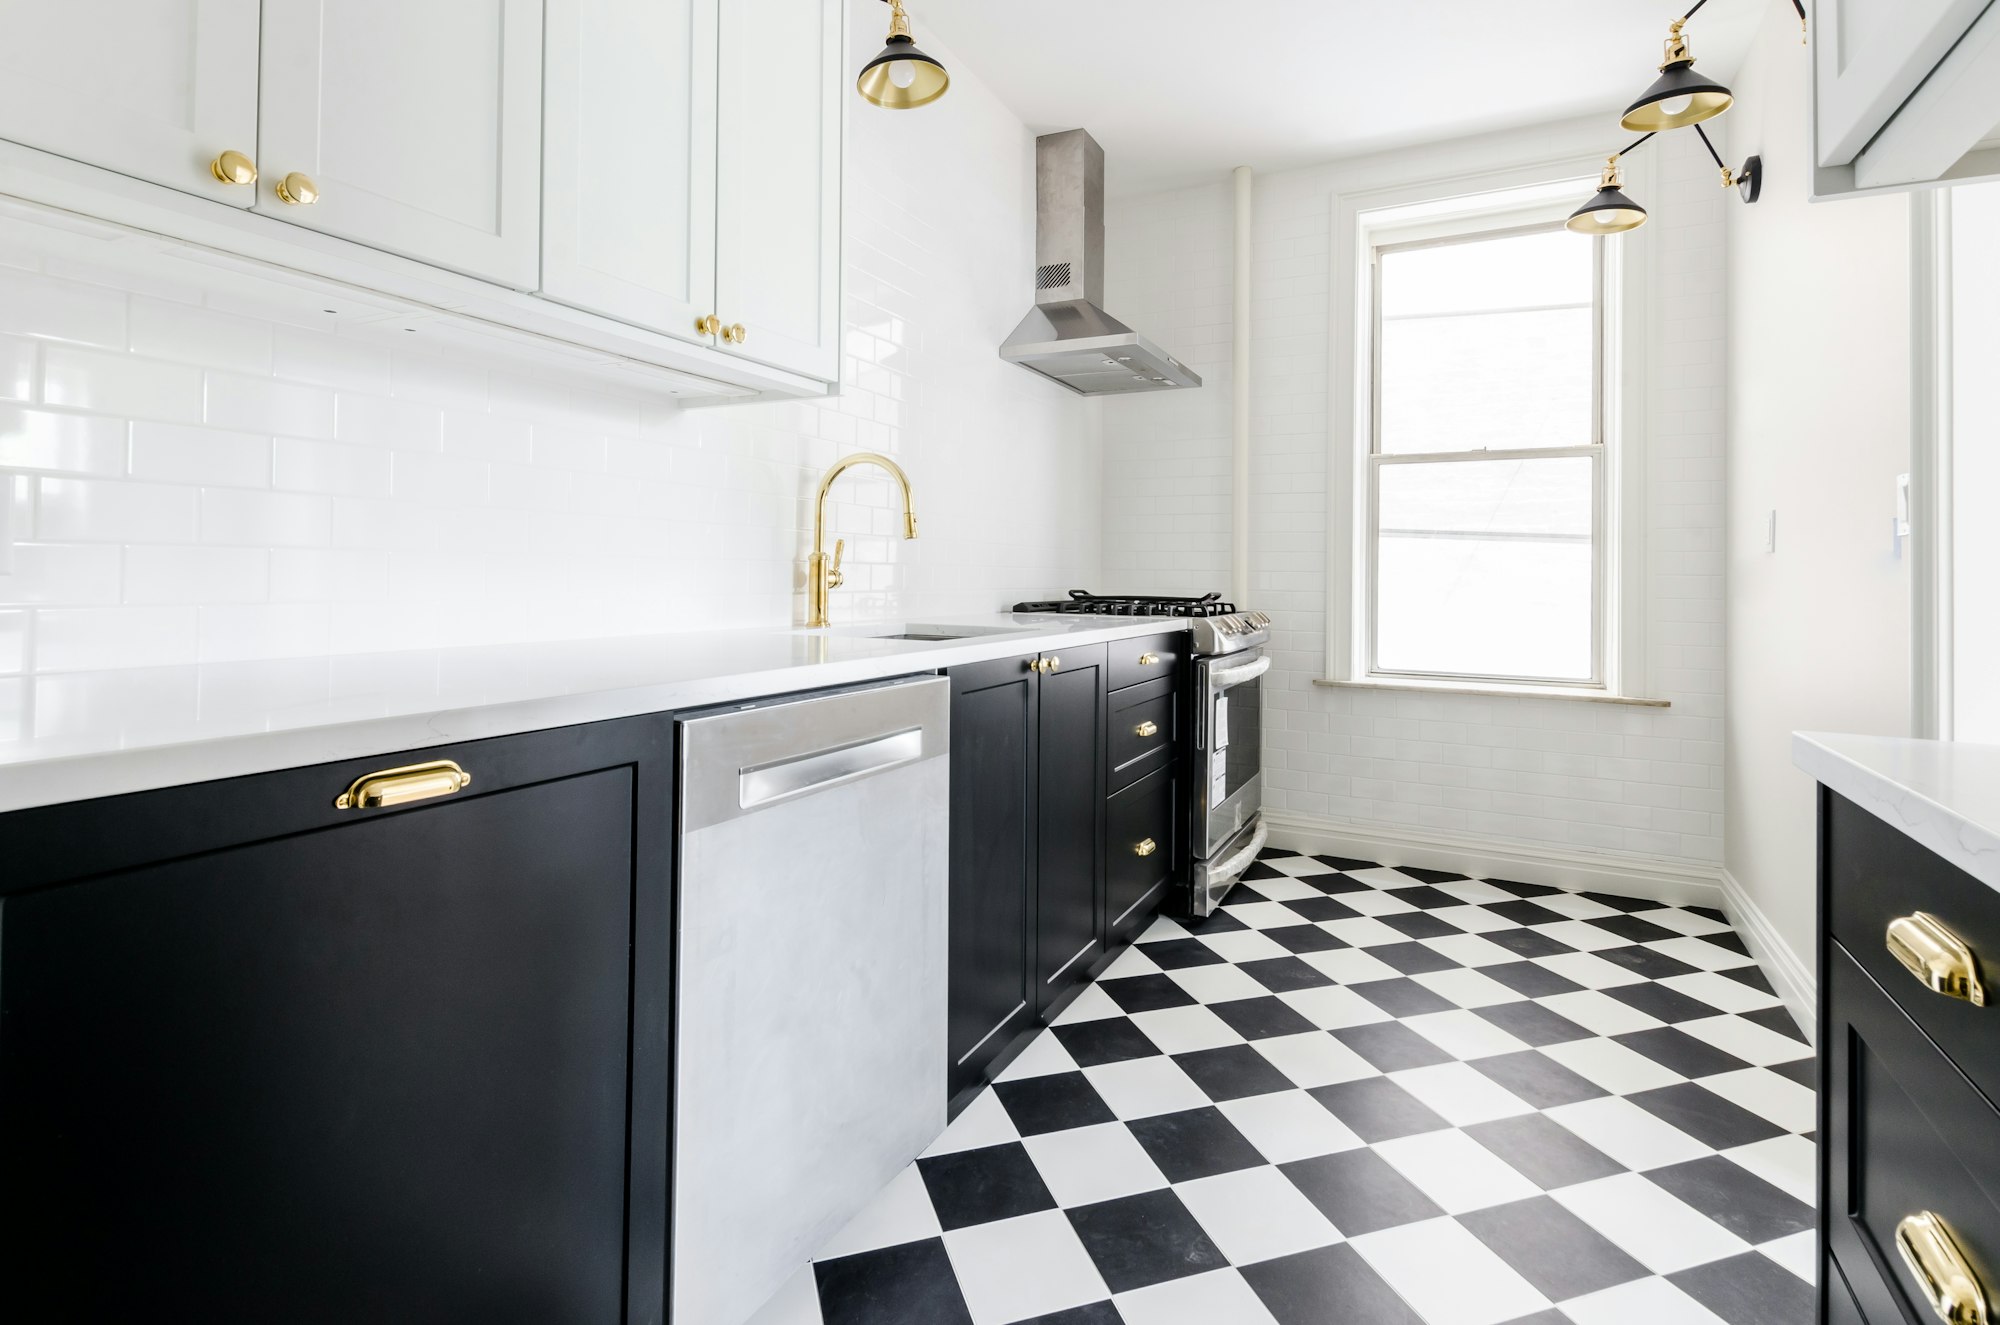 Small Kitchen Big Impact: Tile Tricks for Spacious LookDiscover 10 effective tiling tricks to make your small kitchen appear larger. This guide offers insights on colour choices, tile sizes, and layout patterns to enhance the sense of space, making your kitchen feel more open and inviting, perfect for compact cooking areas.
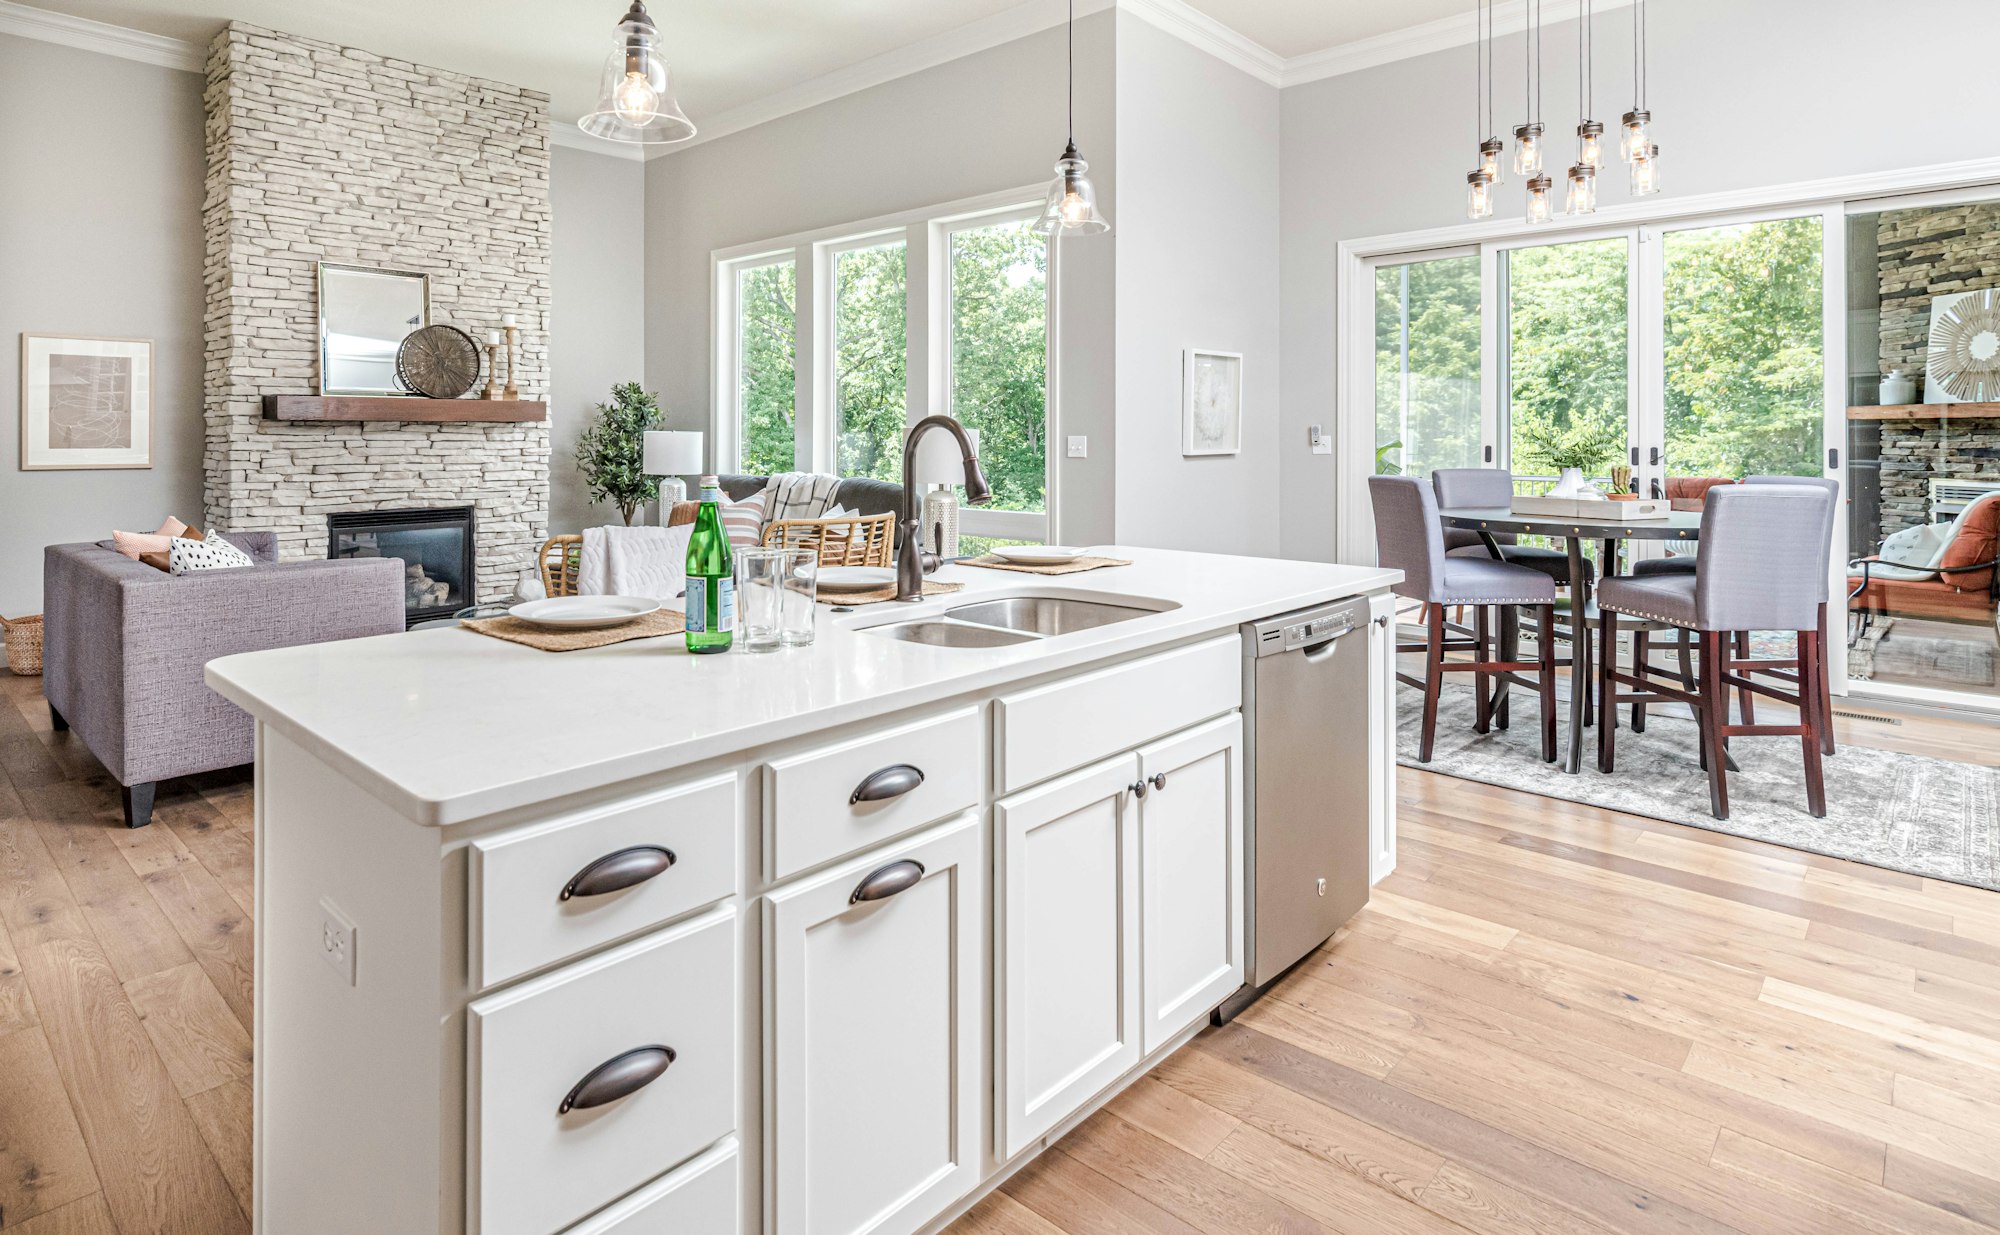 The Advantages of Defined Spaces in Residential DesignDiscover why residential design is shifting towards defined spaces and away from open floor plans. Learn about the drawbacks of open floor plans and how broken plan design is emerging as a solution.
 Decode Residential Floor Plans Like a ProConfused by the floor plan symbols? This article deciphers reading residential floor plans, from layout to labels, helping you make informed decisions for your dream home.
 10 Stylish Interior Design Tips for Home MakeoversRevitalize your home with 10 dazzling interior design tips. Embrace the Australian aesthetic, Maximize natural light, and mix textures for a stylish makeover. Incorporate smart storage, sustainable choices, and personal touches to reflect your unique style in a functional, inviting living space
 Balance Design & Construction Review By ChatGPTWe ask ChatGPT for its unbiased review of home builder Balance Design & Construction. Read on to learn what it had to say.
 Understanding Concrete Joints: Types, Purposes & PracticesEver wondered why concrete pavements have grooved lines? They’re not just for show; they’re concrete joints designed to control cracking & improve the structure’s longevity. This guide dives deep into the different types of concrete joints & their role in construction.
 Efflorescence on Concrete & Brick: Prevention & TreatmentEfflorescence, the white powdery substance on concrete and brick surfaces, can be a homeowner’s nightmare. Caused by water seeping through and evaporating, it’s not just unsightly but can indicate deeper issues. Dive into understanding its causes, prevention, and effective treatments.