Feeling a bit cramped in your small kitchen? Don't stress.
With the right tiling tricks, you can make it look bigger, brighter and more open. Here's how.
1. Go Light with Your Tile Colour
Light colours naturally make spaces feel larger. Opt for light-coloured tiles like off-whites, light greys, or soft beiges. These shades reflect more light, giving your kitchen a more airy and open feel.
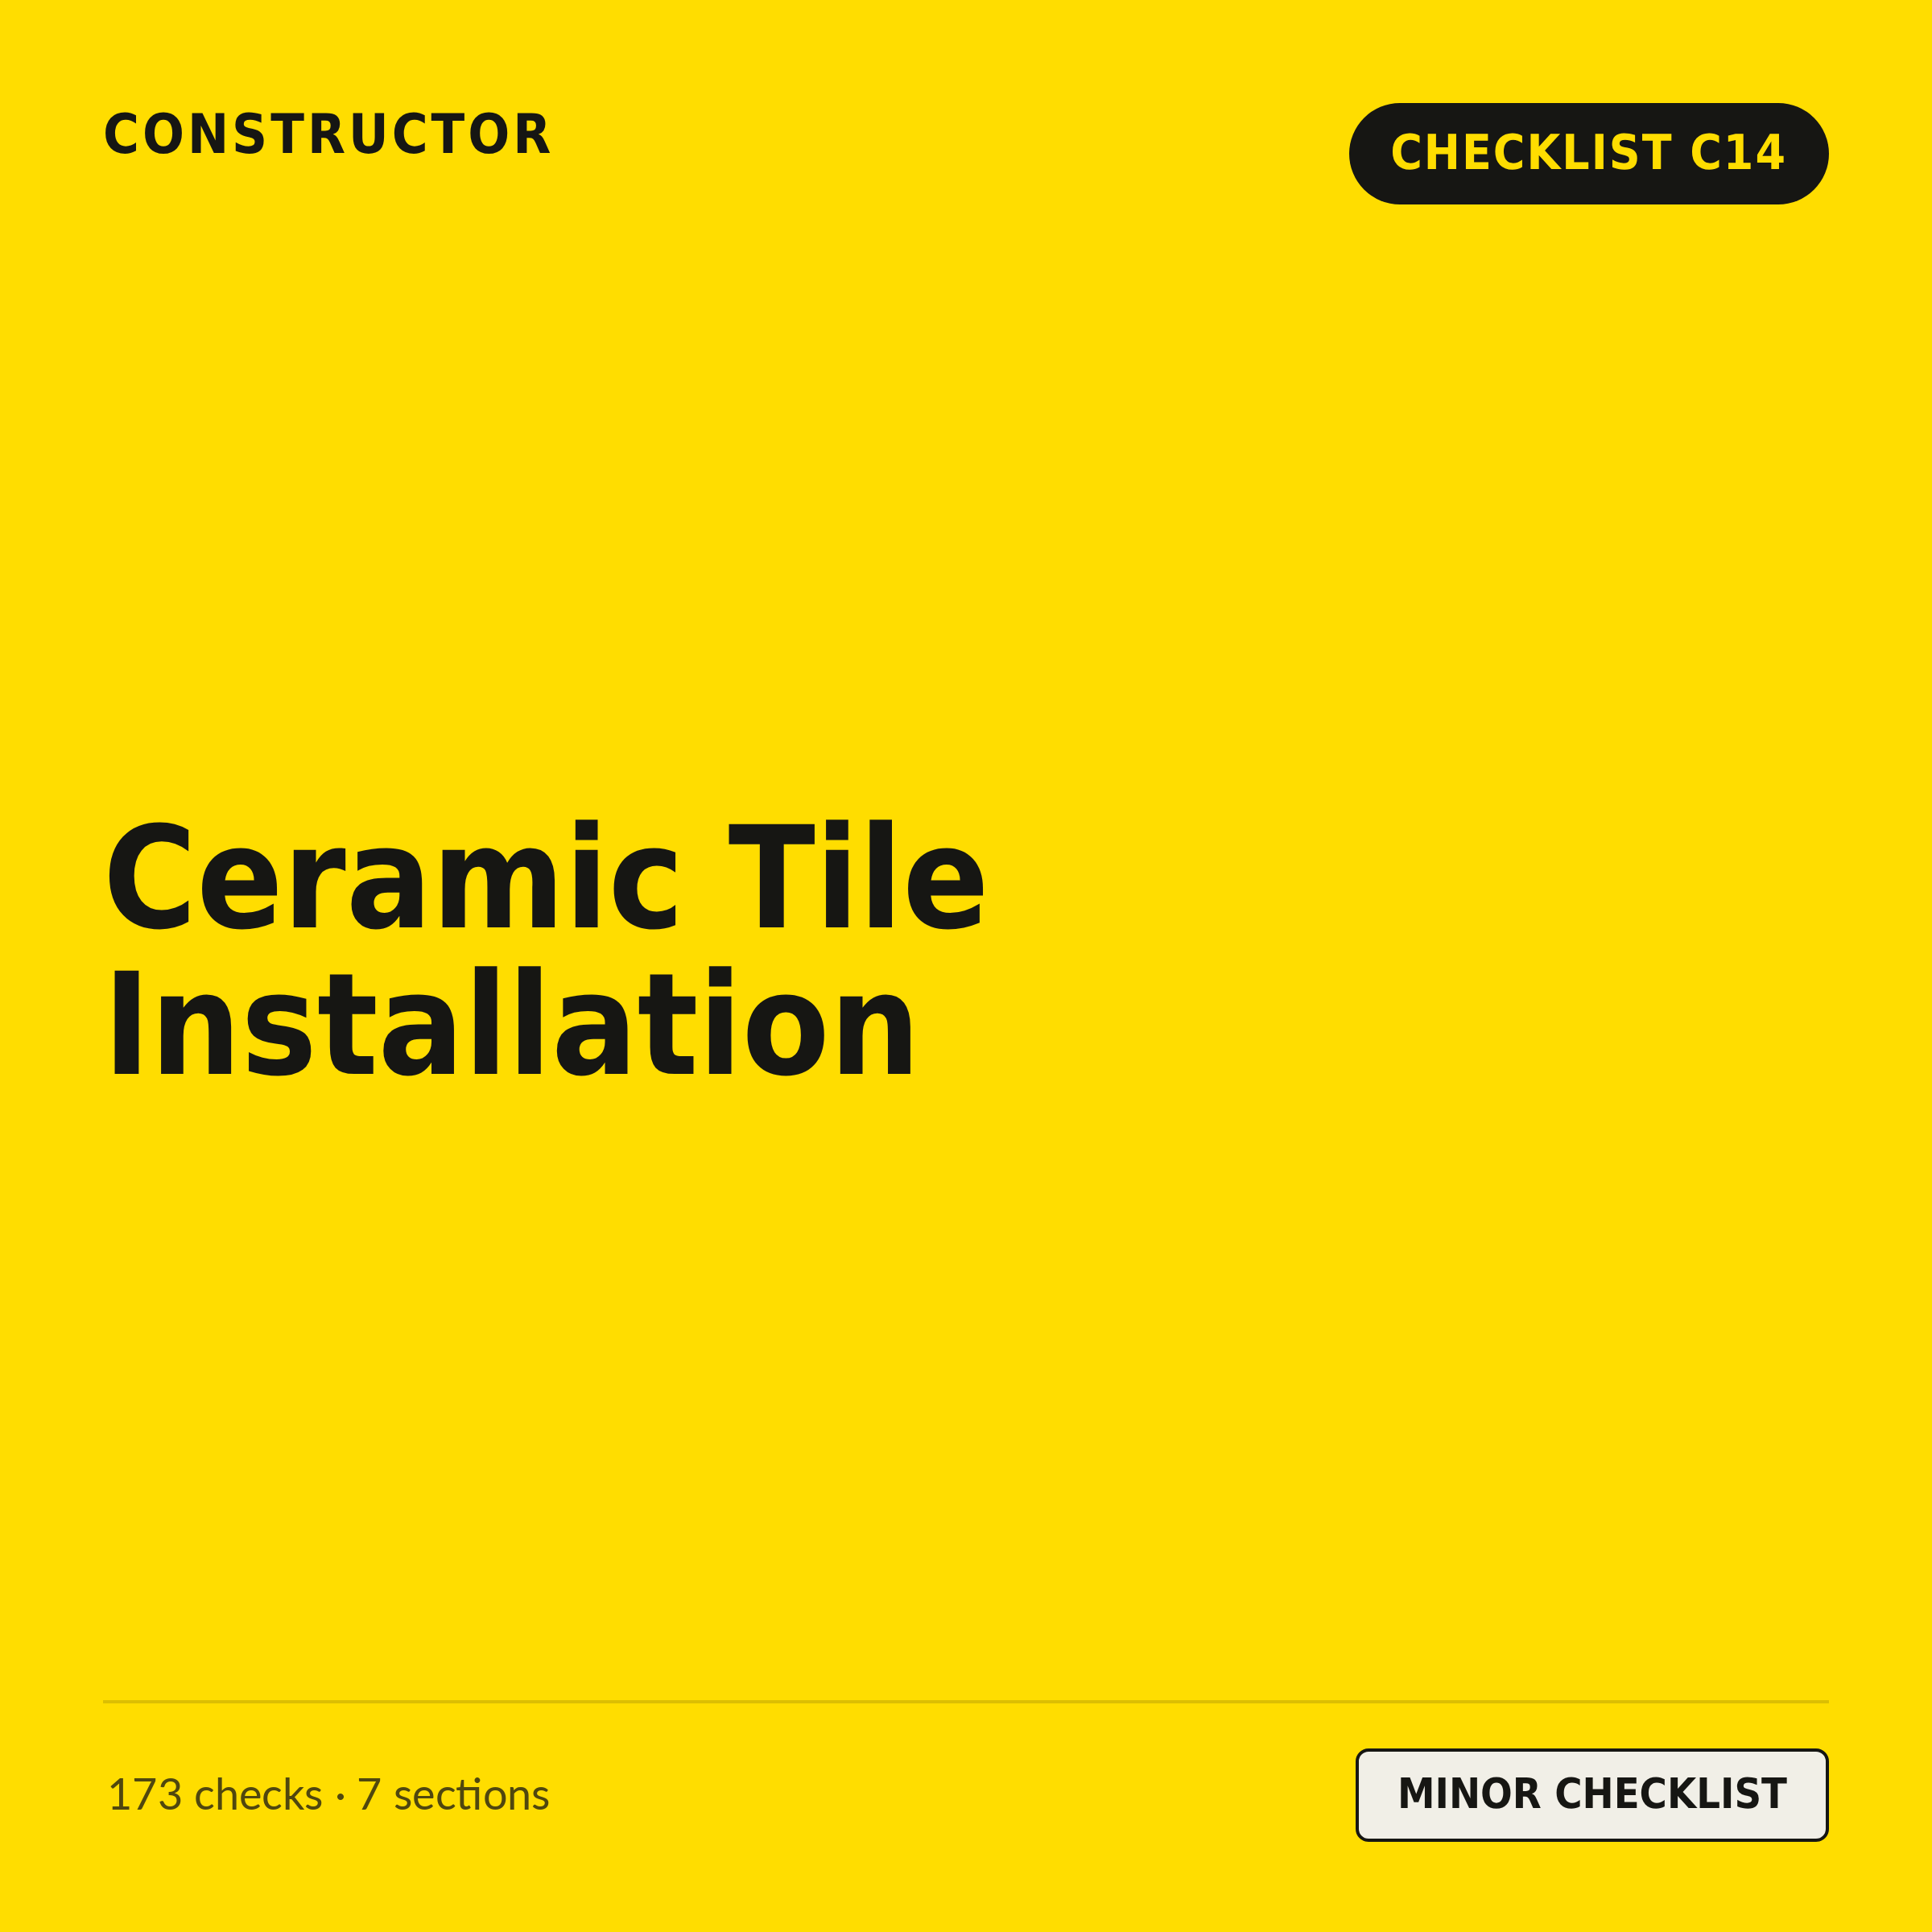
C14 - Ceramic Tile Design and Installation Checklist
$59.00 AUD
Last updated 28 Oct 2026 · Revision 3 · Free updates for life
Checklist Type: Minor
Form Factor: Fillable, print-ready PDF (A4, 23 pages)
When to use: Before and during tiling (plans review, preparation and installation)
A 68-point tiling checklist. Check the set-out, surface, flatness, lippage, falls, movement joints and grout against AS 3958.1 to avoid costly rework.
2. Choose Larger Tiles
Using larger tiles means fewer grout lines, which creates a seamless, more expansive look. Consider tiles that are at least 300x600 mm in size. This trick is particularly effective on the floor, creating a sense of continuity.
3. Extend Tiles to the Ceiling
Don’t just stop at the splashback; extend your wall tiles all the way to the ceiling. This draws the eye upwards, giving the impression of a taller kitchen. This is especially effective above the sink or cooktop.
4. Reflective or Glossy Tiles
Tiles with a gloss finish or that have a reflective surface can bounce light around the room, making it appear more spacious. Consider high-gloss ceramic or glass tiles for splashbacks.
5. Consistent Colour Palette (or the Same Tile on Floors and Walls)
Stick to one colour palette for your wall and floor tiles, or go further and use the same tile on both. Less visual fragmentation makes the room feel bigger, and it works best with light, neutral tiles. If you want colour, bring it in with accessories or plants.
6. Diagonal Tile Layout
Laying your tiles diagonally can trick the eye into seeing a wider space. This works because the longest lines in the tile layout (the diagonals) are made more prominent, which visually enlarges the room.
7. Run the Floor Tile Under the Kickboards
Run the floor tile right through under the cabinet kickboards (the panels at the base of your cupboards) instead of stopping at the cabinet line. More visible floor reads as more space, and it looks cleaner too. Sort this out with your builder at selections stage, because it affects the order of works.
8. Slim Grout Lines
Choose thin grout lines in a colour that closely matches your tiles. Thick, contrasting grout lines can make the space feel busier and smaller. Slim grout lines create a more unified tile surface, enhancing the feeling of spaciousness.
9. Vertical Tile Patterns
Just like with vertical stripes on clothing, vertical tile patterns can make your kitchen walls appear taller. This is a great trick for low-ceiling kitchens, making the room feel less squashed.
10. Mirrored or Metallic Tile Accents
Consider incorporating mirrored or metallic tiles as accent pieces. These can be used as part of the splashback or in specific areas to reflect light and add depth to the space. However, use them sparingly to avoid overwhelming the room.
Bonus Tip: Keep it Clutter-Free
No matter how well you design with tiles, a cluttered kitchen will always feel smaller. Ensure you have sufficient storage to keep benchtops clear and maintain a sense of order and spaciousness.
Expanding Your Kitchen Space: Types of Tiles and Their Pros & Cons
Each tile type has its trade-offs. Here's a quick rundown of the most common ones.
Porcelain Tiles
Pros:
- Durability: Porcelain tiles are incredibly durable and resistant to scratches and stains, making them ideal for a high-traffic area like the kitchen.
- Low Maintenance: They are easy to clean, requiring just a simple wipe to keep them looking fresh.
- Water Resistance: Porcelain is less porous than other tiles, so it handles moisture well.
Cons:
- Cost: Porcelain tiles are generally more expensive, both in terms of material and installation costs.
- Installation Challenges: Porcelain is less forgiving and needs a professional, especially on uneven surfaces. Poor installation leads to lipping, where tile edges sit proud of each other.
- Hardness: Durable, but hard underfoot if you spend hours standing at the bench.
Ceramic Tiles
Pros:
- Versatility: Available in a vast range of colours and styles, ceramic tiles are perfect for customising your kitchen’s look.
- Cost-Effective: They are generally less expensive than porcelain tiles.
- Ease of Cutting: Easier to cut than porcelain, making them more suitable for DIY projects.
Cons:
- Less Durable: Ceramic tiles are more prone to chips and cracks than porcelain.
- More Porous: They can absorb more water, which might be a concern in very humid environments or in cases of spills.
Glass Tiles
Pros:
- Reflective Quality: Excellent for splashback, as they reflect light and can make a space feel more open and bright.
- Colour Variety: They come in a wide array of colours and can add a modern touch to your kitchen.
Cons:
- Cost: Glass tiles can be on the pricier side.
- Installation: Glass mosaics can be costly to cut when the wall measurements don't work in full sheet widths. They often need specialist cutting by a glass cutter with machinery, rather than a tiler using hand tools or a wet saw.
- Fragility: They chip easily during installation. Expect more breakages and allow extra wastage when you estimate quantities.
- Maintenance: Fingerprints and smudges are more visible on glass, requiring frequent cleaning.
Natural Stone Tiles
Pros:
- Unique Look: Each tile is distinct, offering an elegant and high-end feel.
- Durability: Certain types like granite are very durable.
Cons:
- Porousness: Some stone tiles are porous and require sealing to prevent stains.
- Maintenance: Regular maintenance is needed to keep them looking their best.
- Cost: Natural stone can be one of the more expensive options.
Vinyl Tiles
Pros:
- Affordability: One of the most cost-effective options.
- Comfort: Softer underfoot, which is a plus for those who spend a lot of time in the kitchen.
- Easy Installation: Suitable for DIY enthusiasts.
Cons:
Note that vinyl and LVT (luxury vinyl tile) aren't ceramic tiles, so the ceramic tiling standard (AS 3958.1) doesn't apply. Check the slip rating and your builder's inclusions before swapping.
- Durability: Less durable than other types and can be prone to scratches and dents.
- Aesthetic Appeal: Might not offer the same upscale look as other materials.
The Bottom Line
Light colours, bigger tiles, slim matching grout and one continuous palette do most of the work. Pick a tile type that suits your budget and how you use the kitchen, get the layout and substrate right, and even a small kitchen will feel open.
Planning your tiles? Grab the C14 Ceramic Tile Design and Installation Checklist above so the look you pick gets installed properly.