If your bathroom tiles are in good condition but the grout is stained, mouldy or cracked no matter how hard you scrub, regrouting can make the whole room look years younger for a fraction of the cost of retiling.
Before you start, though, it's worth knowing what grout does and doesn't do, because some problems that look like bad grout are really a leak.

C14 - Ceramic Tile Design and Installation Checklist
$59.00 AUD
Last updated 28 Oct 2026 · Revision 3 · Free updates for life
Checklist Type: Minor
Form Factor: Fillable, print-ready PDF (A4, 23 pages)
When to use: Before and during tiling (plans review, preparation and installation)
A 68-point tiling checklist. Check the set-out, surface, flatness, lippage, falls, movement joints and grout against AS 3958.1 to avoid costly rework.
Grout isn't waterproof
This is the most common misunderstanding I see. Cement-based grout is porous. It fills the joints and holds the tiles in place, but it doesn't stop water. The waterproof membrane under the tiles does that job.
Cracked grout lets water sit behind the tiles, which isn't good, but if you're seeing any of these, the membrane may have failed and regrouting alone won't fix it:
- Water staining or damp in the next room, or on the ceiling below
- Swollen skirting boards or door frames near the bathroom
- Tiles that sound hollow or move when you press them
- A musty smell that comes back no matter how much you clean
In that case, get the shower leak tested by a licensed plumber or waterproofer first. If your home is new, report it to your builder in writing. Under a Queensland standard contract you have 12 months from practical completion to notify defects, and the QBCC home warranty covers some defects for longer.
When regrouting is worth it
Regrouting makes sense when:
- The tiles are sound, not drummy, chipped or cracked
- The grout is stained, discoloured or mouldy deep down
- There's fine cracking or crumbling in the grout lines, and no sign of a leak
If you have a lot of broken or loose tiles, fix or replace those first. Cracked grout can let tiles move and edges chip, so don't leave it too long.
DIY or get a tiler?
Regrouting is a reasonable DIY job if you're patient. Your costs are mainly a grout saw or oscillating tool, a grout float, sponges, grout and sealer. A tiler or grout restoration company will cost more but will usually finish in a day or two and leave a neater result.
The slow part is removing the old grout. Allow plenty of time, especially in a large shower.
How to regrout a shower or bathroom
- Remove the old grout. Use a grout saw, grout rake or an oscillating multi-tool. Take it down to at least two-thirds of the tile depth, and be careful not to chip the tile edges.
- Cut out old silicone. Remove the silicone from the internal corners, the wall-to-floor joint and around the bath or hob.
- Vacuum and clean. Get every bit of dust and loose grout out of the joints, then wipe them with a damp sponge.
- Mix and apply the new grout. Follow the mix ratio on the bag. Press it firmly into the joints with a rubber grout float held at an angle. An anti-mould additive can help the grout stay clean for longer.
- Clean off the haze. Once the grout is firm, sponge off the excess with a well-wrung sponge, then buff the haze off with a dry cloth.
- Let it cure. Leave it for the time on the bag before using the shower, often 24 to 72 hours.
- Seal the grout. Apply a penetrating grout sealer to help resist staining.
- Re-silicone the movement joints. Internal corners and the joint where the walls meet the floor must be filled with a flexible sealant, not grout. Grout in these joints will crack as the building moves.
About shower sealing products
Products like Shower Plug are penetrating sealers that soak into the grout to slow water getting through. They can help as a stop-gap, but they don't replace a working membrane. If you suspect a leak, have it tested first so you know what you're dealing with.
More reading
 A Introductory Guide to Waterproofing Wet Areas in Your HomeWaterproofing wet areas like bathrooms and laundry is crucial. This overview introduces to waterproofing concepts, from preparation to material selection and application. Learn basic waterproofing terms and methods.
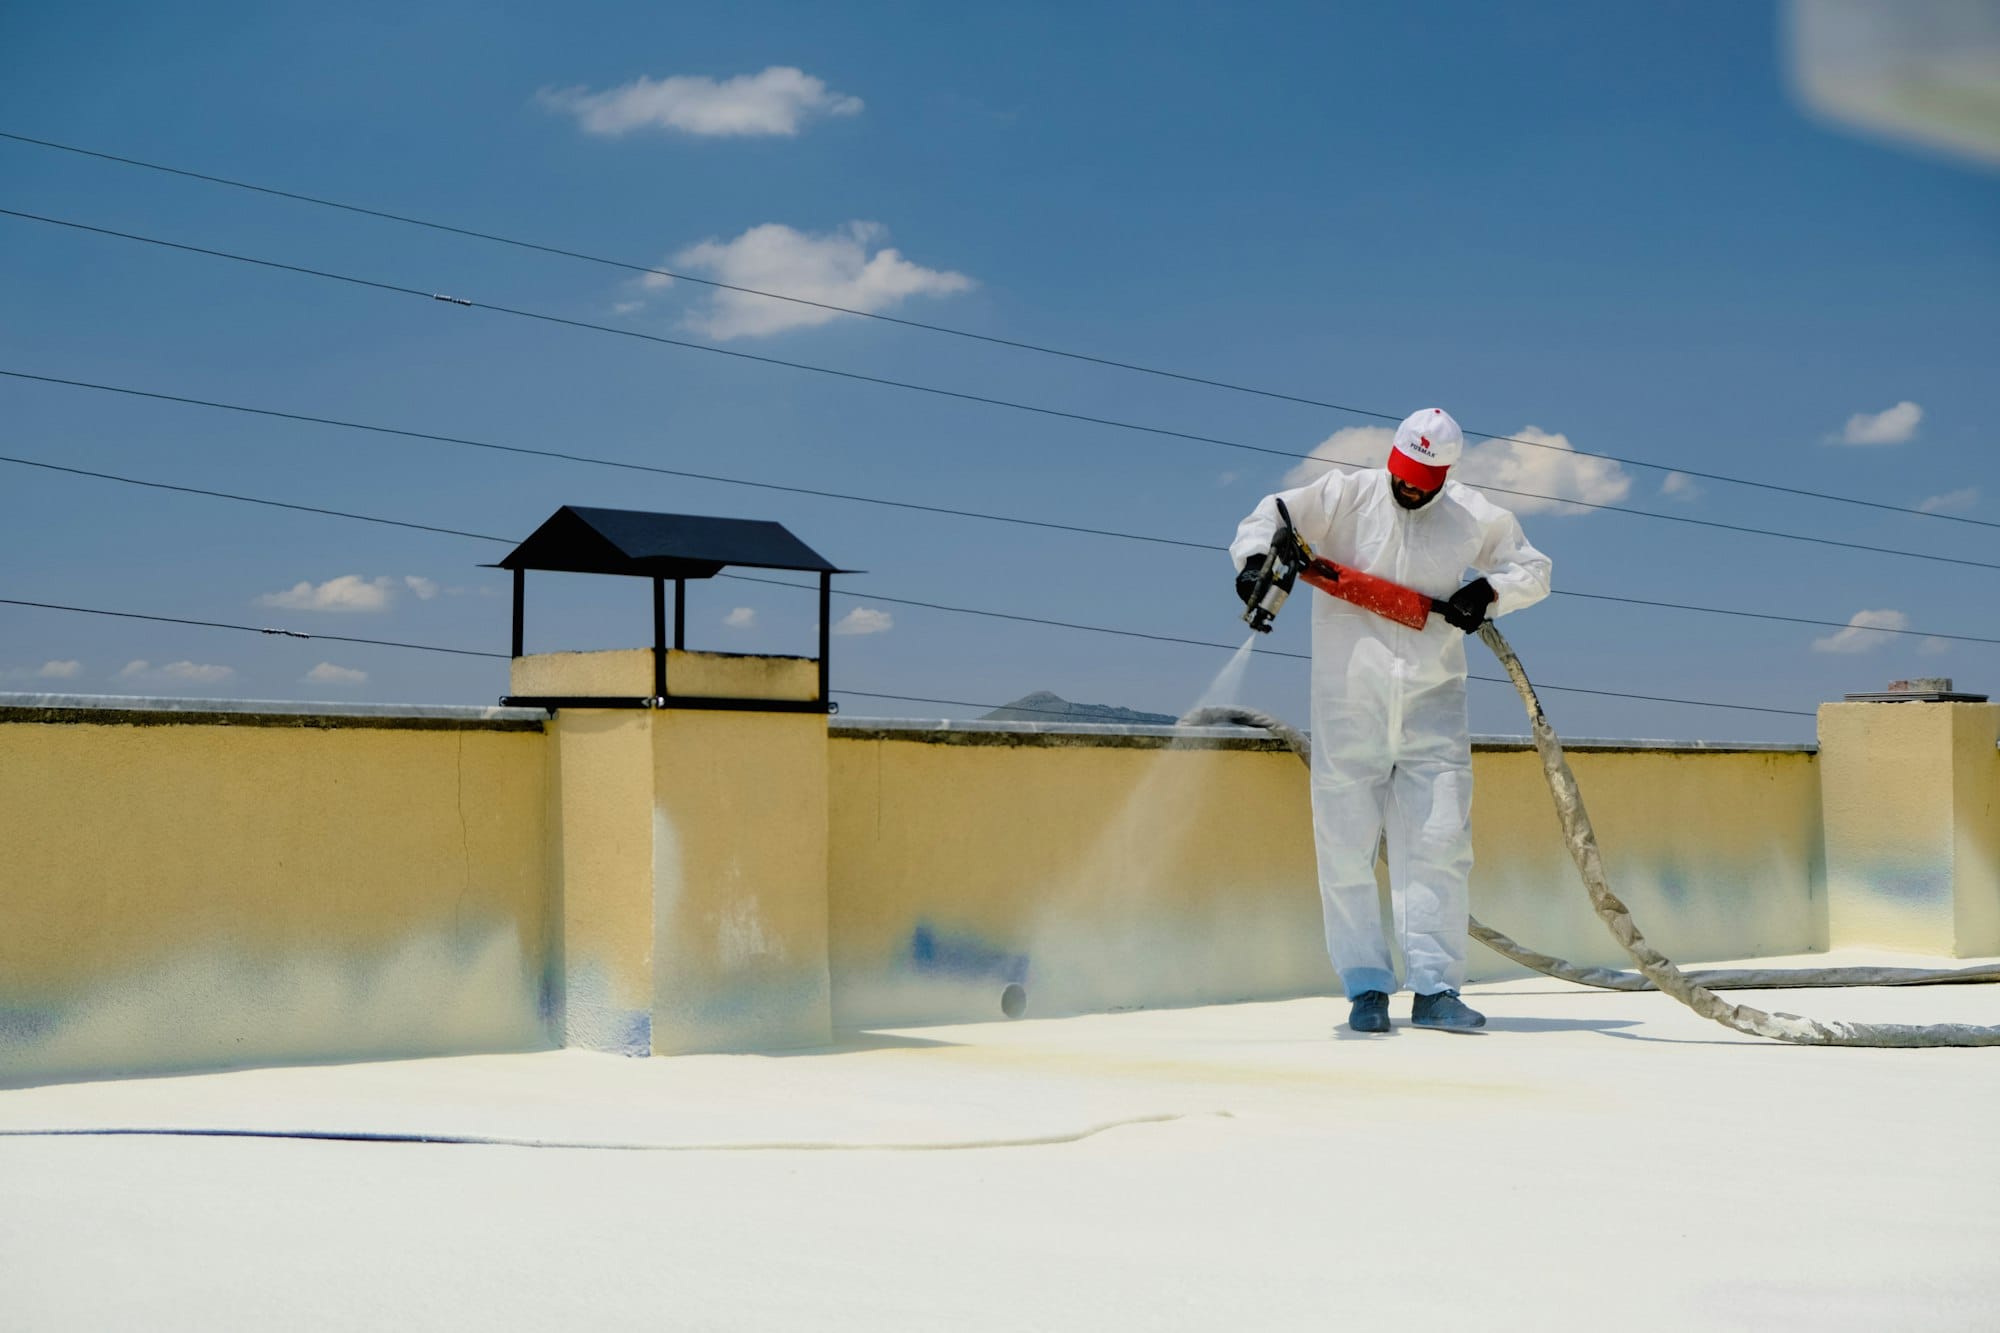 Understanding Waterproofing System Classes: A GuideLearn about waterproofing systems in residential construction. Learn about the classifications under Australian Standard AS 4654.1, their uses, and why choosing the right class is vital for the longevity and safety of your home.
 Small Kitchen Big Impact: Tile Tricks for Spacious LookDiscover 10 effective tiling tricks to make your small kitchen appear larger. This guide offers insights on colour choices, tile sizes, and layout patterns to enhance the sense of space, making your kitchen feel more open and inviting, perfect for compact cooking areas.