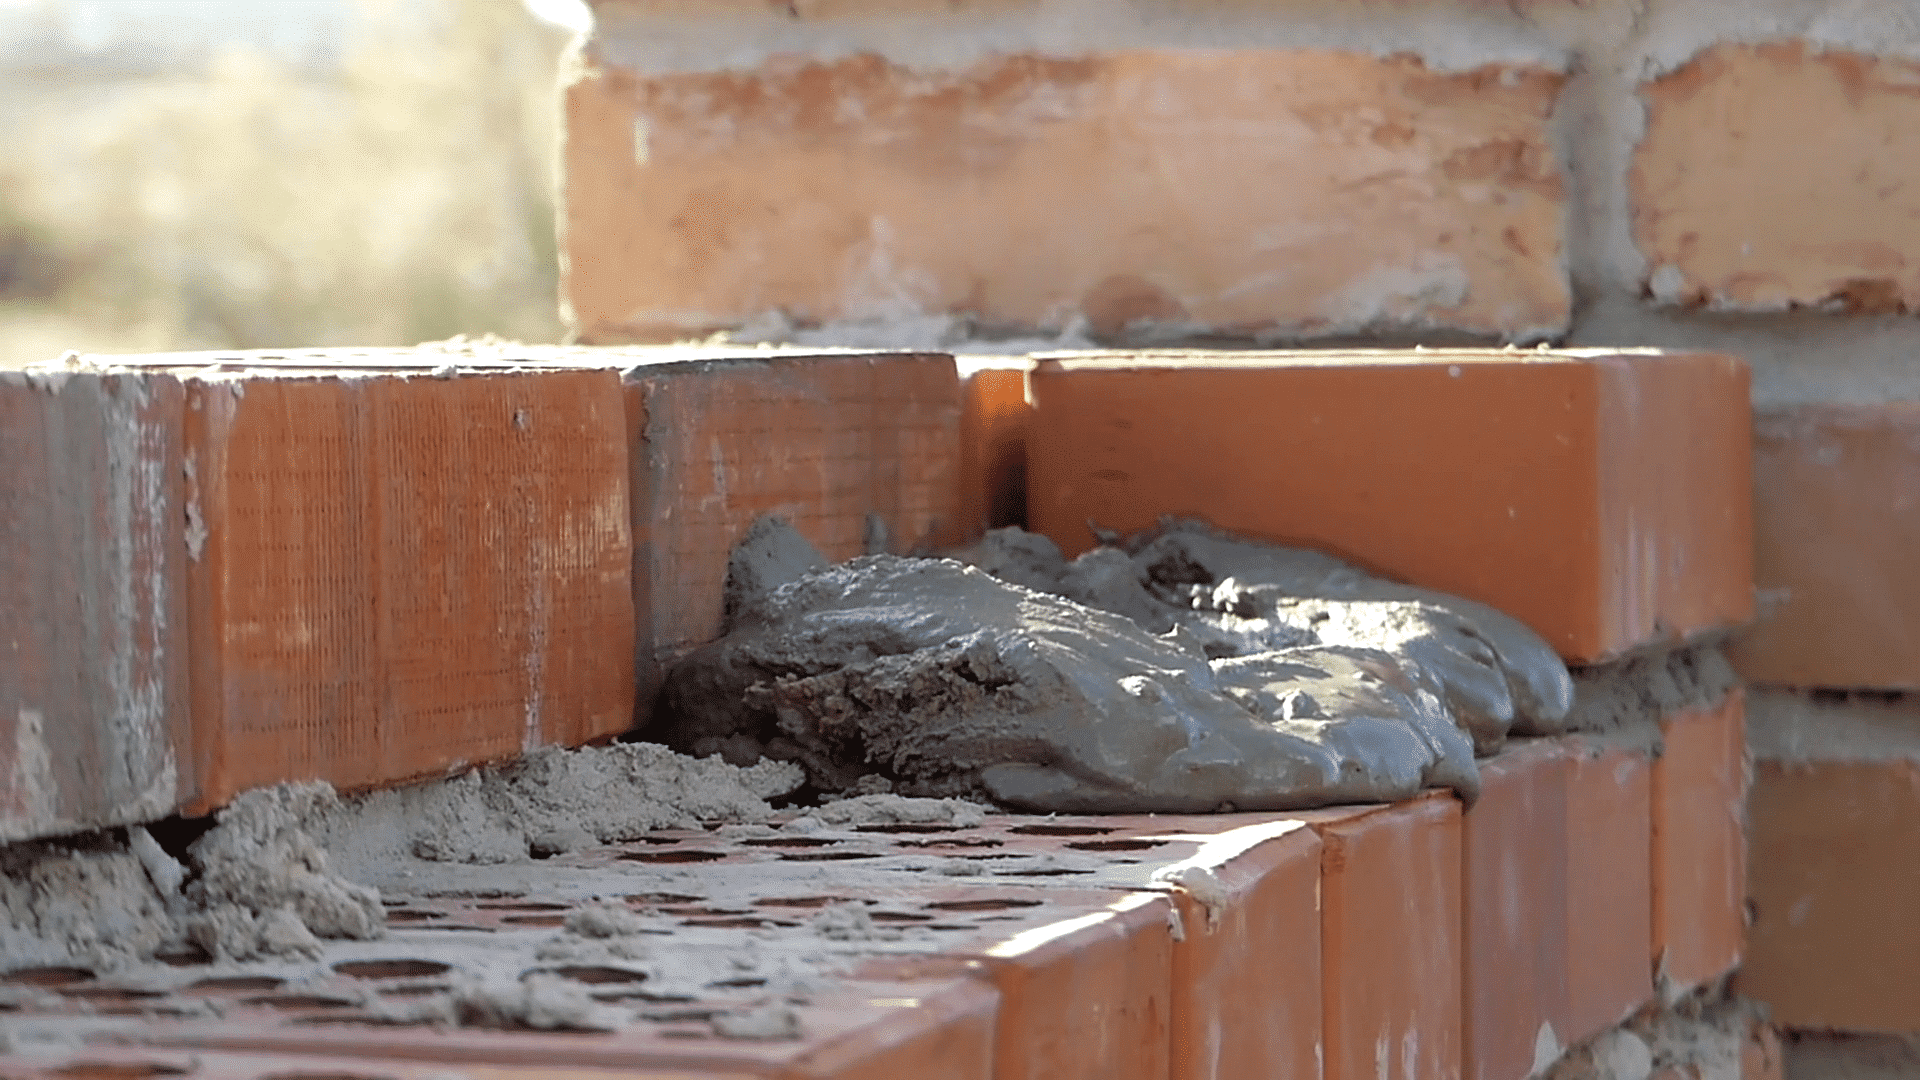
But before you start slapping bricks together with a bucket of sand and some cement, there are a few things you should know about mixing mortar.
Getting the right mortar mix is essential for strength, durability and appearance. Too much sand and your wall will crumble, too little and you'll end up with a brittle structure. Admixtures like plasticisers and waterproofers can improve workability and performance.
Follow the tips here and you'll be laying bricks like a pro in no time, with a mortar mix tailored to your needs that will stand the test of time.
An Introduction to Masonry Construction
Masonry construction uses mortar, stone, brick, concrete blocks, and tile to create beautiful and durable structures.
The Art of Mixing Mortar
For masonry work, it's all about getting the right mortar mix. Mortar is the adhesive that binds building materials together. Too much lime and your mortar won't have enough strength; too much cement and it becomes brittle.
The most common mortar for home building is M3 or M2 (depending on your site distance away from the coast), using a 1:1:6 ratio of cement, lime, and sand. Add water gradually, mixing continuously until it reaches a consistency like thick oatmeal. Let it slake or stand for 30 minutes so the lime can hydrate before remixing and adding water until it's spreadable but stands up on a trowel.
Admixtures like plasticizers or accelerators can improve workability or speed up curing. But for most DIY jobs, a basic mix of cement, lime, sand and water is all you need. The real key is not to make the mortar too wet or too dry.
When laying masonry units, apply mortar with a trowel to both surfaces, then slide and tap the units into place, squeezing out excess mortar as you go. Use wooden or rubber mallets to gently tap until units are level and plumb.
With some patience and practise, you'll be turning ordinary bricks and stones into works of art in no time. The mortar mix is the foundation for success, so take your time to get it just right. Your walls will be solid for generations.
Mixing the Perfect Mortar: Getting the Recipe Right
To get the perfect mortar, you need to find the right balance of ingredients. Start with a ratio of 3 parts sand to 1 part cement. Then add water a bit at a time until the mortar reaches a thick, creamy consistency.
Aggregates: Sand
The sand provides bulk and helps determine how much water the mortar can hold. For most DIY projects, a sharp, washed builder’s sand will work great. Finer sand results in a smoother mortar, while coarser sand gives more texture. Either way, make sure the sand is dry to ensure accurate measuring.
The Binder: Cement
Cement is the binding agent that holds the sand together. For mortar, use a general purpose cement like Portland cement. The more cement you add, the stronger the mortar will be. For most projects, a mix of 3 parts sand to 1 part cement by volume works well.
The Magic Ingredient: Water
Water activates the cement and is key to a good mortar. Start with a drier mix and add water gradually, mixing thoroughly after each addition. The mortar should be thick and pasty but still pliable and workable. Add too much water and the mortar won’t bind properly; add too little and it will be crumbly. For the right consistency, do the “ribbon test” - the mortar should form ribbons as it flows off the trowel.
With the proper proportions of high-quality, compatible ingredients and thorough mixing, you’ll be laying brick and stone like a pro in no time. Take your time to get the right mortar recipe and your masonry work will stand the test of time.
Advanced Masonry Techniques: Admixtures for Increased Strength
To boost the strength and durability of your mortar, you can add admixtures. These are materials added to the basic mortar mix of cement, lime, sand, and water. The most common types are plasticisers and waterproofers, but for high-strength masonry, you'll want to use accelerators and hardeners.
Accelerators
Accelerators, such as calcium chloride, speed up the hydration reaction of the cement, causing the mortar to harden faster. This results in higher early strength, allowing you to remove scaffolding and forms sooner. However, the long-term strength may be slightly lower. Only add 2-3% calcium chloride by weight of cement. Too much can cause surface defects.
Hardeners
Hardeners, such as silica fume or fly ash, produce mortar with higher strength and density. Silica fume, which is a byproduct of producing silicon metal or ferrosilicon alloys, can increase compressive strength by up to 20%. Fly ash, a byproduct of coal combustion, can increase strength by up to 15% while also improving workability. Only replace 5-20% of the cement with silica fume, and up to 30% with fly ash.
Using admixtures allows you to tailor the properties of your mortar to the specific requirements of your project. For high-rise buildings or retaining walls, the added strength and durability provides extra reinforcement. However, for most residential construction, a basic mortar mix without admixtures will work just fine and help avoid any potential downsides like reduced workability or weather resistance.
The key is to follow the recommended dosage rates for any admixtures and test the mortar before using in your project. With the right balance, admixtures can be a useful tool for masonry pros looking to push the limits of their craft. But as with any construction technique, you need to build on a solid foundation of knowledge and experience.
Conclusion
The keys to creating a durable, high-quality mortar are using the proper ratio of ingredients, choosing a mortar type suitable for your needs, and following good practises.
Mixing mortar may seem straightforward, but attention to detail and patience pay off. With the right mortar and technique, you'll be well on your way to constructing walls that stand the test of time.


