

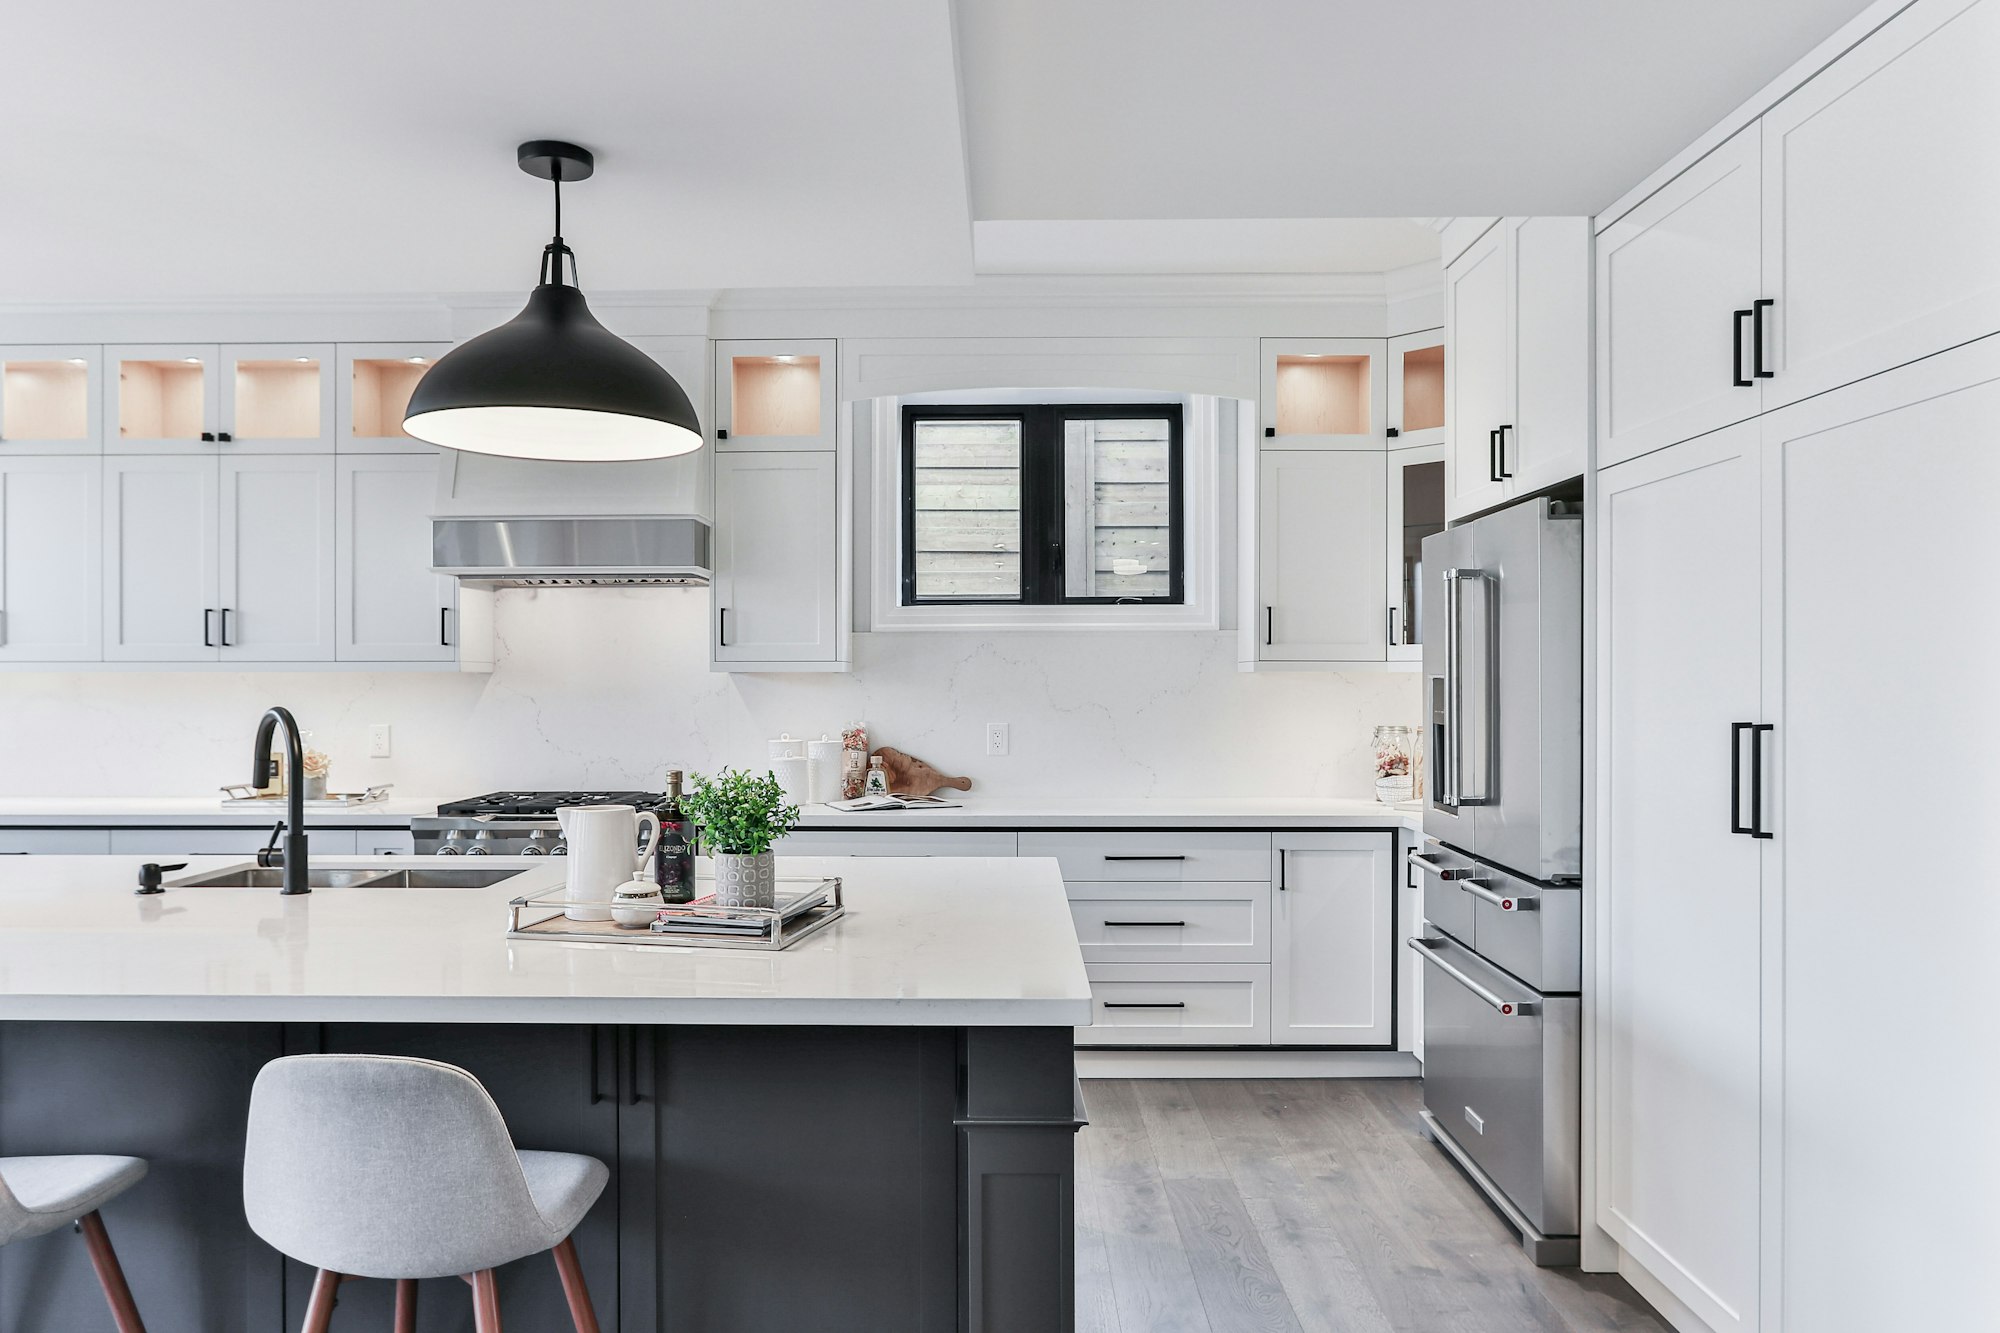
If you’ve ever walked a finished space after a construction project or renovation project and found scuffs, gouges, paint spills, or adhesive residue on pristine hardwood floors, you know how fast costly damage can blow out a job’s budget and goodwill.
The fix is simple in theory—keep the flooring safe from heavy foot traffic, heavy tools, and heavy equipment—but in practice it takes planning, the right materials, and habits the whole construction team follows end of each workday.
This plain-English guide covers when you need to protect floors (spoiler: it’s most of the time), what to use for different surfaces (from timber floors and ceramic tiles to concrete floors and carpet), common challenges (adhesives, moisture, spread of dust, and more), and best practices that deliver maximum protection on a construction site—whether you’re doing new construction, a refresh of high-traffic areas, or large scale projects.
We’ll compare different types of floor protection—from ram board, construction paper, rosin paper, plastic sheeting, surface shields, protective film (adhesive floor protection film, carpet film, plastic rolls), plywood sheets, and drop cloths—and talk tapes (blue painter’s tape, duct tape, double-sided tape, and general adhesive tape) so you can choose the best material or good option for your specific flooring material and work area.
We’ll also touch on clean-as-you-go—shop vacuums, sponge mops, and ventilation—to protect the room’s indoor air quality and keep little messes from becoming expensive repairs.
When You Need Floor Protection (and on Which Projects)
Short answer: nearly always.
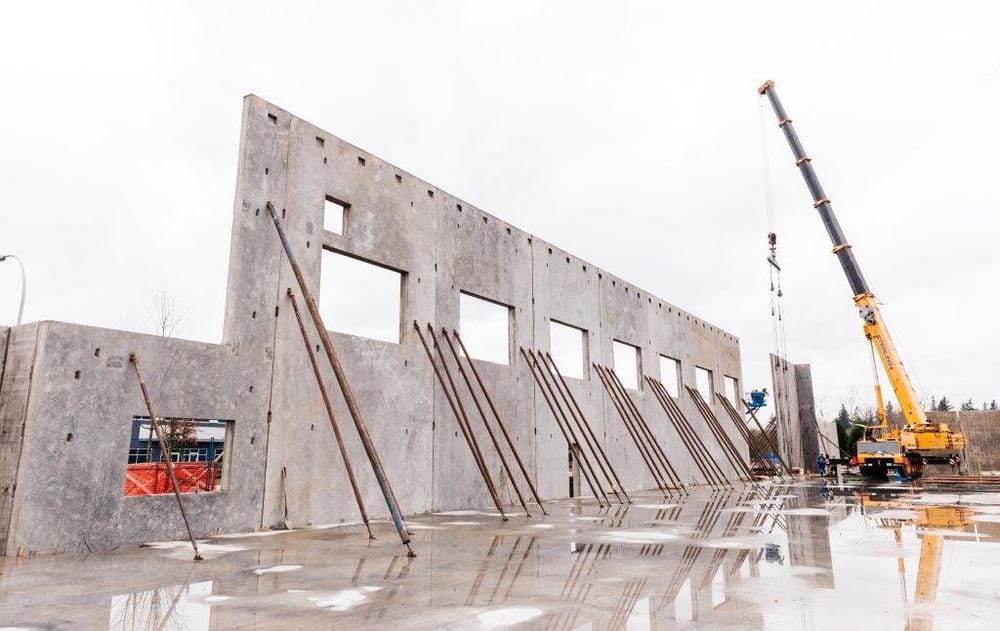
Long answer: the construction process is a parade of heavy objects, heavy machinery, point loads, rolling loads, sliding heavy equipment, and constant heavy traffic. If the floor is installed—or nearby—there’s potential damage.
Common scenarios
- New construction with early install of hard surfaces
Sometimes wood flooring or ceramic tiles go down before joinery, paint, or fixtures. Until final lock-up, protect them with temporary floor covering and protective coverings across entry points and high traffic areas. - Renovation work in occupied homes
Protect areas of your property that aren’t directly in scope: corridors, stairs, and rooms used as material staging. Use carpet protector/ carpet film or adhesive floor protection film on smooth surfaces and carpets to create a pressure barrier against grit and paint spills. - Commercial fit-outs and large scale projects
On big jobs, logistics multiply the risk. Forks, trolleys, scissor lifts—use robust protection like ram board or plywood sheets where rolling loads pass. - High-traffic areas in any build
Re-entrants, lifts, lobbies, garage entries, and entry points from outside are grime magnets. Define routes and blanket them with construction floor protection. - Sensitive areas and priciest option floors
If it would be painful to replace—think custom timber floors, patterned tiles, or specialty wood flooring with strong timber thickness—invest in the best option protection stack-up.
The Challenges (What Damages Floors During Construction)
Understanding how floors get hurt helps you pick the The Challenges (What Damages Floors During Construction)
Understanding how floors get hurt helps you pick the best way to prevent it.
- Grit and point loads
Sand, screws, and debris act like sandpaper under boots and wheels. Combine that with heavy tools or heavy equipment, and forms of damage multiply. - Moisture and chemicals
Wet saws, mortar, paint, harsh chemicals, and cleaning water creep under seams in plastic sheeting or soak through paper products. - Adhesives and residue
Incorrect adhesive tape, double-sided tape, or duct tape can stain or pull finish off hardwood floors and timber floors. Wrong adhesive material is a silent killer. - Impact and penetration
Dropped fasteners, ladders, and scaffold feet puncture thin protection. Rolling lifts on thin board telegraph through to hard surfaces. - Heat and UV
Sun on plastic sheets can warp finishes; heat can bond films to certain coatings on concrete floors or engineered wood flooring. - Dust migration and air quality
Uncontrolled spread of dust affects the room’s indoor air quality, settles into finishes, and makes adhesion failures more likely later.
Choosing the Right Protection: Materials, Pros & Cons
Below is a plain-language comparison of the different types of floor protection you’re most likely to use. The goal is maximum protection with the least fuss and additional costs.
A. Paper-Based Options
Rosin paper
- What it is: Thin, red or brown paper.
- Use: Very short-term masking against dust overspray or light scuffs.
- Pros: Cheap, fast, decent for quick paint touch-ups.
- Cons: Tears easily, limited water resistance, not great under heavy foot traffic or rolling loads.
- Best practices: Tape seams with blue painter’s tape; avoid duct tape on finished floors.
Construction paper (thicker than rosin)
- Use: Better durability than rosin; still light duty.
- Pros: Low cost; good option for light renovation work.
- Cons: Not for heavy traffic or wet trades.
- Add-ons: Pair with drop cloths at cut stations for chips and splatter.
Ram board (and similar heavy-duty paperboard)
- Use: Workhorse for high-traffic areas and general construction work.
- Pros: Strong, re-usable, lays flat; handles heavy tools and carts; good impact resistance.
- Cons: Still not bulletproof under scissor lifts; moisture can curl edges if seams aren’t sealed.
- Best practices: Seal edges; bridge thresholds; add corner guards at entry points.
B. Film & Plastic Options
Protective film / adhesive floor protection film
- Use: Sacrificial layer for smooth surfaces (polyurethane hardwood floors, vinyl, tile) and carpet film for carpets.
- Pros: Clean look, fast install; great for high foot traffic; effective pressure barrier against dust.
- Cons: Choose carefully—wrong adhesive material can leave residue or lift finish. Heat can increase bond strength.
- Best practices: Follow manufacturer’s time limit; test in a corner; never use unknown adhesive tape on natural wood flooring.
Plastic sheeting / plastic sheets / plastic rolls
- Use: Dust containment, spatter control, temporary walls, and quick cover.
- Pros: Cheap, flexible, creates adequate ventilation zones when used as barriers.
- Cons: Slippery; punctures easily; can trap moisture below.
- Best practices: Use slip-resistant overlays in walking paths; tape with blue tape to trims, not directly to delicate finishes.
Surface shields (multi-layer plastic/composite boards)
- Use: Premium robust protection for high strength needs.
- Pros: Waterproof top layer, impact resistant; great in high traffic areas and near wet trades.
- Cons: Priciest option among temporary plastics.
- Best practices: Interlock panels to avoid seam creep; add ramps at doorways.
C. Board & Sheet Options
Plywood sheets or hardboard underlay
- Use: Heavy-duty lanes for scissor lifts, pallet jacks, or heavy machinery.
- Pros: Excellent for rolling loads; distributes weight; durable for a long time.
- Cons: Edges can scratch if unprotected; heavier to install; higher additional costs upfront.
- Best practices: Tape seams; feather edges with thinner sheets to prevent trip hazards; consider strong wood thickness for maximum protection.
Drop cloths (canvas)
- Use: Paint jobs and short-term cover.
- Pros: Reusable; absorbs drips; easy to deploy.
- Cons: Offers minimal impact resistance; can slip on smooth surfaces.
- Best practices: Use with tacky underlay or weight the edges.
Bubble wrap (niche)
- Use: Underlay for delicate items placed on floors; not a walking surface.
- Pros: Cushioning under stationary heavy objects.
- Cons: Pops, slips, useless for footpaths.
- Best practices: Top with board if people will walk on it.
Tapes and Edge Management (Where Most Failures Start)
Choosing the wrong tape is how nice floors become “why is the finish peeling?” stories.
- Blue painter’s tape / blue tape
- Best practices: Your safest general edge tape for painted trims and many finishes. Short dwell time reduces residue risk.
- Duct tape
- Warning: Strong adhesive; can leave residue or pull finish on hardwood floors. Use only on sacrificial layers, never directly on flooring.
- Double-sided tape
- Use: To anchor ramps or temporary floor covering seams on protection—not on the finished surface.
- Tip: Test on a scrap of your protection material first; some foams tear on removal.
- Adhesive tape (general)
- Guideline: Match tape family to type of flooring and protection. When unsure, default to blue painter’s tape at the perimeter and non-adhesive methods in the field.
Edge management: Seal perimeters so grit can’t creep under. At entry points, build a “walk-off” zone—sticky mat, ram board overlap, or ribbed mat—to capture grit before it hits the protected field.
Room-by-Room / Surface-by-Surface Guidance
A. Hardwood & Timber Floors (wood flooring, timber floors)
- Best material: Ram board or a heavy surface shield with sealed edges; add plywood sheets lanes for heavy equipment.
- Avoid: Direct duct tape or unknown films; some adhesive floor protection film bonds too aggressively to oil-based finishes.
- Moisture: Keep wet trades off. Wipe spills immediately with sponge mops and dry.
- Cleaning: Shop vacuums with soft brush before relaying protection if moved.
- High-traffic areas: Reinforce with double layers or plywood at corners and doorways.
B. Ceramic Tiles & Stone
- Best material: Surface shields or ram board; plywood sheets for rolling loads to prevent point cracking.
- Grout: Avoid trapping wet grout haze under plastics; allow cure and ventilation (adequate ventilation).
- Chemicals: Watch harsh chemicals—etching and discolouration are a risk.
C. Concrete Floors (polished or to be finished later)
- As-built finished concrete: Treat like stone—use surface shields.
- Raw slab during construction work: Paperboard is fine for dust and scuffs; step up to plywood sheets in high traffic areas.
- Moisture: Films can sweat on slab; use breathable options when possible.
D. Carpeted Areas
- Best material: Carpet film specifically rated for carpet.
- Caution: Follow maximum dwell time; heat and sun increase adhesion.
- Transitions: Ramp edges to avoid trip hazards at thresholds.
E. Vinyl, Laminate, and Other Smooth Surfaces
- Best material: Manufacturer-approved protective film or surface shields; test adhesive material.
- Avoid: High-tack tapes at edges; use blue tape on skirtings/trims instead.
Best Practices & Recommendations (The Shortlist)
- Protect early
As soon as floors are in—or near a construction site zone—lay temporary protection. - Choose for the load, not just the look
If it’s got wheels or weight, use ram board, surface shields, or plywood sheets. Thin paper is not robust protection. - Use the right tape
Default to blue painter’s tape on finishes. Keep duct tape only on sacrificial layers. - Keep it clean
Grit is the enemy. Shop vacuums > brooms for fine dust. Never trap wet mess under plastics. - Ventilate wet trades
Protect the area but allow adequate ventilation. Moisture + sealed plastic = finish failures. - Mark high-traffic areas
Signage and following tips in the site induction remind crews to use the designated routes. - Stack-up layers where needed
Film + board + plywood sheets lanes for heavy machinery—especially in high-traffic areas and entry points. - Budget smarter
The priciest option in protection is still cheaper than expensive repairs. Allocate line items for construction floor protection in every construction project and renovation project. - Source wisely
You’ll find options from pro suppliers and big-box stores (Home Depot style outlets) alike; buy the grade that matches the job, not just price. - Train the team
Floor protection fails when nobody owns it. Make it part of the daily prestart and toolbox talks for the whole construction team.
Common Mistakes (to Save You From Pain Later)
- Using duct tape on hardwood floors or timber floors—adhesive transfer and finish peel are real.
- Laying protection over debris—grit turns into grinder wheels underfoot.
- Leaving adhesive floor protection film down past its rated window—residue and bonding increase with time and heat.
- Covering wet grout or paint with sealed plastics—traps moisture and fumes, harming room’s indoor air quality.
- Skipping ramps at transitions—trip hazards plus edge tearing.
- Ignoring high traffic areas and entry points—the floor wears from the edges inward.
- Under-specifying for rolling loads—thin covers won’t stop point loading from cracking tiles.
FAQs
1) What’s the best way to protect hardwood floors during a renovation?
Use a manufacturer-approved adhesive floor protection film or felt underlay as a first layer, then cover high traffic areas with ram board or surface shields. Seal seams with blue painter’s tape, never duct tape directly on timber flooring.
2) Can I use plastic sheeting alone on smooth surfaces?
You can for paint overspray and dust, but it’s slippery and punctures under heavy tools. Add a non-slip layer or switch to surface shields or ram board for maximum protection.
3) Is rosin paper enough for heavy traffic?
No. Rosin paper is a good option for light masking but tears under heavy foot traffic or rolling loads. Step up to construction paper, ram board, or plywood sheets.
4) Which tape won’t damage floors?
Blue painter’s tape is the safer perimeter choice for many finishes. Use double-sided tape only to bond protection to protection—never to the floor.
5) How do I handle protection around entry points?
Create a walk-off pressure barrier with sticky mats and extra layers of construction floor protection. Reinforce edges where boots pivot and materials turn.
6) Will floor protection affect indoor air quality?
It can improve room’s indoor air quality by controlling spread of dust. Avoid sealing in wet compounds; keep adequate ventilation and clean daily with shop vacuums rather than sweeping dust into the air.
7) What do I use over ceramic tiles when rolling equipment through?
Lay surface shields across the zone and plywood sheets as lanes for rolling heavy equipment to spread loads and prevent cracking.
8) How long can adhesive film stay down?
Follow the manufacturer’s time limit. Heat and sun increase adhesion. Exceeding limits risks residue and finish damage—especially on hard surfaces.
9) Do I need to protect concrete floors?
Yes—concrete floors scratch, stain, and absorb chemicals. Use paperboard or surface shields for scuff protection and plywood sheets where rolling or point loads occur.
Further Reading


Member discussion