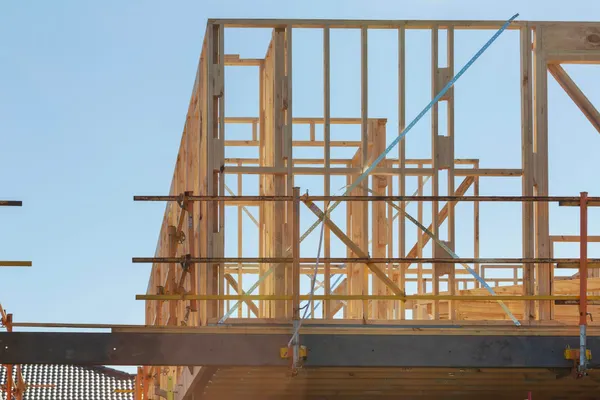
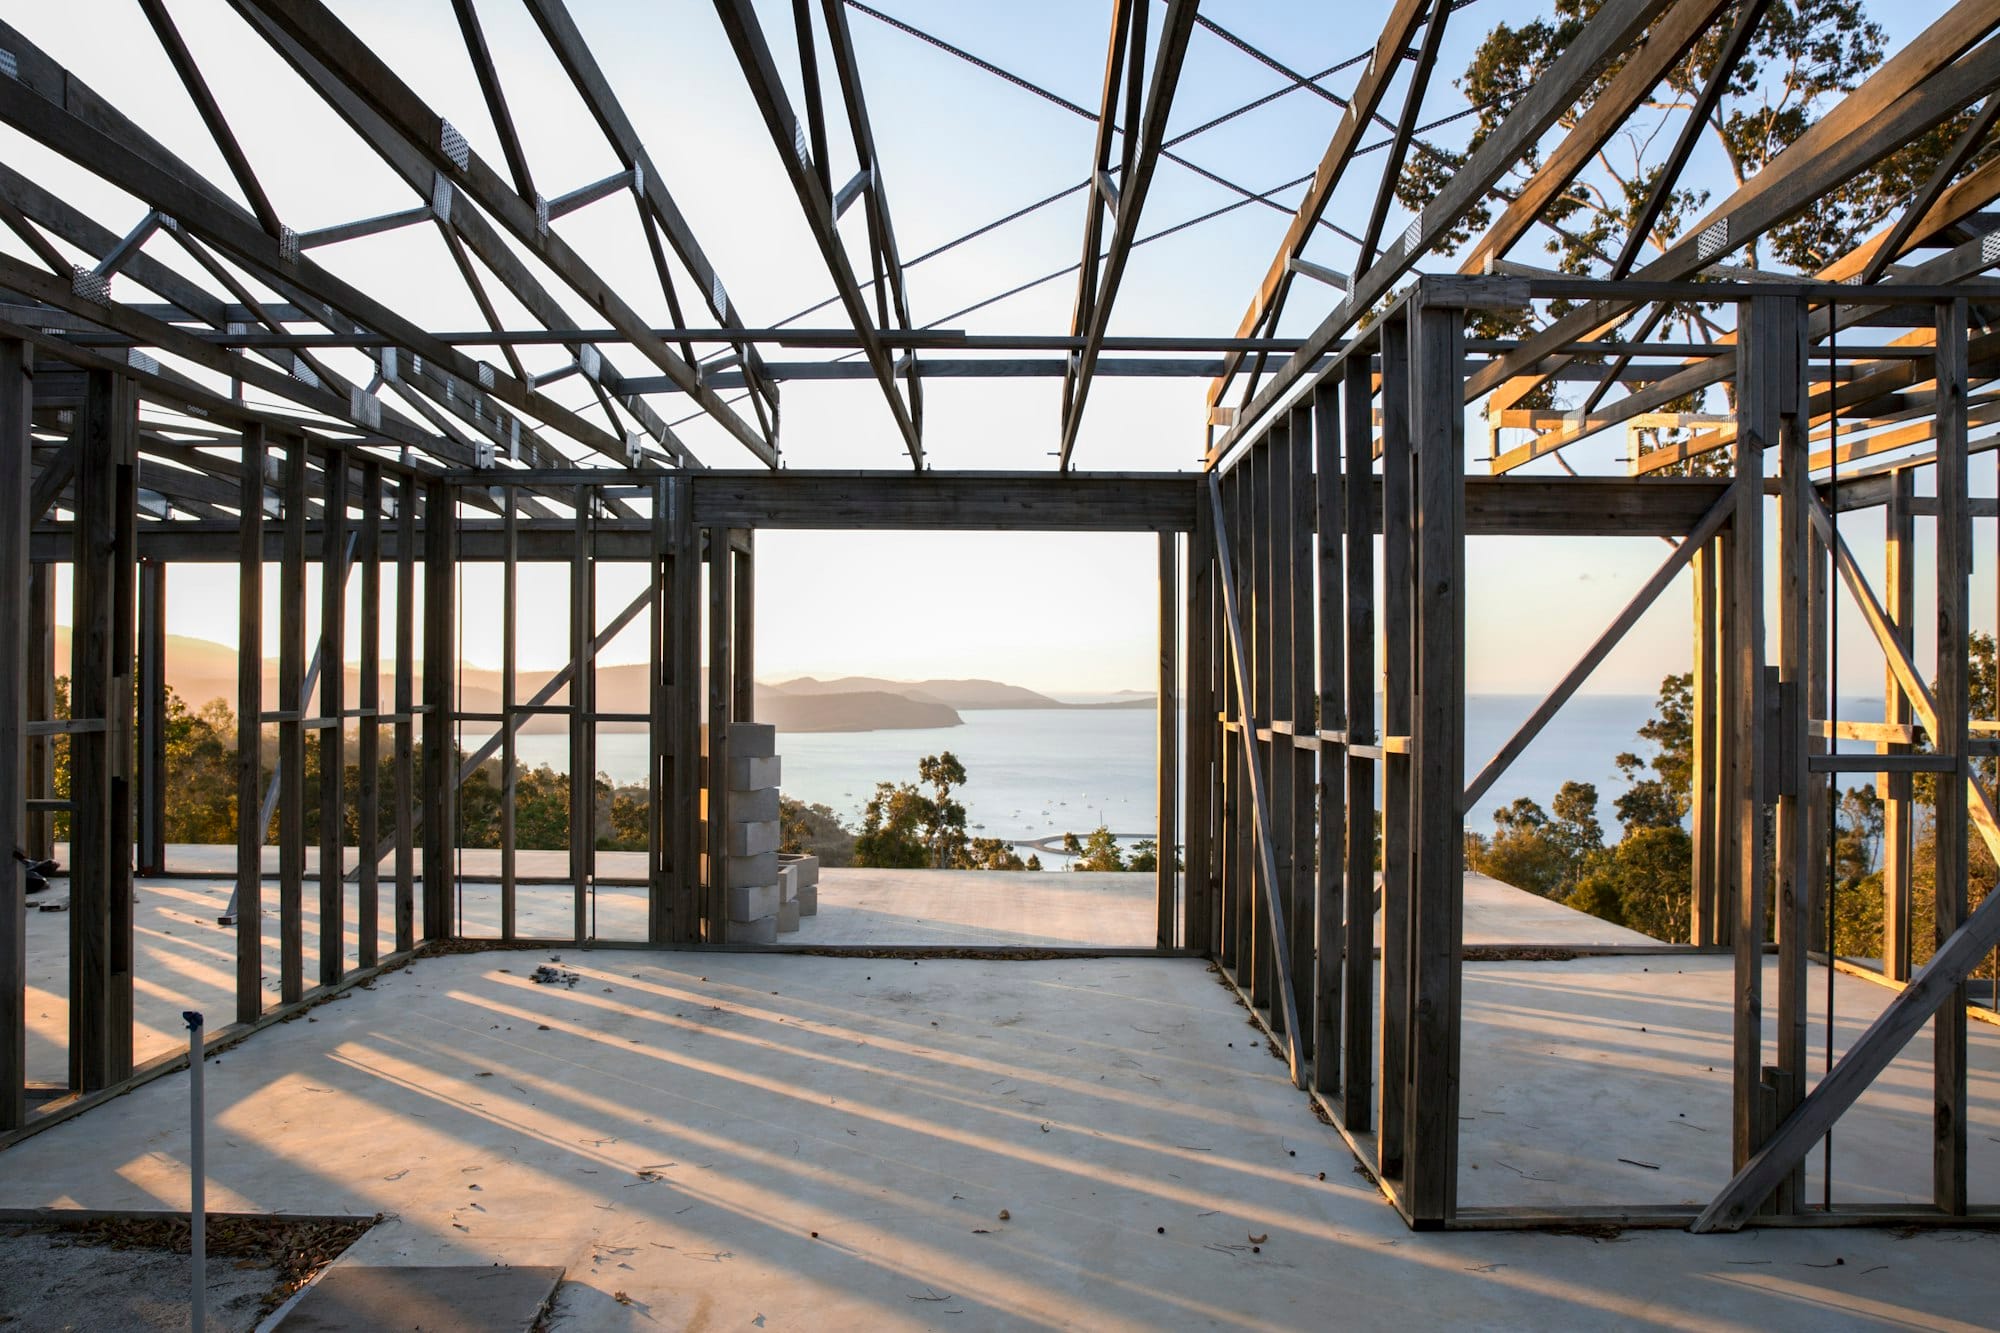
As a homeowner, there's plenty you can do to check the quality of the framing on your new home before the linings go on. Here are ten things to check.
C7 - Frame Stage Inspection Checklist
$119.00 AUD
Last updated 28 Oct 2026 · Revision 5 · Free updates for life
Checklist Type: Major (Frame Stage)
Form Factor: Fillable, print-ready PDF (A4, 48 pages)
When to use: Frame stage: after the frame and trusses are up, before linings go in
A 146-point frame stage checklist. Check walls, openings, trusses, bracing and tie-downs against your drawings before the linings go in, while changes are still simple.
Tip 1: Check the Carpenter's Licence and References
Make sure your framing carpenter is licensed by the QBCC and experienced in residential work. Run a licence check on the QBCC website and make sure it's current, active and has no directions or suspensions. Check their portfolio and reviews, and speak to three to five references.
Tip 2: Ask Referees the Right Question
When you check references, always ask: “Which area could they most improve on?”
Tip 3: Inspect the Materials
Check the materials are durable, the right grade (for example MGP10 or as specified) and meet Australian Standards.
Tip 4: Check the Timber Treatment
In Queensland, pine framing is normally H2 treated against termites. Look for the treatment mark on the timber (often with a blue or red tint). External or ground-contact timber needs a higher hazard class (H3 or above) under AS 1604.
Tip 5: Check Layout and Spacing
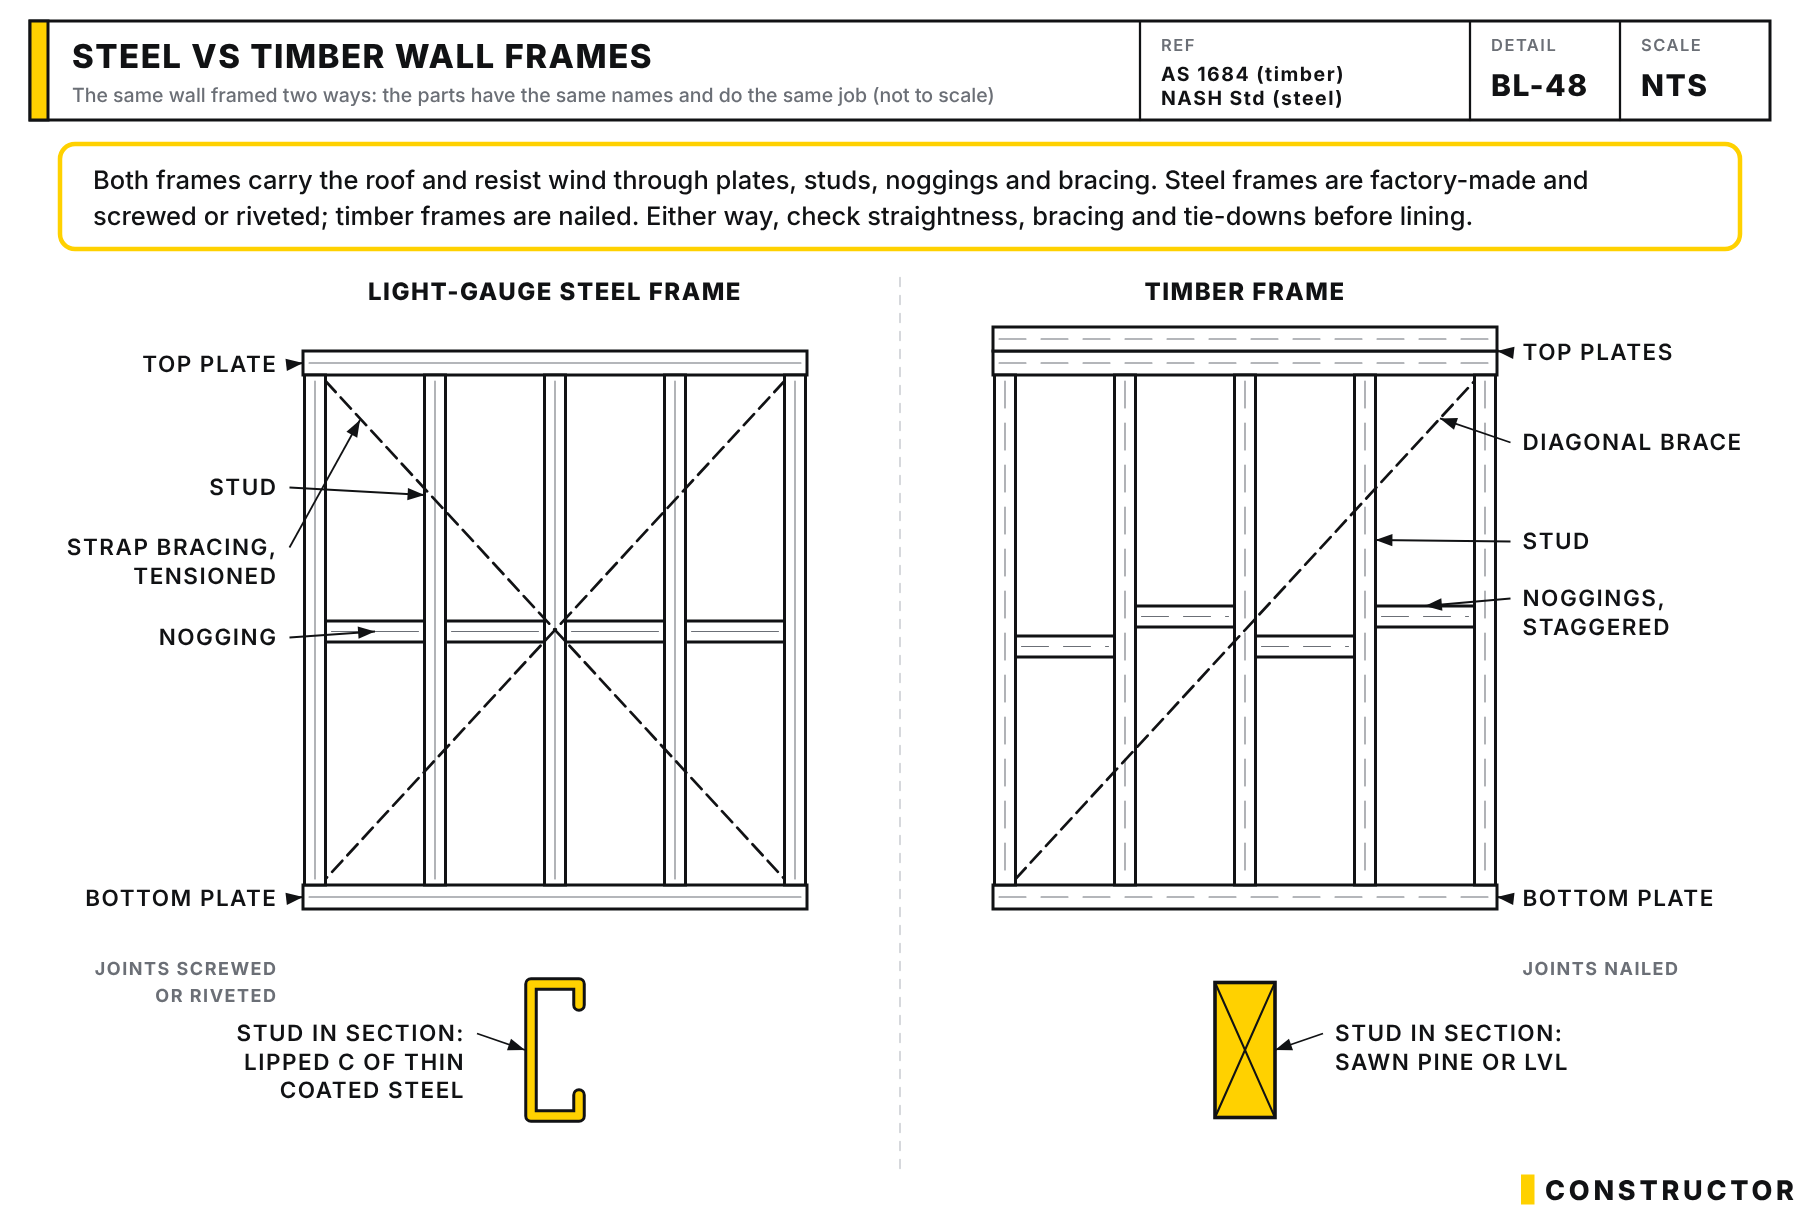
Make sure the framing lines up properly. Stud, joist and truss spacings are set by your engineer or the frame layout under AS 1684, so check them against the drawings rather than judging by eye. If the spacing doesn't match the plans, ask why before the linings go on.
Tip 6: Verify the Bracing and Tie-Downs
Bracing stops the frame racking sideways in the wind. Check the bracing matches the bracing plan, is tied down to the slab as detailed, and has been nailed off to the manufacturer's nailing pattern for your wind rating.
Tip 7: Check Plumb, Straight and Level
Check the wall and ceiling framing for gaps, bows and uneven sections using a straight edge at least 1.8 m long. The QBCC Standards and Tolerances Guide sets out what's acceptable. A straight frame means straight walls and ceilings once they're lined.
Tip 8: Check Corrosion Protection
Make sure the right protective coating is used in the right places. The engineer's specification sets out the corrosion resistance needed for different steel elements and fixings, and it can change with your site (for example, near the coast with salt spray). In my experience this part of the spec is easy to miss on site, so it's worth checking yourself.
Tip 9: Inspect the Connections
Check the right connectors are used (nail plates, multigrips, strap bracing and so on), with the correct number of fixings in the correct places.
Tip 10: Get an Independent Inspection
Consider hiring an independent building inspector to check the frame before the linings go on. You'll get an objective assessment and peace of mind. Our C7 Frame Stage Inspection Checklist covers these checks in detail.
 C7 Timber Frame Checklist ExplainedLearn how the C7 Timber Frame Stage Inspection Checklist supports managing quality for the frame stage of construction. Understand technical terms, issues, and get an thorough understanding of how to manage quality for this stage of construction.Timber vs Steel Framing: Choosing for Your HomeExplore the choice between timber and steel for lightweight framing in home construction. This guide compares their benefits, from environmental impact to cost and durability, helping you make an informed decision for your sustainable, efficient, and aesthetically pleasing home design.
 Exploring Popular Wood Types for Home Frame ConstructionWood remains a staple material in home frame construction, appreciated for its strength, flexibility, and aesthetic appeal. But with a wide variety of types available, knowing which one to choose can be daunting. Buckle up and prepare to get your wood on.
 Timber Framing Guide | Key Elements & CodesLearn the fundamentals of timber framing for residential construction in Australia. In this guide we cover sub floor, wall, and roof elements, bracing systems, and building code references.
 Australia’s Timber Supply: Forecast to 2050Wondering whether timber will be available (or affordable) when you build? Learn what’s really going on in Australia’s timber supply—what’s growing, what’s shrinking, and how this impacts your home’s construction, materials, and long-term quality.
 Timber vs Steel: Choosing the Best Frame 4 Energy EfficiencyExplore the debate between timber and steel framing for energy-efficient homes. This article examines the insulation, thermal mass, and lifetime costs of both materials, helping homeowners make an informed decision for their dream home based on climate, longevity, and energy savings.
 Framing Timbers: Choosing Between 90x35 MGP & LVL timberChoosing the right framing material is crucial in construction. This detailed guide compares the 90x35 MGP framing timber and the LVL laminated veneer lumber, to help you make an informed decision. We discuss the properties, advantages, and potential drawbacks of each option.