
If you’re building a new home (or a detailed custom home), the stuff you can’t see later—the plumbing system under the slab—will shape how well the house works for decades to come.
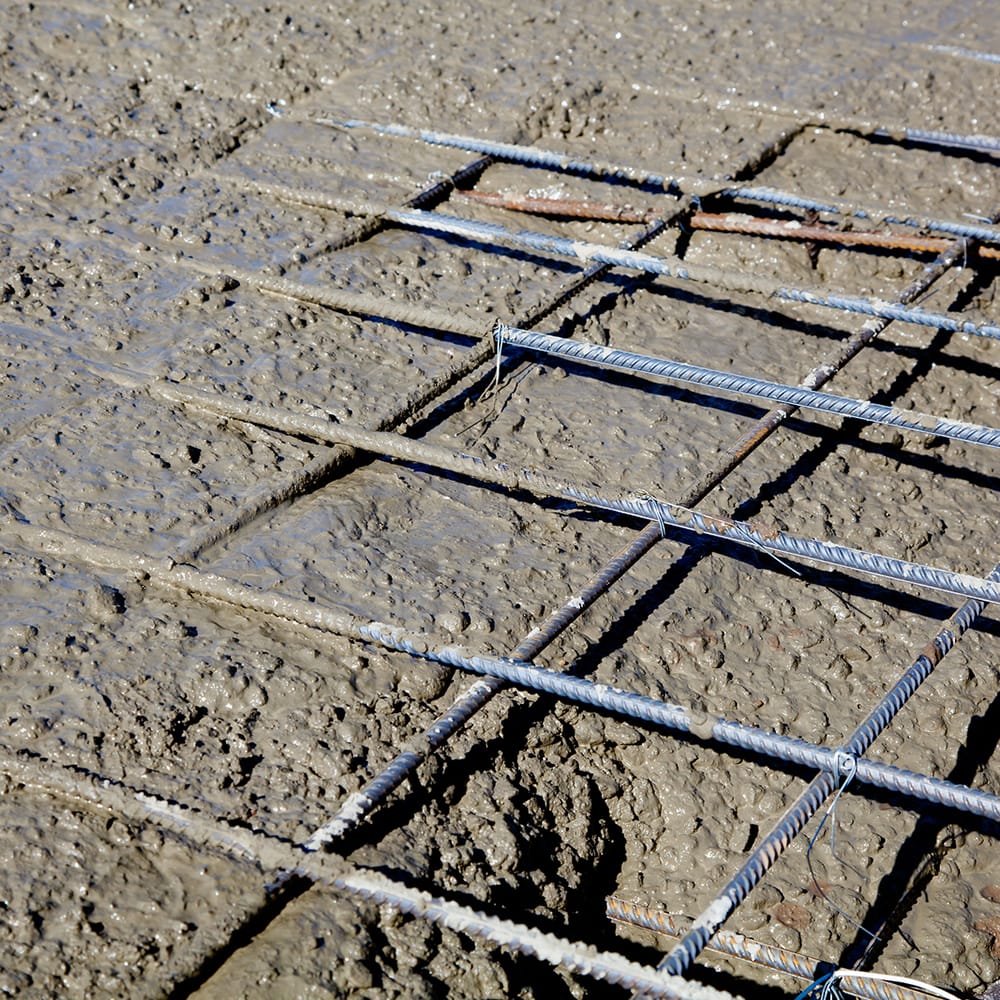
Under-slab water lines, waste lines, and the sewer line must be set out accurately on undisturbed soil, sealed over a clean moisture barrier, and kept clear of wire mesh and reinforcing.
The first thing to understand is timing: good outcomes start with tidy planning, then careful pre-pour inspections (our checklists are pretty thorough), and finally a calm, controlled concrete pour that doesn’t shift anything out of place (yes, we said that.
Why so much attention? Because under-slab mistakes can be expensive and disruptive.
A pinched water pipe can affect water pressure throughout the entire system, a flat section of DWV can cause repeated blockages, and a missed sleeve can lock a fixture into the wrong spot. In older tie-ins, tree roots can invade the sewer line; in the worst cases, you may face slab leak repair later. Further Reading
There are solutions—like epoxy pipe liners in certain scenarios—but prevention always costs less than correction.
This guide shows you the first step through to handover: how the system works, how to inspect it during new construction, what’s realistic to fix on the day, and where a professional plumber adds real value.
We’ll cover layout basics, test methods, and site-ready checklists so your slab doesn’t hide preventable problems such as trapped debris, damaged membranes, or an uneven floor area that hints at deeper trouble. Whether you’re coordinating crews or just want to understand what good looks like, here’s how to keep your under-slab plumbing solid from day one.
Common issues & practical fixes
1) Flat spots on waste lines (a very common issue)
Symptoms: slow drains, gurgling, or recurring blockages soon after occupation.
Fix: verify falls with CCTV and water testing; re-grade the affected run if accessible. If the defect is inaccessible, discuss options with a professional plumber, including targeted reroutes or localised slab penetrations coordinated with structural advice.
2) Slab leaks on water pipes
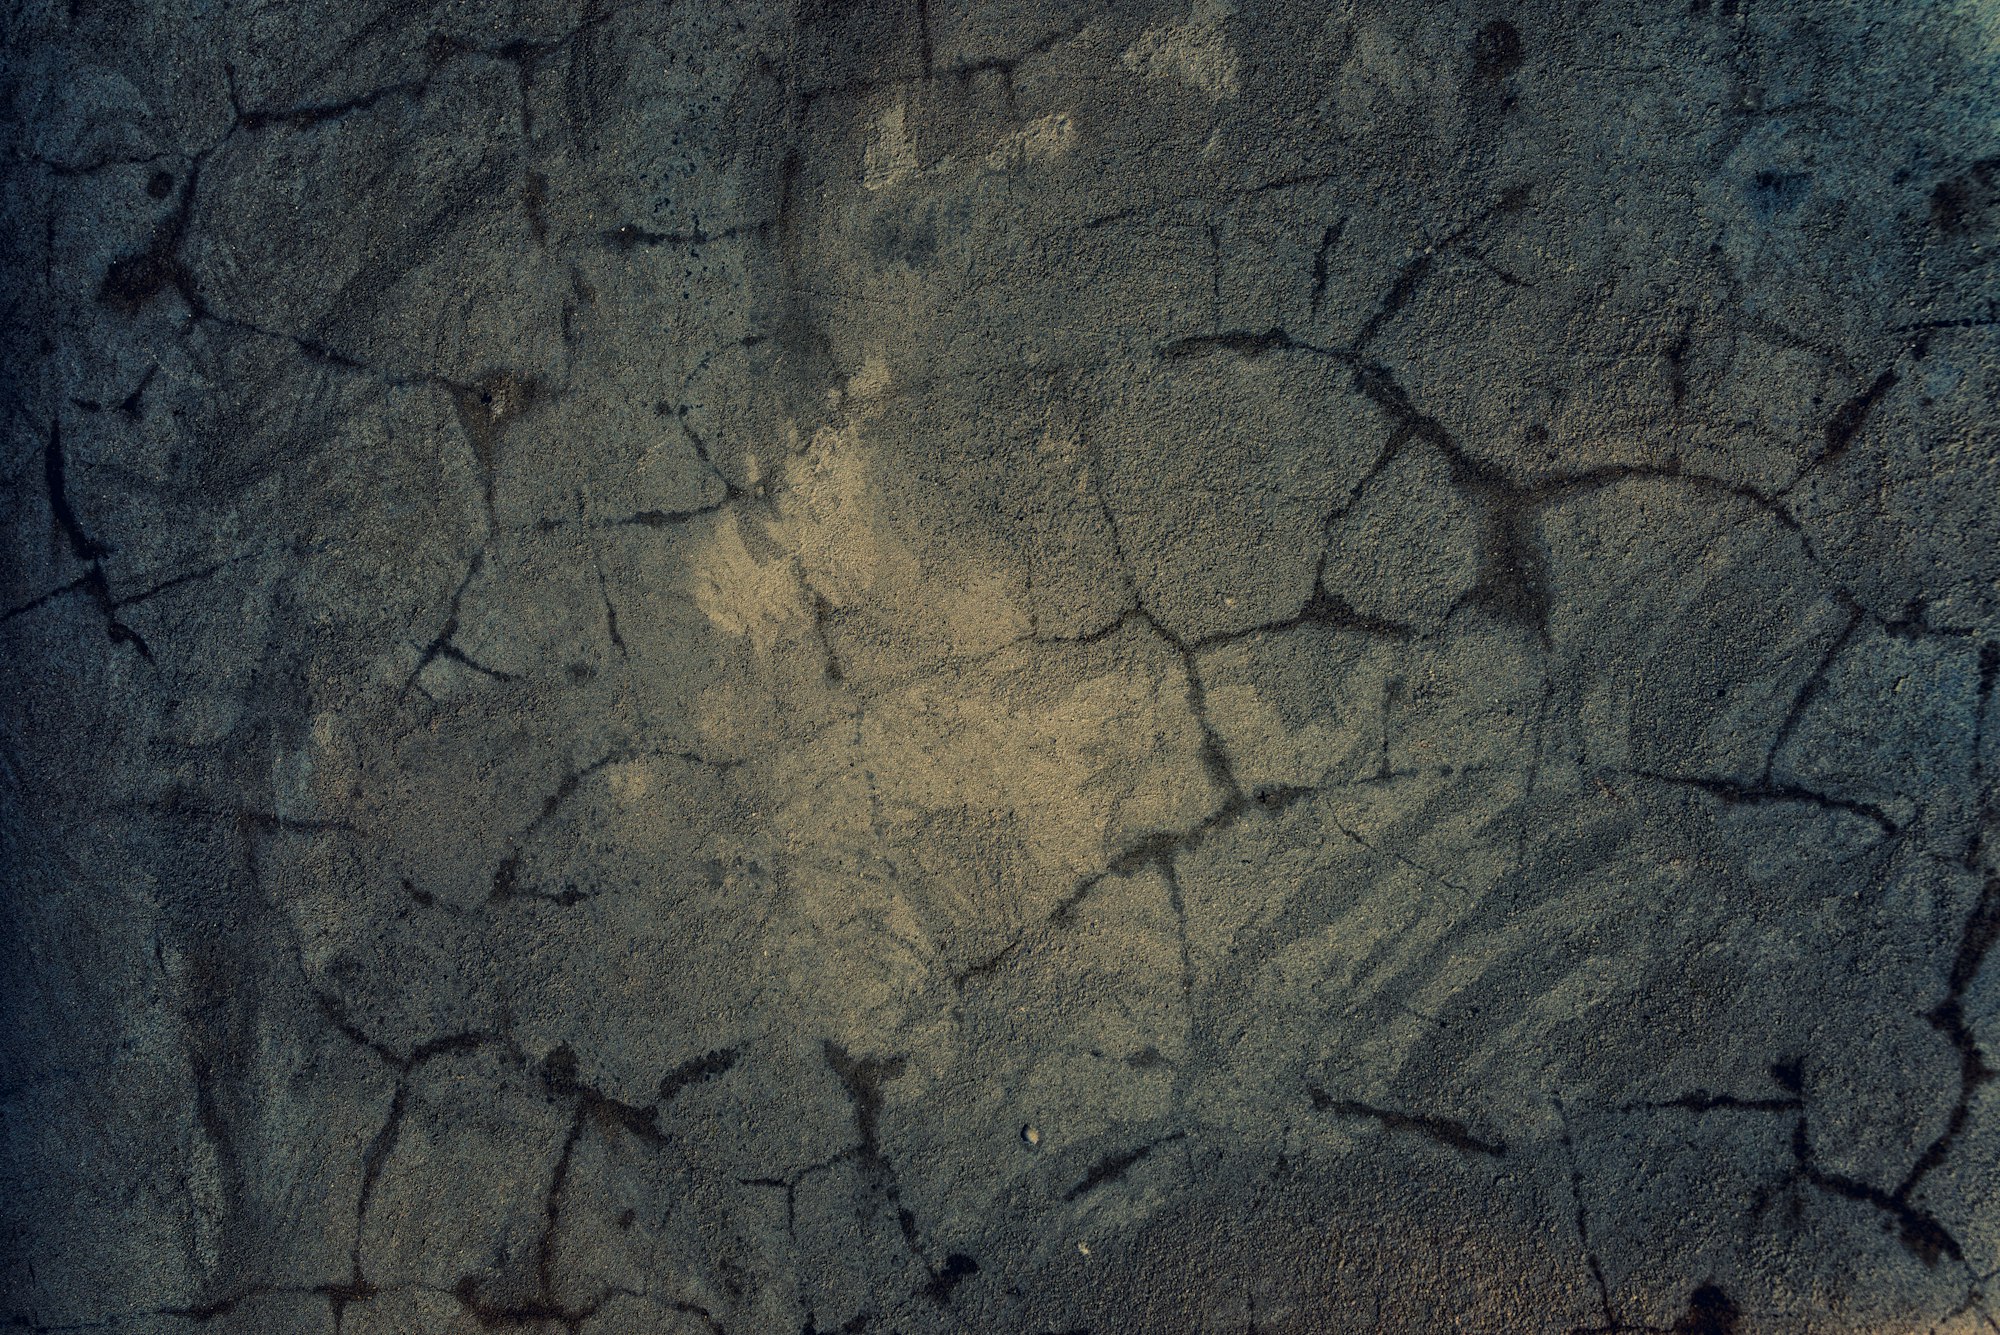
Symptoms: unexplained moisture, hot spots on floors, or uneven floor area due to slab movement.
Fix: isolate zones via water pressure checks; use acoustic/CCTV/thermal tools to locate. Slab leak repair may involve rerouting lines above the slab or, in specific cases, in-place remedies.
3) Tree roots in the sewer line
Symptoms: frequent blockages that worsen after rain.
Fix: root cutting and CCTV confirmation. For older mains connections, epoxy pipe liners can rehabilitate certain pipe materials and lengths; assess feasibility and cost with a professional plumber.
4) Damaged moisture barrier
Symptoms: rising moisture, odour, or termites finding a path.
Fix: patch and tape the moisture barrier before the pour; after the slab cures, remedies are harder and more expensive.
5) Poor coordination with reinforcing/wire mesh
Symptoms: noise/vibration in fixtures, blocked penetrations during the pour.
Fix: re-check clearances; tie back wire mesh; re-brace penetrations before trucks arrive.
How under-slab plumbing works
Under a concrete slab foundation, the plumbing system splits into two main streams:
- Water supply: pressurised water lines (cold and sometimes hot pre-runs) feed future fixtures. These are typically water pipes in sleeves or lagged where they pass through beams or thickenings, so movement in the slab doesn’t rub or crush them. The system’s water pressure is what makes taps run; any kinks or compressions from reinforcing or the pour can cause issues later.
- Drainage (DWV): waste lines carry wastewater via gravity to the main sewer line. These must maintain continuous falls, connect via correct junctions and bends, and provide inspection openings at sensible points. Good layout prevents gurgling, smells, and recurring blockages.
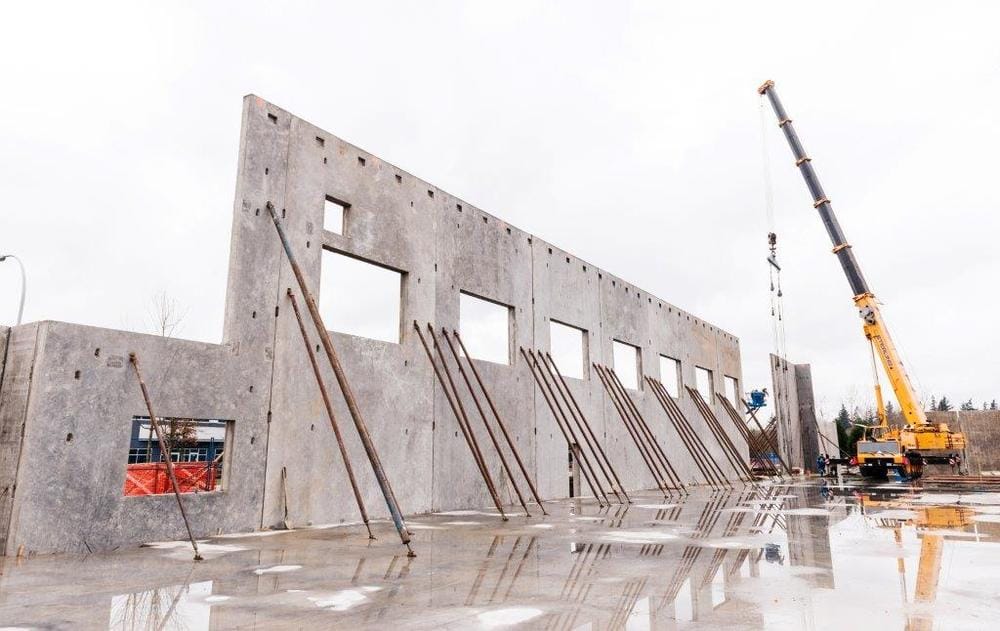
On modern builds—new construction for a new home or a detailed custom home—you’ll coordinate the under-slab runs with slab beams, thickening's, pods/void formers, set-downs, and reinforcing (wire mesh and bar). Everything sits atop compacted bedding on undisturbed soil, covered by a taped moisture barrier (vapour barrier) before the pour. That barrier protects against damp and helps termite systems tie in neatly.
Why it matters: mistakes here get buried. A pinched supply line can drop water pressure house-wide; a flat drain run becomes a common issue with blockages; missed sleeves lock fixtures out of position; bad sealing around penetrations compromises the moisture barrier and termite protection.
Planning & layout — the first thing to get right
The first step: drawings, set-outs, and coordination
Before anyone touches a shovel, confirm:
- Latest plumbing system drawings match the slab design (beam layout, ribs, set-downs).
- Fixture positions align with cabinetry and tiling set-outs.
- Penetrations have sleeves/lagging specified, especially where water pipes cross thickenings or movement joints.
- Allowances for a waste pump (if the site needs lifting to the sewer) are shown with power and maintenance access.
Falls and fixture logic
- Set correct falls for waste lines (too flat = blockages; too steep = solids left behind).
- Keep junctions clean, with minimal direction changes; plan sewer line routing to avoid clashing with ribs and starter bars.
- Place inspection openings logically—at changes of direction and line ends.
Services and structure
- Keep pipes clear of wire mesh and rebar (no contact points).
- Avoid running through ribs or thickening beams unless engineered and sleeved.
- Mark every penetration on the slab set-out—this is the first thing the foreman and plumber verify together.
Materials & components
- Water lines (water pipes): copper or PEX, lagged at penetrations.
- DWV: PVC in standard sizes with swept junctions; epoxy pipe liners are not for new work but can rehabilitate older sections if you’re tying into legacy infrastructure.
- Sleeves & collars: rigid sleeves for penetrations; termite collars integrated with the moisture barrier.
- Moisture barrier: 200 µm+ vapour barrier, taped laps, tight to penetrations.
- Reinforcing: wire mesh and bar organised so they can’t pinch or displace pipes during the concrete pour.
- Waste pump (if needed): specified sump, venting, power point, backflow considerations, and maintenance access.
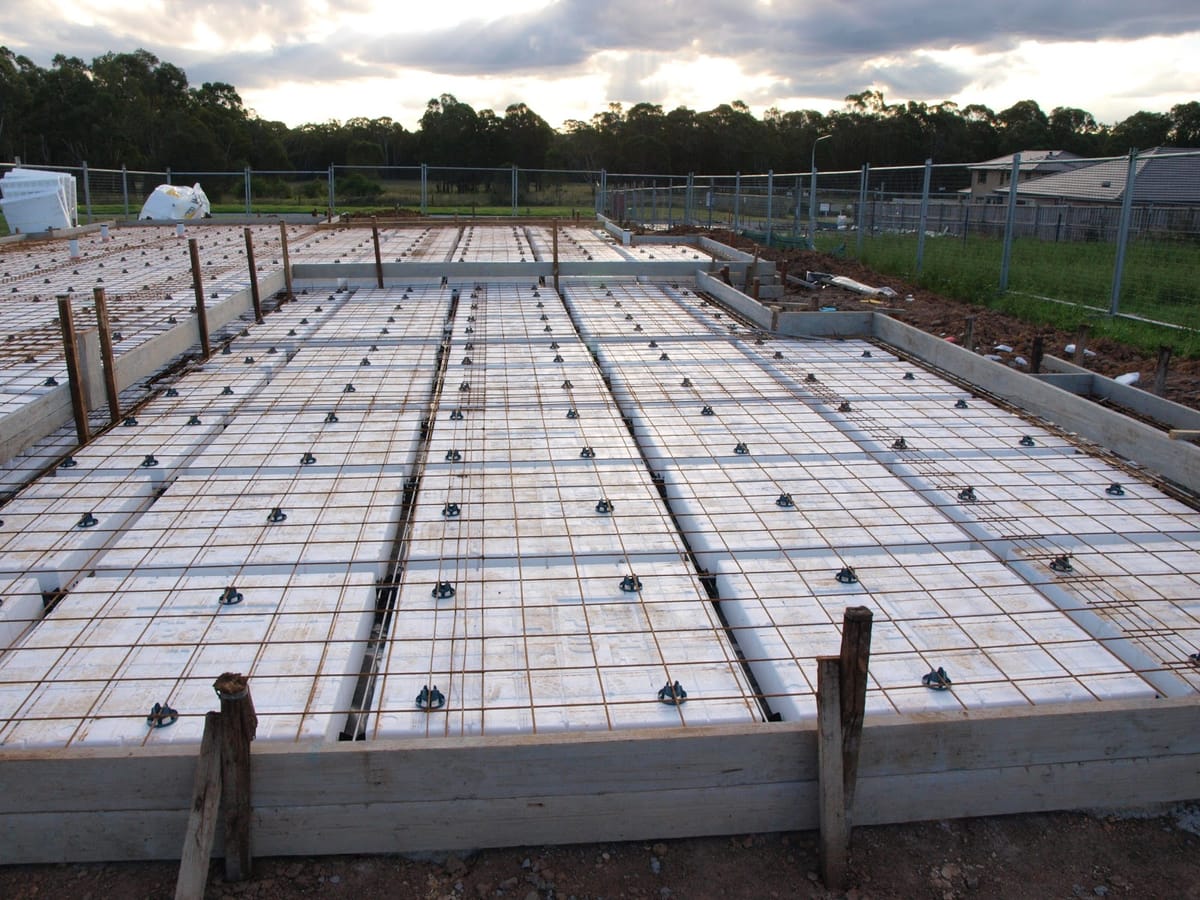
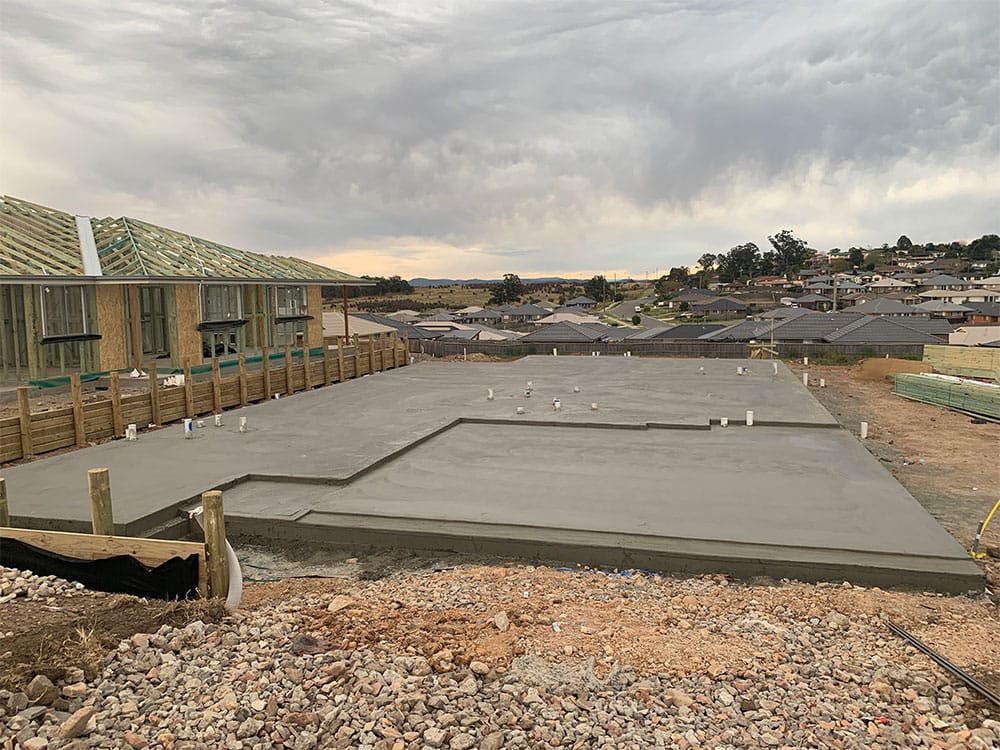
Slab Inspection Examples:

Testing & documentation
- Water pressure test: cap outlets, pressurise to spec, observe for drops—record time, reading, and temperature.
- DWV test: per standard method (water test or approved alternative). Record levels over time.
- As-builts: mark photos with room names, measurements to gridlines or walls.
- Certificates: obtain the plumbing compliance certificate from your professional plumber; file it with inspection sign-offs.
- Defect logs: anything found is logged with a fix date—don’t rely on memory after the slab cures.
Best practices on site (that save you headaches later)
- Hold points: make testing and photo capture a formal hold point before pour.
- Red tags: visibly tag penetrations that are out of tolerance; don’t pour until resolved.
- Communication: foreman, plumber, concreter meet on the slab edge before trucks roll. The first step is alignment.
- Protection: cap every stub; double-check sleeves; protect the moisture barrier from tears.
- Future-proofing: take wide-angle photos of every wall line with a measuring tape laid on the ground—this helps later when someone wants to core drill.
- Escalation: if suspected clash or test failure shows, stop and call the professional plumber—don’t bury a problem.
Under-slab success is simple: plan well, test early, keep the concrete pour calm, and document everything. Most pain comes from skipping pre-pour inspections or ignoring small signs—like a wobbly penetration or a suspect fall on waste lines. If anything feels off post-pour—slow drains, damp patches, or an uneven floor area—get a professional plumber to pressure-test, CCTV, and advise on targeted fixes, from reroutes to slab leak repair. Good habits at the start protect the entire system for the life of the home.
FAQs
1) What’s the first thing to check before a slab pour?
That pre-pour inspections are complete.
2) How much fall do waste lines need?
Follow your spec and standard. The point is consistent gradient—no bellies—so wastewater flows smoothly to the sewer line.
3) Do I really need sleeves around water pipes?
Yes. Sleeves/lagging where water lines cross thickenings or movement areas prevent abrasion and protect against slab movement.
4) Why do tree roots matter on a new build?
If you tie into an older sewer line, tree roots can invade that legacy section. CCTV will confirm; epoxy pipe liners can rehabilitate some existing pipes.
5) We poured and now have low water pressure—what happened?
A pinched or kinked supply can drop water pressure. Isolate circuits, test, and consult a professional plumber for location and repair.
6) What causes an uneven floor area after the slab cures?
Sometimes it’s just finishing tolerance. But it can hint at displacement or settlement beneath—get it checked, especially if plumbing is nearby.
7) When is a waste pump used?
Where fixtures sit below the sewer invert or gravity falls aren’t viable, a waste pump lifts wastewater to the sewer line.
8) Can epoxy pipe liners fix new work?
They’re generally for rehab of existing pipes, not brand-new lines under a slab. They can be useful on older tie-ins beyond the slab edge.
9) How do I document everything properly?
Record tests with readings and times; take labelled photos; store the plumbing compliance certificate; and keep as-built measurements.
10) Who signs off on plumbing before we pour?
The supervising builder and professional plumber confirm compliance; official inspections vary by jurisdiction—follow your approval pathway.
Further Reading


Member discussion