
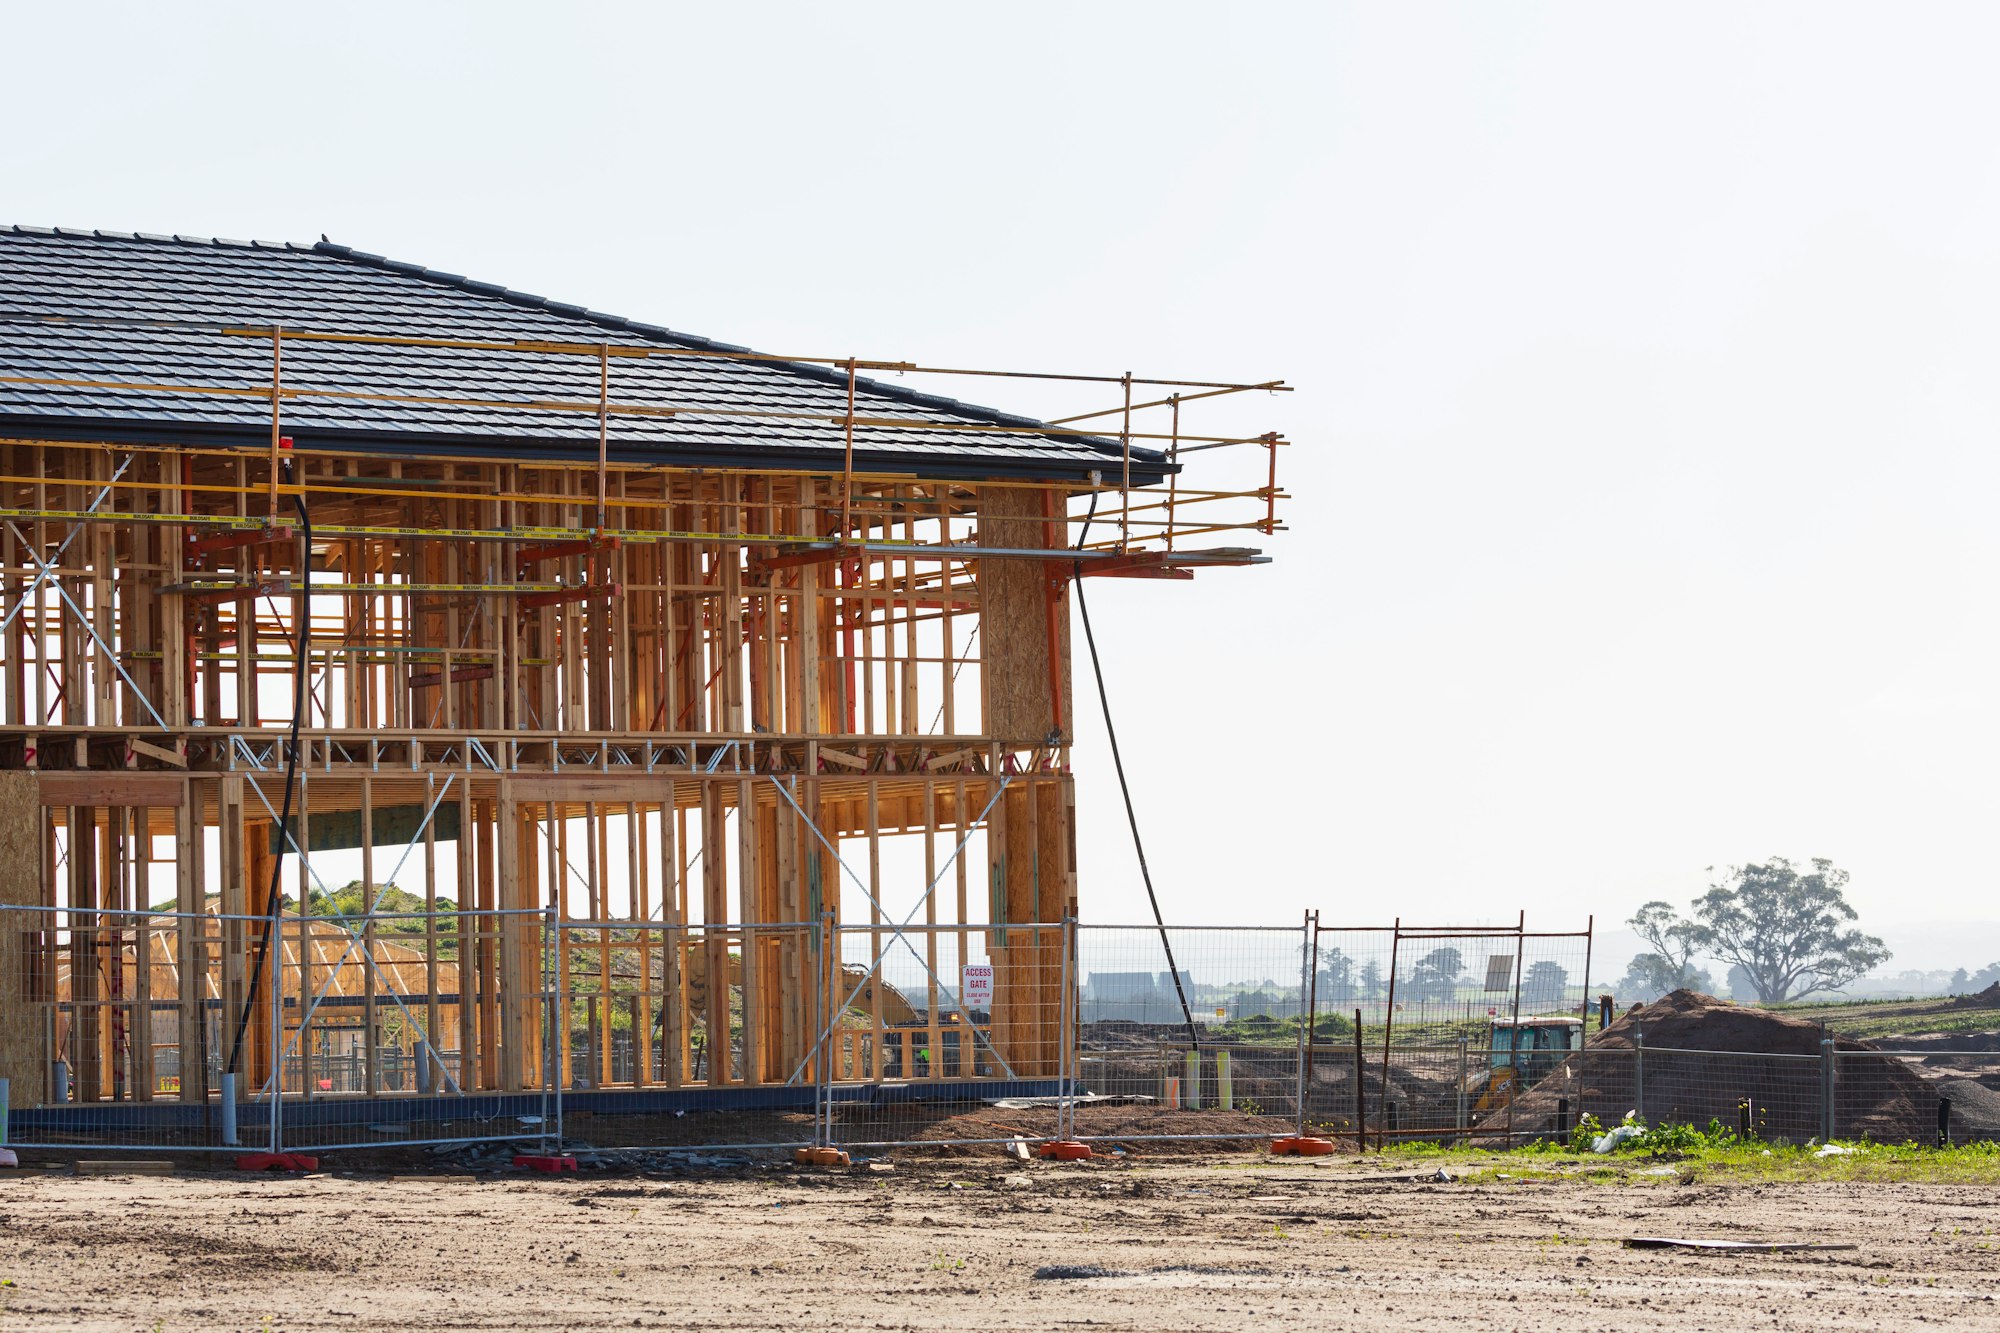
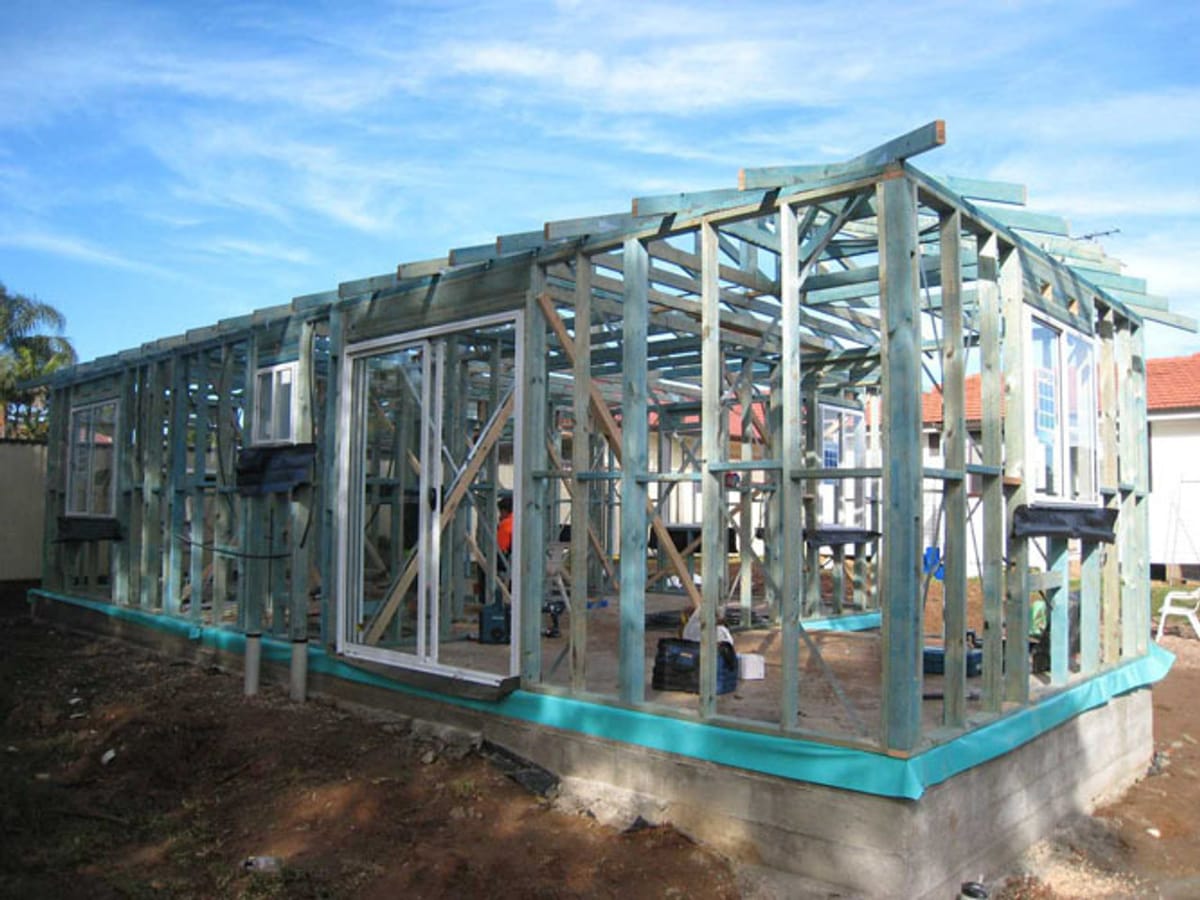
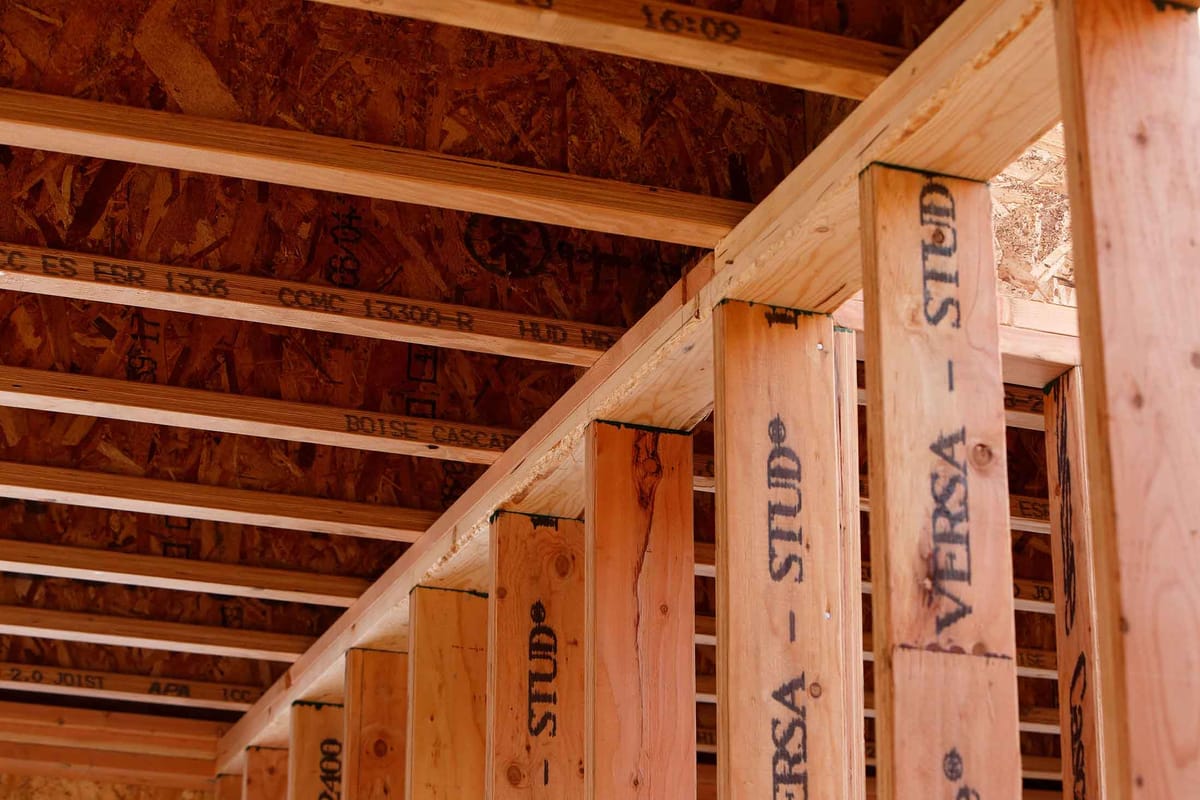
Pressure-treated timber shows up everywhere—deck framing, stair stringers, fascia, and outdoor furniture—because it stands up to weather and pests.
But the same waterborne chemicals and higher moisture content that make PT timber so tough can also make glue-ups frustrating. Typical construction adhesives can present problems on damp or non-porous surfaces, leading to weak glue joints, long wait times to full cure, or messy squeeze-out.
With the right adhesive technology—and a few prep tweaks—you can get dependable, long-lasting bonds (who doesn't need a better bond?) outdoors.
In this post, we’ll break down the 5 best construction adhesives for pressure-treated timber, why they work, and where they shine. You’ll see familiar names like PL Premium (polyurethane construction adhesive), Gorilla Glue (polyurethane glue), Liquid Nails (outdoor/heavy-duty lines), Titebond III (advanced PVA/polyvinyl acetate), and epoxy resins.
We’ll explain how each handles moisture, temperature changes, and mixed materials (think PT timber to concrete or stainless steel), so you can match the right adhesive to the job and get best results.
Used together—and applied correctly—quality construction adhesives can boost durability, reduce squeaks, and help your timber projects look better for longer.
PT Timber 101—Why Adhesion Is Tricky
Treatment & moisture content
Pressure-treated timber is saturated with waterborne chemicals to resist rot and insects. Fresh boards often carry a higher moisture content, which can slow the chemical reaction as an adhesive cures and reduce early grab. If you glue too soon, the joint can feel rubbery until full cure, or never reach the bond strength per square inch you expect.
Surface realities
Planers can burnish PT boards, leaving a smooth surface that’s less “toothy.” Add in preservatives that migrate to the face and you’ve got present problems for wetting out a glue joint. Light abrasion helps. Also treat end grain with extra care—it acts like a straw. Seal or pre-prime the end (or use more viscous formulas) to prevent starved joints and “end snipe” failures right where you need strength most.
Adhesive families you’ll actually see
- Polyurethane adhesives (PU): moisture-curing, great for outdoor use, bond well to damp PT timber, and work on non-porous surfaces too.
- Epoxy resins: two-part, excellent gap-filling, top choice for mixed materials (PT timber to stainless steel, brackets, or composite material).
- Construction adhesives (e.g., Liquid Nails heavy-duty): broad lineup; look for “waterproof construction adhesive” or “exterior” on the label.
- PVA glue (polyvinyl acetate): “traditional timber glues,” including Titebond III; they can work on dry surfaces, tight joints, and planed timber surfaces, but tolerate moisture less than PU or epoxy.
How to Choose the Right Adhesive for PT Timber
Decision criteria (use this checklist)
- Bonds damp PT? (tolerates higher amount of moisture)
- Gap-filling vs tight-joint performance
- Outdoor rating and resistance to temperature changes
- Open time → full cure window (and when you can load the joint)
- Low odor vs solvent cleanup needs
- Paint/stain compatibility
- Material versatility (timber→concrete/brick/metal/composite material)
- Cost per cartridge (per oz tube) and availability
Map by use case
- Deck fascia/trim & stair parts: PU or exterior construction adhesive; add deck screws for best results.
- PT timber to concrete/brick: PU or epoxy (think of it as passing your own “concrete brick tests”).
- Outdoor furniture & small projects: Gorilla Glue (PU) or Titebond III on drier stock; epoxy for hardware insets.
- Mixed materials (stainless brackets, composites): epoxy resins for a stable, incredibly strong bond.
Don’t skip fasteners
Even the right adhesive is not a stand-alone structural fix unless engineered. Adhesives complement deck screws and stainless steel fasteners; they don’t replace them.
The 5 Best Construction Adhesives for Pressure-Treated Timber
These are grouped by technology so you can swap brands if needed. Always check the label for PT timber and outdoor use language.
1) PL Premium (polyurethane construction adhesive) — First choice for damp PT framing
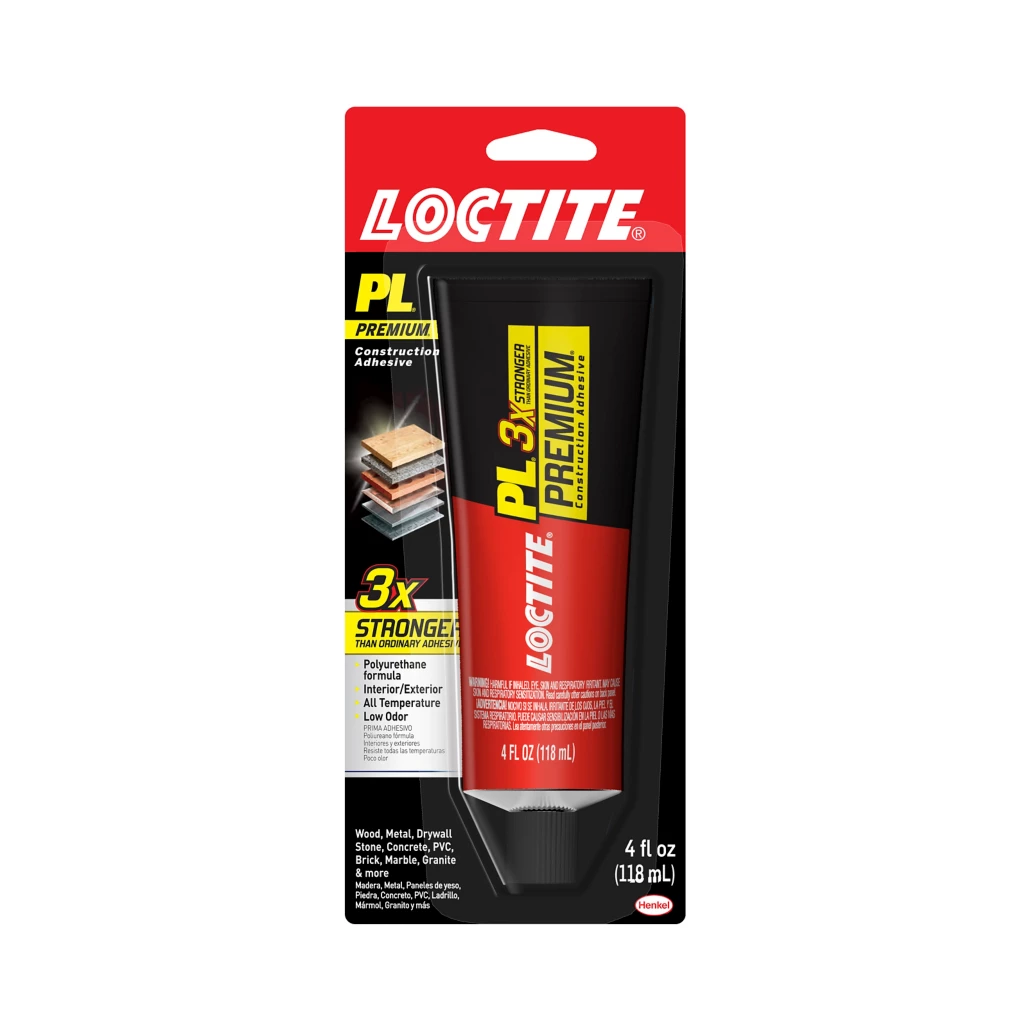
What it is: A polyurethane-based adhesive in cartridge form; heavy-duty adhesive with strong grab and excellent gap-filling.
Why it works on PT timber: Moisture-curing chemistry thrives with the elevated moisture content in PT lumber, forming an incredibly strong bond as it cures.
Best uses: PT timber to timber, PT timber-to-concrete/brick; ledger trim, stair blocking, fascia.
Pros: Bonds many common construction materials; good on slightly damp stock; strong after full cure.
Cons: Can foam/expand; mask edges, manage squeeze-out with a damp cloth.
Tip: Bead size matters—don’t over-apply; allow clamp or screw pressure during cure.
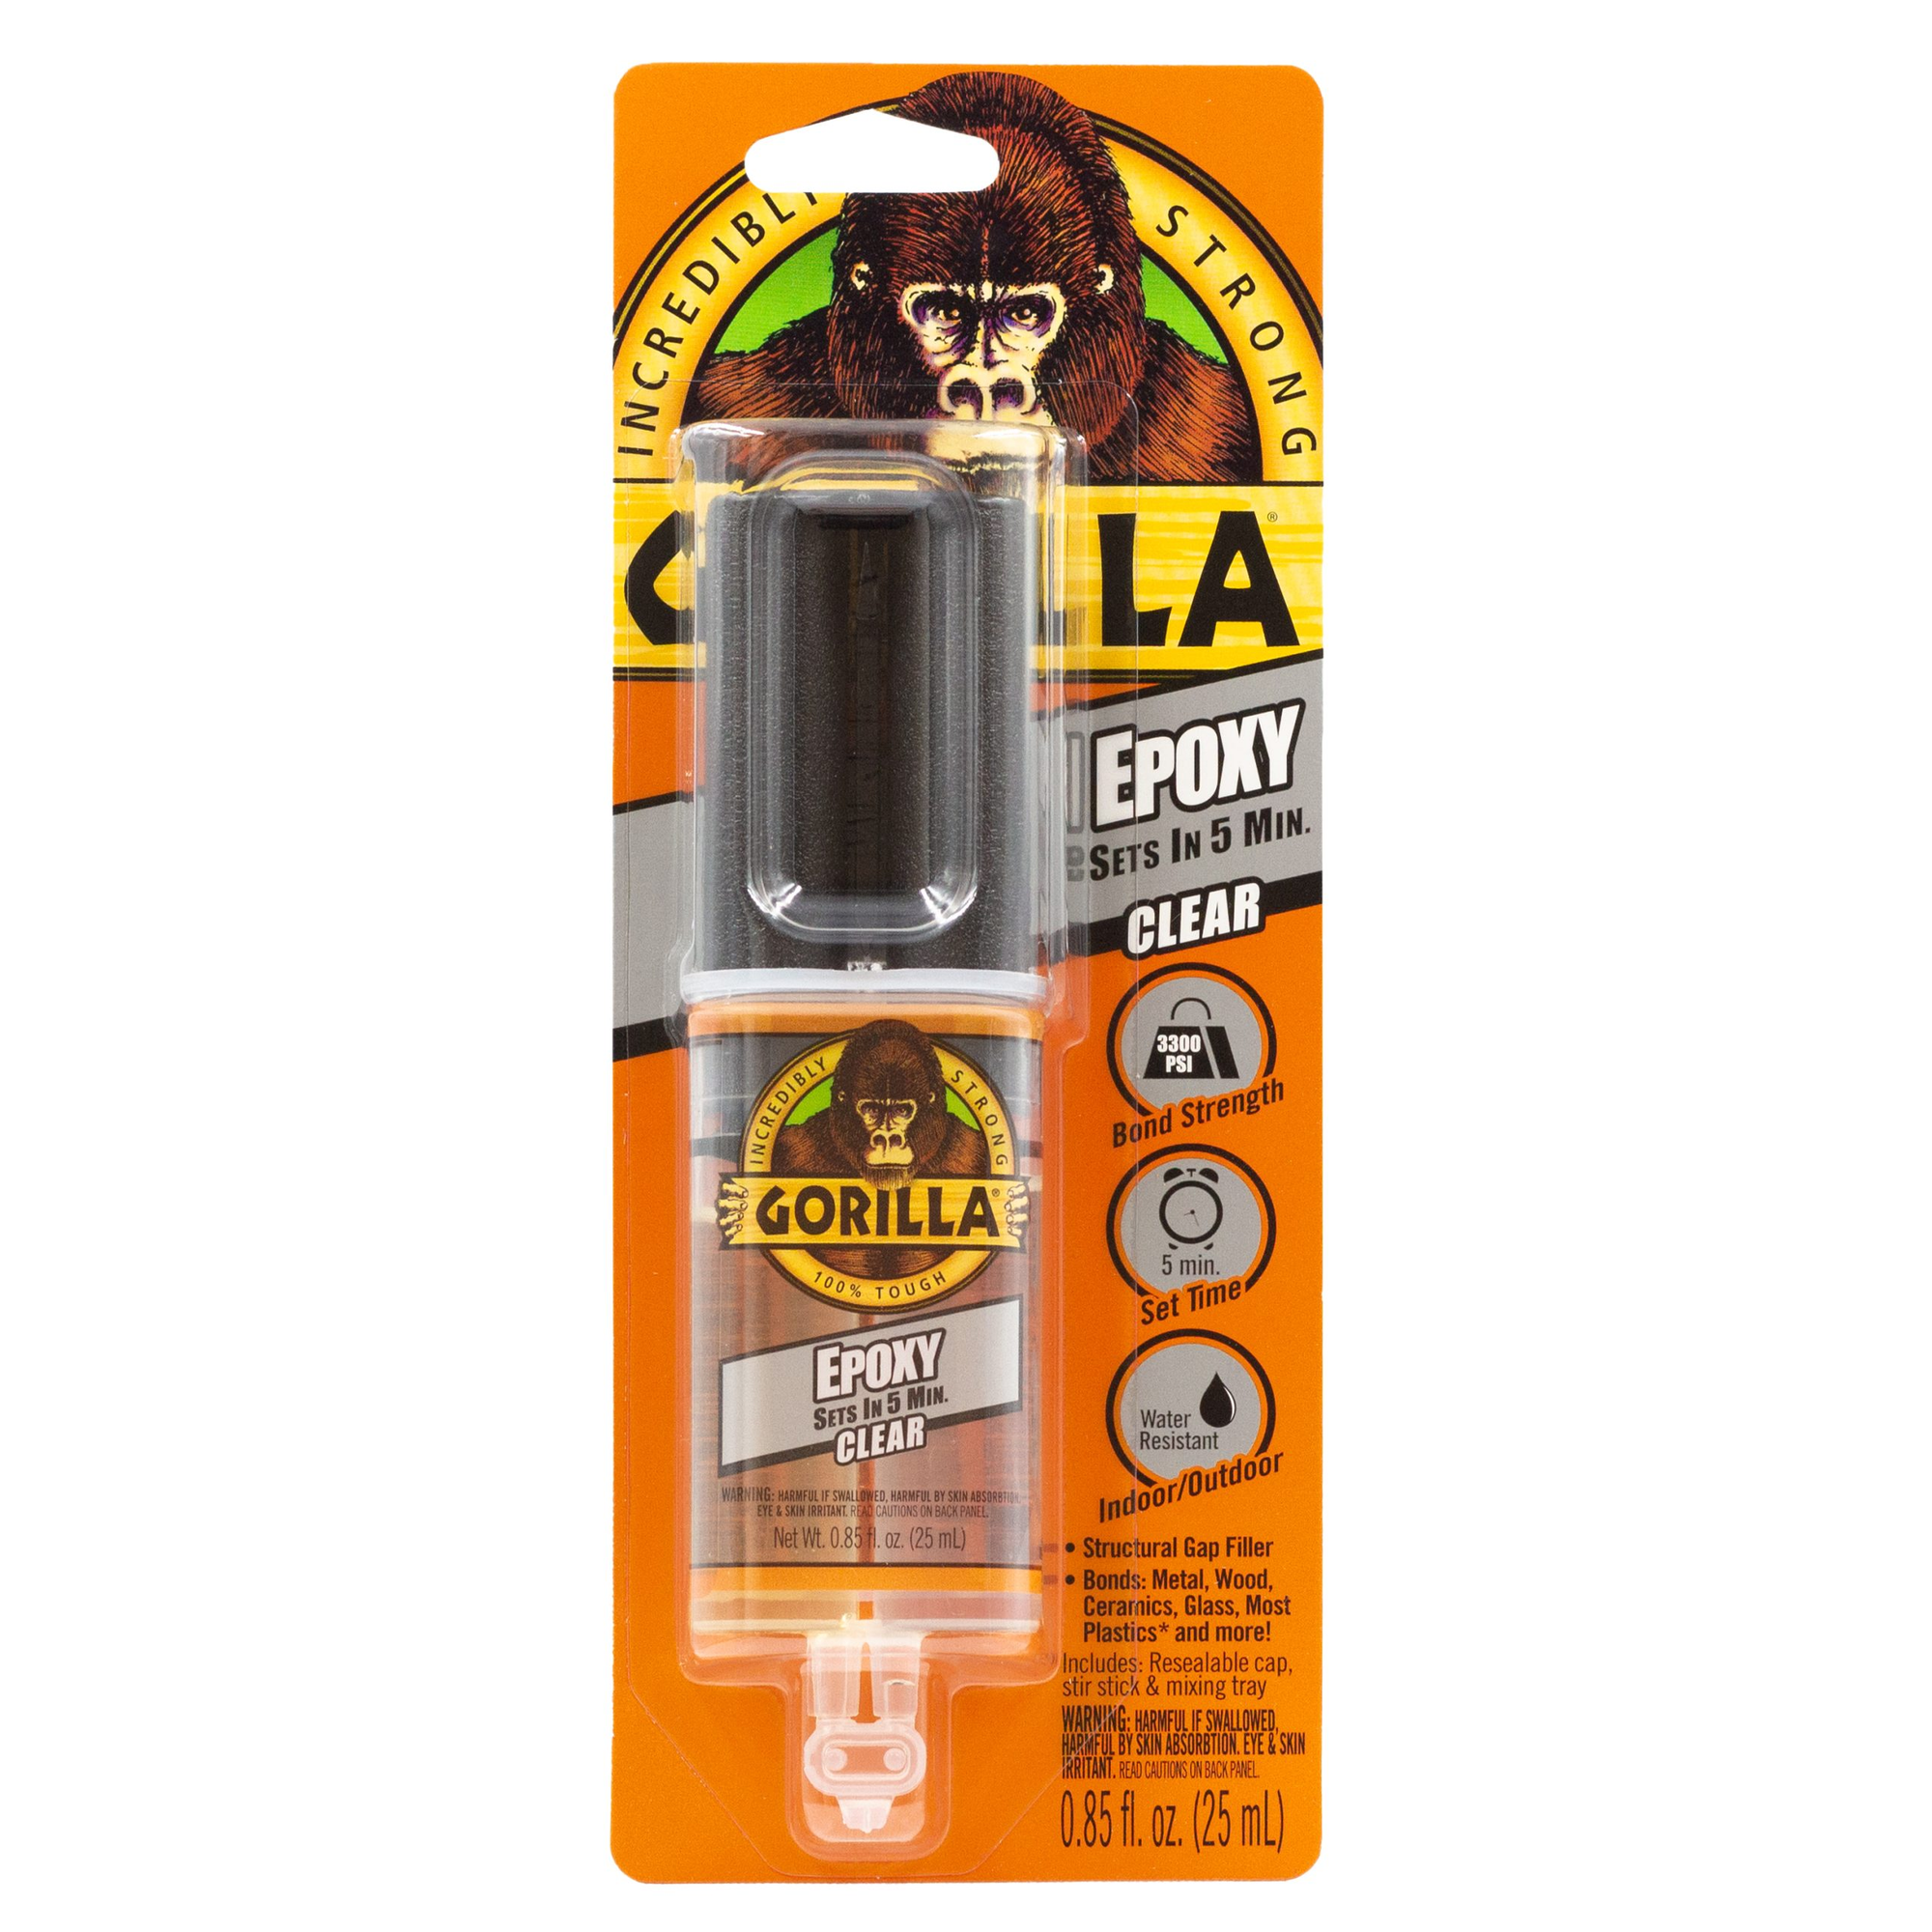
2) Gorilla Glue (Original) — Moisture-activated polyurethane glue for small projects

What it is: Bottle-format polyurethane glue (not to be confused with Gorilla Wood Glue, which is PVA).
Why it works: Moisture-activated chemical reaction; bonds well to PT timber that isn’t dripping wet.
Best uses: Small projects and woodworking projects outdoors—furniture repairs, trim blocks, jigs.
Pros: Excellent penetration; bonds some non-porous surfaces too.
Cons: Expansion can stain if you plan to finish; protect the surface and trim cured foam.
3) Epoxy Resins (Two-Part) — Best for mixed materials and precision
What it is: A/B epoxy resins with measured mixing; paste or liquid.
Why it works: Exceptional adhesion to timber, metal (stainless steel), and composites; great dimensional stability through temperature changes.
Best uses: Hardware bedding, brackets, PT timber to metal/concrete; certain structural laminations if engineered.
Pros: Superior gap-filling, predictable full cure, very durable.
Cons: Higher cost; measure mix ratios; watch pot life.
Tip: Lightly abrade glossy PT faces; solvent-wipe, then let flash off before applying.
4) Liquid Nails (Outdoor/Heavy-Duty lines) — Widely available, project-ready
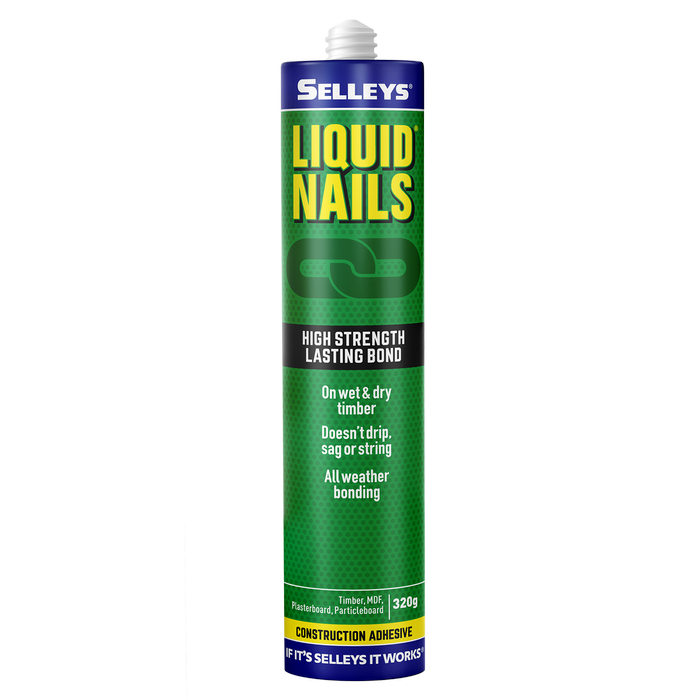
What it is: A family of types of construction adhesives; look for “waterproof construction adhesive,” “outdoor,” or “heavy-duty” on the tube.
Why it works: The right formula bonds PT timber and common construction materials reliably for outdoor use.
Best uses: Deck fascia, skirt boards, trim to masonry, PT timber to non-porous surfaces (check label).
Pros: Popular choice; easy to find; competitive cost per oz tube.
Cons: Lineup varies; confirm PT compatibility and cure windows on the exact glue type.
5) Titebond III (PVA / polyvinyl acetate) — For dry, tight PT joints
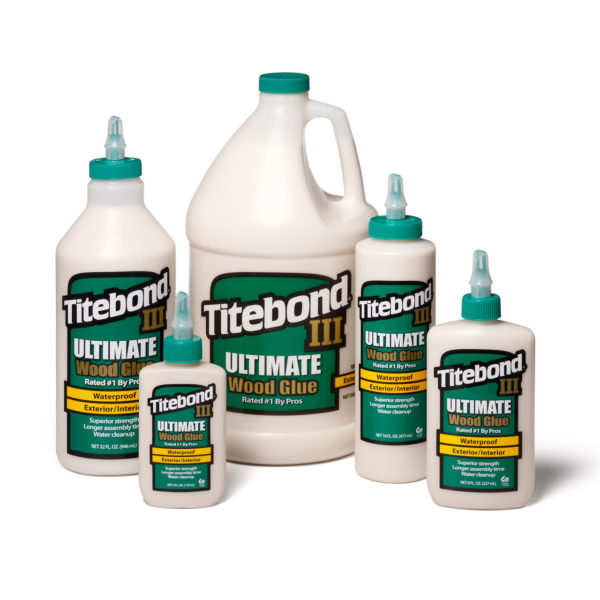
What it is: Advanced PVA glue with a waterproof rating; often chosen for furniture and cabinetry that sees moisture.
Why it works: On dry surfaces with tight fits, it forms tough glue joints and sands/finishes nicely.
Best uses: Outdoor furniture parts, railings, and tidy joinery on PT timber that has equilibrated.
Pros: Easy cleanup, low odor, great for “smooth surface to smooth surface” tight joints.
Cons: Less tolerant of high moisture; not a gap filler; clamp pressure is non-negotiable.
Application Best Practices (Step-by-Step)
- Check moisture
Let fresh PT boards air out when possible. If they feel heavy or weep at fastener holes, the amount of moisture is still high. PU can handle “a little damp,” but everything performs better closer to equilibrium. - Prep the surface
Scuff planed faces; wipe any oily sheens. On non-porous surfaces (metals, plastics), abrade lightly. Seal end grain or build in extra adhesive to avoid end snipe at board tips. - Apply the right bead
For cartridge polyurethane construction adhesive, run a consistent bead; don’t flood the joint. For bottle PU (Gorilla Glue), a light mist is enough to kick the cure—then spread thinly. For epoxy, measure carefully and pre-coat thirsty timber. - Clamp & fasten
Bring parts together, clamp, then add deck screws or stainless steel fixings where needed. Adhesives boost durability of your projects, but fasteners carry the structural load. - Cure & finish
Respect open time → full cure. Don’t sand or load joints early. Use timber fillers only after the adhesive reaches handling strength. Choose paints/stains the manufacturer says are compatible.
Common Issues & Troubleshooting
- Gluing dripping-wet PT timber: Wait or choose PU/epoxy designed for damp bonding.
- Expecting PVA to fill gaps: It won’t. Close the joint or switch to PU/epoxy.
- Not abrading metal or glossy faces: Light scratch = better wet-out.
- Temperature swings: Cold slows cure; heat can thin beads. Adjust open time and support.
- Over-applying PU: Foaming looks scary; use the right bead and clean squeeze-out with a damp cloth before it sets.
Conclusion
Picking the right glue for pressure-treated timber comes down to chemistry and conditions.
If the stock is damp or the job is outside, PL Premium is an excellent first choice for framing and trim. For small projects where you need a bottle format, Gorilla Glue delivers an incredibly strong bond—just control the foam.
When you’re combining PT timber with metal brackets, stainless steel, or composite material, epoxy resins shine. If you want a popular choice from the big box aisle, the correct Liquid Nails outdoor line works well—just match the specific adhesives to the label. And when your joints are tight and the lumber is dry, Titebond III (PVA) gives a neat finish with low odor and simple cleanup.
Use adhesives to reduce squeaks, seal interfaces, and boost longevity—but keep your deck screws and structural fasteners in the plan. That combo is how you get the best results and extend the durability of your projects.
FAQs
- Can I glue PT timber while it’s still wet from treatment?
Lightly damp is okay for PU; epoxy can work with proper prep. For PVA (Titebond III), wait for dry surfaces. - Is polyurethane or epoxy better for PT timber?
PU is easier and versatile for timber-to-timber; epoxy resins win for mixed materials and maximum gap-filling. - Will Liquid Nails work on PT timber to concrete?
Yes—best uses include PT→masonry with the correct waterproof construction adhesive formula. Check the exact glue type. - Do I still need deck screws?
Yes. Adhesives support the joint; deck screws/stainless steel fixings provide structural security. - How long to full cure?
Most cartridge PUs and construction adhesives need 24–48 hours. Epoxies vary by hardener. Always check the label. - Does Titebond III bond PT timber outdoors?
Yes—if the timber is relatively dry and joints fit tight. It’s waterproof, but not a gap filler. - What’s the best adhesive for outdoor furniture?
For small, precise joints on dry PT timber, Titebond III is tidy. For mixed materials or looser fits, choose epoxy. Bottle Gorilla Glue is a solid all-rounder. - How do I prep non-porous surfaces before gluing PT timber?
Lightly abrade, solvent-wipe, let flash, then apply polyurethane adhesives or epoxy resins. - Why did my glue joint fail at the ends?
Likely end snipe from thirsty end grain or insufficient adhesive. Seal ends or pre-coat and clamp properly. - Are there low-odor options?
Yes—Titebond III and some epoxies are low odor. Ventilate regardless.
Further Reading


Member discussion